What Is the Best 3D Printer? It Depends on What You’re Actually Printing
The best 3D printer for you depends on two things: what you plan to print and how much you’re willing to spend. For most hobbyists and makers, the Bambu Lab X1 Carbon offers the best balance of speed, print quality, and ease of use. But if you need a huge build volume, a specific material like nylon or resin, or a rock-bottom price, the right choice shifts. Here’s a breakdown of the top contenders and the trade-offs you need to know.
best 3d printer” />: Top Picks & Guide
Quick answer
If you want one printer that does everything well out of the box, get the Bambu Lab X1 Carbon. It prints PLA, PETG, TPU, and even engineering filaments (nylon, polycarbonate) with a 300°C all-metal hotend, has a 256×256×256 mm build volume, and finishes most parts in half the time of other printers in its class. The AMS (Automatic Material System) lets you print with up to four filament colors or materials without manually swapping spools.
If your budget is under $500, the Prusa MK4 (assembled) is the most reliable entry-level machine, with excellent customer support and a 250×210×210 mm build volume. For oversized parts (e.g., RC plane wings, cosplay props), the Creality K1 Max (300×300×300 mm) runs a CoreXY gantry and prints reliably at 200+ mm/s.
What this means for your next purchase: If you’re debating between the Bambu X1 Carbon and Creality K1 Max, the X1 Carbon’s lidar and closed-loop system reduce the time you’ll spend calibrating—expect to unbox, run one auto-calibration print, and then start your real projects. The K1 Max may require a few tweaks to the Z-offset and retraction settings before you get consistent quality. Before buying any printer, check the manufacturer’s website for the latest firmware and known issues. For example, Bambu Lab’s firmware version 1.07.00.00 introduced improved first-layer detection—you can verify this on the printer’s touchscreen under Settings > Device Info.
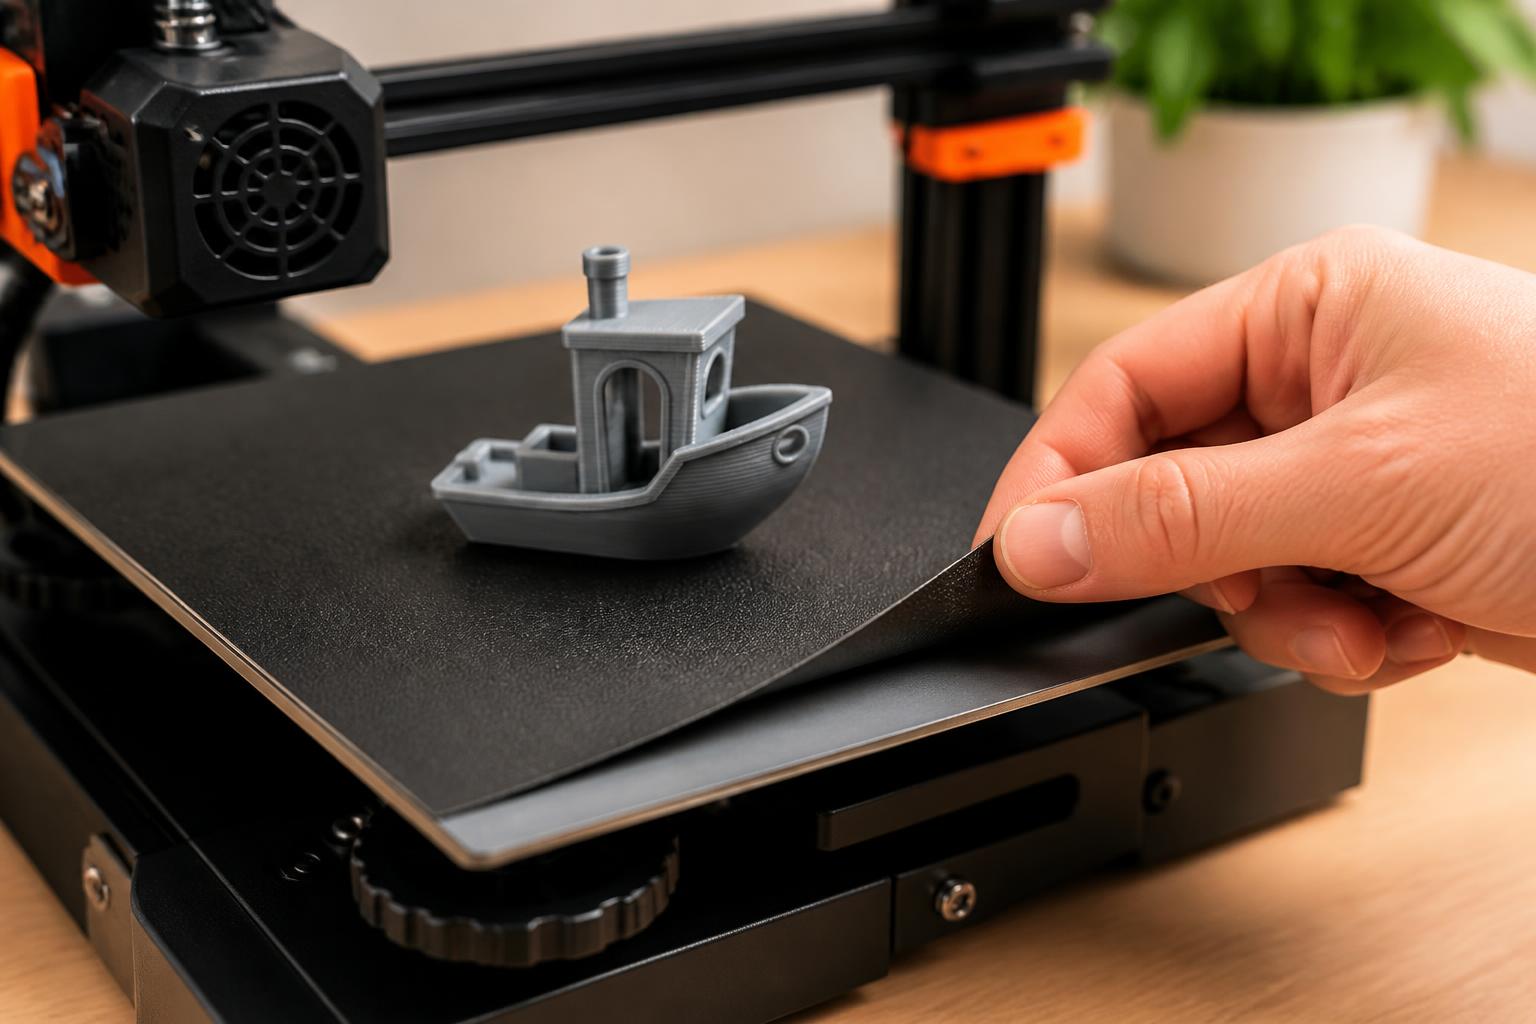
A common mismatch mistake: assuming a 300°C hotend can print any high-temperature material. Carbon-fiber reinforced nylon may require a hardened nozzle, which the X1 Carbon includes, but PEEK needs 400°C. Buying a printer based solely on build volume without checking material compatibility will leave you stranded when you switch from PLA to advanced polymers.
Comparison framework
| Printer | Build Volume (mm) | Max Hotend Temp | Max Bed Temp | Typical Layer Height | Recommended Filaments | Starting Price (USD) |
|---|---|---|---|---|---|---|
| Bambu Lab X1 Carbon | 256×256×256 | 300°C | 110°C | 0.08–0.28 mm | PLA, PETG, TPU, Nylon, PC, Carbon-filled | ~$1,200 |
| Prusa MK4 (assembled) | 250×210×210 | 300°C (with upgrade) | 120°C | 0.05–0.30 mm | PLA, PETG, TPU, ASA, Nylon (upgrade help) | $799 |
| Creality K1 Max | 300×300×300 | 300°C | 110°C | 0.08–0.28 mm | PLA, PETG, Nylon, PC, Carbon-filled | ~$800 |
| Formlabs Form 4 | 200×125×210 | N/A (resin) | N/A | 25–100 micron | Resins: Standard, Tough, Flexible, Castable | ~$4,500 |
Key criterion that changes your pick: print volume × speed vs. material range. If you need large parts (over 250 mm in any axis), the Creality K1 Max wins. If you need exotic materials like PEEK or ULTEM, you’ll need a printer with a 400°C+ hotend and an enclosure (e.g., the X1 Carbon can handle up to 300°C, but not those top-tier engineering polymers). If you need ultra-smooth surfaces or jewelry-grade detail, a resin printer like the Formlabs Form 4 is the only real option.
Best-fit picks by use case
For general hobbyist printing (PLA, PETG, TPU) – Bambu Lab X1 Carbon
The X1 Carbon includes a lidar sensor that automatically calibrates bed leveling, flow rate, and first-layer height. It also has a full enclosure, which keeps warping down when printing ABS or ASA. Print speed can reach 500 mm/s on infill, but realistic “on the plate” speed is around 200–250 mm/s for standard 0.4 mm nozzles. The AMS system adds the ability to do multicolor prints or switch between PLA and flexible TPU mid-print.
- Layer quality: 0.16 mm shows nearly invisible layer lines.
- Material constraints: Avoid filaments that require a hardened nozzle (carbon‑filled nylon works because the X1 Carbon’s hotend comes with a hardened steel nozzle, but high‑temp PA copolymers may need the 0.6 mm nozzle upgrade).
- Slicer: Bambu Studio (based on PrusaSlicer) is well-optimized; you can also use Orca Slicer.
- Verification step: After assembly, verify that the AMS is recognized by navigating to the Device tab in Bambu Studio—if the AMS icon is greyed out, check the PTFE tube connection and re-seat the filament cutter.
- Mismatch to watch: The AMS works best with round spools that have a 2–4 inch inner diameter; square or heavily taped spools can jam the gearing. If you use third-party filament, first measure your spool’s inner hole size.
For budget-conscious users who need reliability – Prusa MK4
Prusa printers have a reputation for “it just works.” The MK4 uses a Nextruder direct-drive extruder with load‑cell bed leveling, so you don’t need to manually adjust the Z‑offset. It prints PLA and PETG flawlessly at 0.2 mm layers at 70–100 mm/s. It does not come fully enclosed, so ASA and ABS require a DIY enclosure or a very stable ambient temperature.
- Best for: Beginners who want to learn on a machine with great community support (Prusa forums, thousands of pre-made profiles).
- Limitation: Max print speed is lower than CoreXY machines – about 100–120 mm/s on most parts. Print times will be 30–50% longer than the Bambu or Creality for the same model.
- Verification step: Before printing nylon, you must replace the stock nozzle with a hardened steel one (order PN 28105). The LCD screen will show a warning if the nozzle temperature exceeds 290°C without an enclosure, so plan to build or buy one.
- Mismatch to watch: The MK4’s standard hotend uses a PTFE-lined heat-break that degrades above 260°C. If you attempt to print polycarbonate (needs 270–300°C), the PTFE will off-gas and the printer will clog permanently. Upgrade to the Revo Six hotend if you need those temps.
For large prints and high speed – Creality K1 Max
The K1 Max uses a CoreXY gantry (same architecture as Bambu but cheaper) and a rigid aluminum frame. It includes an enclosure, a 300×300×300 mm build plate, and a 0.4 mm hardened nozzle. It prints PLA at 200 mm/s without visible ringing, and can handle PETG and ABS with the bed at 60–80°C and 100°C respectively.
- Trade‑off: Bed leveling is inductive, not load‑cell; you may need to run a full mesh level every few prints. Also, the proprietary hotend uses a heat‑break that can clog if you push the speed too high with PLA (retraction and temperature tuning help).
- Layer quality: 0.2 mm layers look good, but 0.08 mm layers show slight z‑banding on some units – check reviews for individual variance.
- Verification step: If you notice excessive stringing with PLA at 200 mm/s, reduce the print speed to 150 mm/s and increase retraction from 1.0 mm to 1.5 mm. The factory heat-break can clog if you exceed 30 mm³/s flow rate; check the G-code preview in Creality Print for flow rate warning.
- Mismatch to watch: The K1 Max’s proprietary hotend uses a cart with a non‑standard thermistor. If the heat-break clogs, you can’t simply replace it with a generic $2 part – you must buy Creality’s replacement assembly ($12–15) and run a PID tune afterward. Factor this into long‑term cost.
For resin printing (castable, dental, miniatures) – Formlabs Form 4
If your goal is high‑detail parts with smooth surfaces (no visible layer lines), a resin printer is the answer. The Formlabs Form 4 uses a 405 nm UV light source and a tilting vat to peel cured layers without tearing. It prints standard resin at 100 microns layer height in about 4–5 hours for a 100×100 mm part. Surface finish is comparable to injection‑molded parts.
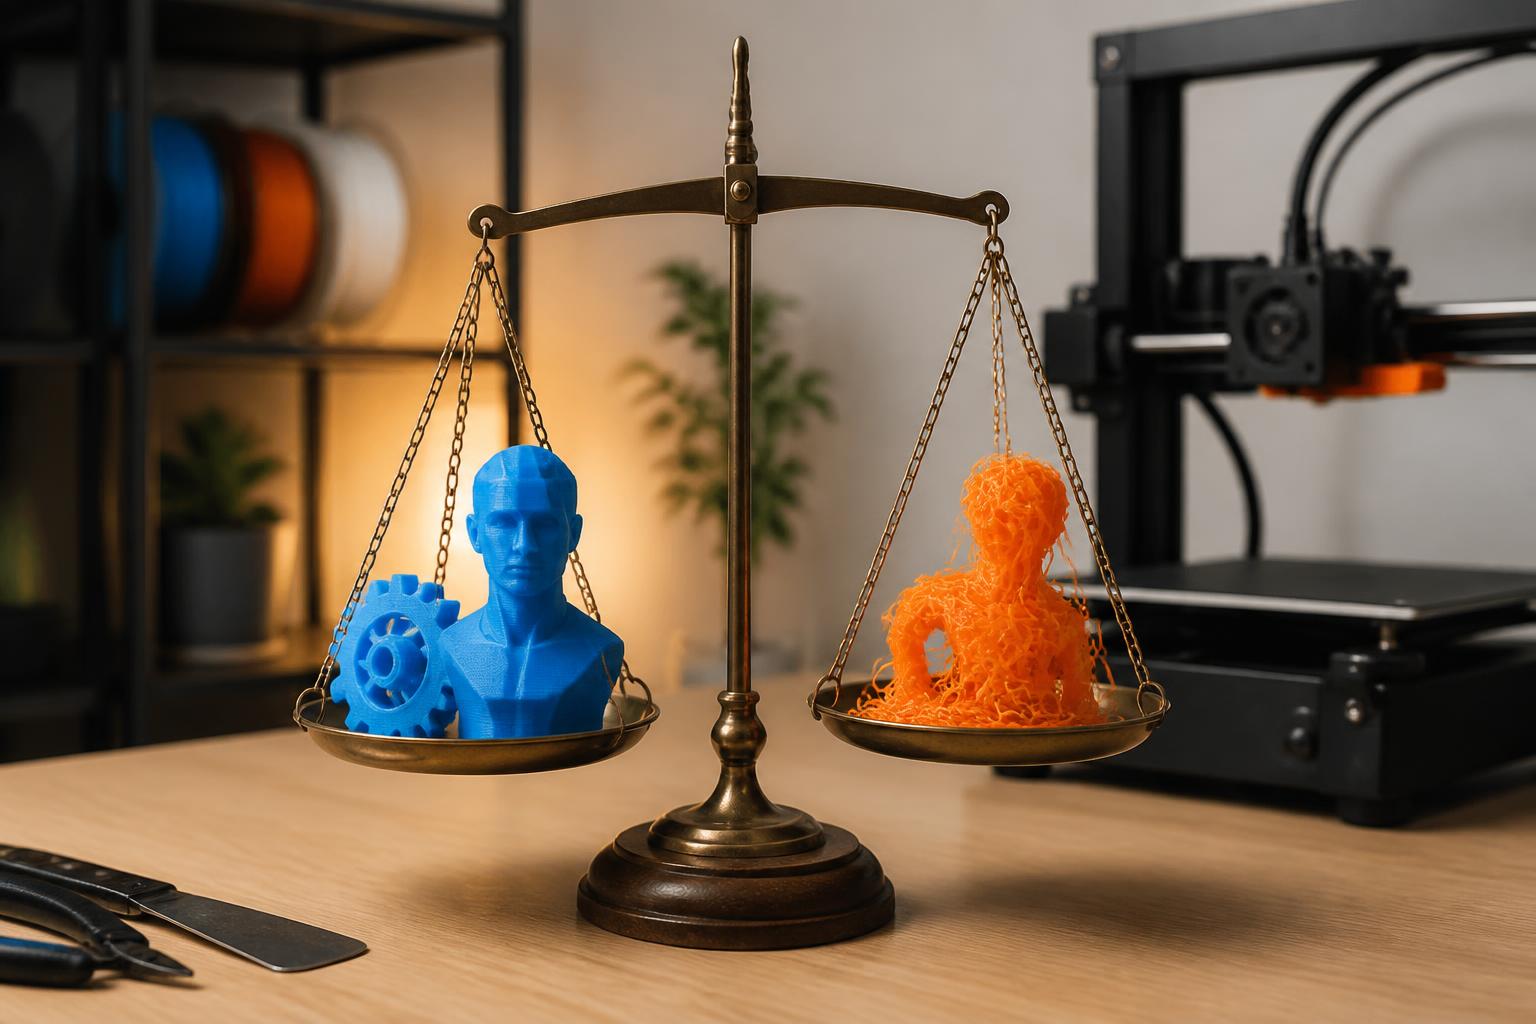
- Constraints: Resin is messy, requires post‑curing (UV and isopropyl alcohol wash), and has a strong odor – you need a ventilated space or a dedicated enclosure with a carbon filter.
- Cost: Resins run $50–150 per liter. The printer itself is over $3,000, so this is for serious prototyping or light manufacturing, not casual hobby use.
- Verification step: To verify resin compatibility, use the Formlabs Resin Selector tool online—selecting a non-validated resin can cause layer separation. After printing, check the bottom of the part for uncured resin; if sticky, increase UV exposure time by 0.5 seconds per layer.
- Mismatch to watch: The Form 4’s vat uses a transparent film that wears after about 10–15 liters of resin. Replacing it costs $75 and requires your printer to be down for 30 minutes. If you plan to print daily, budget for a new film every 3–4 months.
Trade-offs to know
Speed vs. reliability in CoreXY printers. The Bambu Lab X1 Carbon and Creality K1 Max both use CoreXY, but the Bambu’s lidar and closed‑loop firmware make it more consistent across many prints. The Creality K1 Max is cheaper and larger, but you may need to replace the fan duct or heat‑break for long‑term reliability. Practical implication: if you print mostly small functional parts (less than 200 mm in any axis), the X1 Carbon’s consistency saves you from failed prints. If you regularly split large models to fit a 256 mm build volume, the K1 Max eliminates that annoyance at the cost of occasional tinkering.
Open‑frame vs. enclosed. The Prusa MK4 is open. If you print ABS, ASA, or nylon, you need an enclosure anyway – the X1 Carbon or K1 Max give you that without needing to buy a separate box. For pure PLA printing, an open frame is fine and lets you see the print easily. Consequence: buying the MK4 and then adding an enclosure later costs $150–250 and may still require a filament dry box, whereas the X1 Carbon includes a dry chamber for its AMS.
Resin vs. FDM for surface quality. Even the best FDM printer at 0.05 mm layer height still shows step‑like ridges. A resin printer can produce a mirror‑smooth finish in the same time. But resin prints are brittle unless you use expensive engineering resins, and the cleaning/curing workflow adds 30–60 minutes per print. Real‑world trade‑off: a functional bracket that survives a drop needs FDM (PETG or nylon). A display miniature that you’ll never drop needs resin.
Cost of ownership. Printers come with several preloaded models – start by printing one of those because they’re carefully optimized for the printer. After that, filament costs about $20–30 per kg for PLA, while resin is $50–150 per liter. The Bambu and Creality also use proprietary hotend parts (nozzles, heat‑breaks) that cost $10–20 per replacement compared to $2–5 for standard Creality/Prusa nozzles. Over 500 hours of printing, the X1 Carbon’s higher parts cost adds $40–80 versus the MK4, but its print speed saves 100–200 hours of machine time.
Related questions
Is a 3D printer with a multi‑material system worth it?
Yes, if you often print functional parts that need a soluble support material (e.g., PVA for PLA, or BVOH for PETG) or if you want multicolor prints without painting. The Bambu Lab AMS is the most reliable and easiest to use. Multi‑material on the Prusa MK4 requires an add‑on (MMU3) that is more complex to set up and prone to jams if the filament path is too long.
How much do I need to spend for a good first printer?
For a solid experience with minimal tinkering, $400–800 gets you a Prusa MK4 kit or a Creality K1 (non‑Max). Below $300, expect to spend time calibrating and fixing hardware (e.g., Ender 3 V3 SE). The Bambu Lab A1 Mini ($299) is a great low‑cost option if you only need small parts (180×180 mm) and stick to PLA.
Can I print nylon or polycarbonate on a $300 printer?
Not reliably. Nylon requires a hotend capable of 290–300°C, an enclosed chamber to reduce moisture absorption, and a bed at 80–100°C. Most budget printers max out at 260°C and have open frames. You can often upgrade a Prusa MK4 to print nylon, but count on $200 in parts (hotend, enclosure, hardened nozzle).
Explore This Topic
- Back to How 3D Printing Works
- Back to sc0008
Related guides in this cluster:
- What is the best 3d printer for beginners: Top Picks & Guide
- Best budget 3d printer: Top Picks & Guide
- Best inexpensive 3d printer: Top Picks & Guide

Ryan has been operating FDM 3D printers since 2017. He runs a 12-machine print farm. His daily drivers include a Bambu Lab X1 Carbon, Prusa MK4s, and Creality Ender-3 V3s that have logged over 15000 print hours. He started 3D Printer Nerd to provide structured troubleshooting guides with diagnostic order, material-specific parameters, and clear stop points.