Best Inexpensive 3D Printer Under $400: Anycubic Kobra X vs the Field
If you’re shopping for a 3D printer under $400, the Anycubic Kobra X (around $200) currently offers the best combination of speed, build volume, and ease of use for most beginners. The Creality Ender 3 V3 SE is a close second if you value reliable filament handling, and the Sovol SV08 Max ($400) delivers a massive 300 mm³ build volume for larger projects. But cheap printers have a hidden tinkering curve—the biggest failure mode is inconsistent Z-offset that can waste your first week of prints if you don’t catch it early. Here’s what to buy, what to skip, and how to avoid the most common setup trap.
Applicability boundary: These recommendations apply to users printing PLA and PETG at standard layer heights (0.1–0.28 mm) with a 0.4 mm nozzle. If you need to print ABS, nylon, or polycarbonate regularly, these stock machines will require an all-metal hotend upgrade ($15–25) and an enclosure—budget another $50–100 and expect more tuning time.
Quick answer
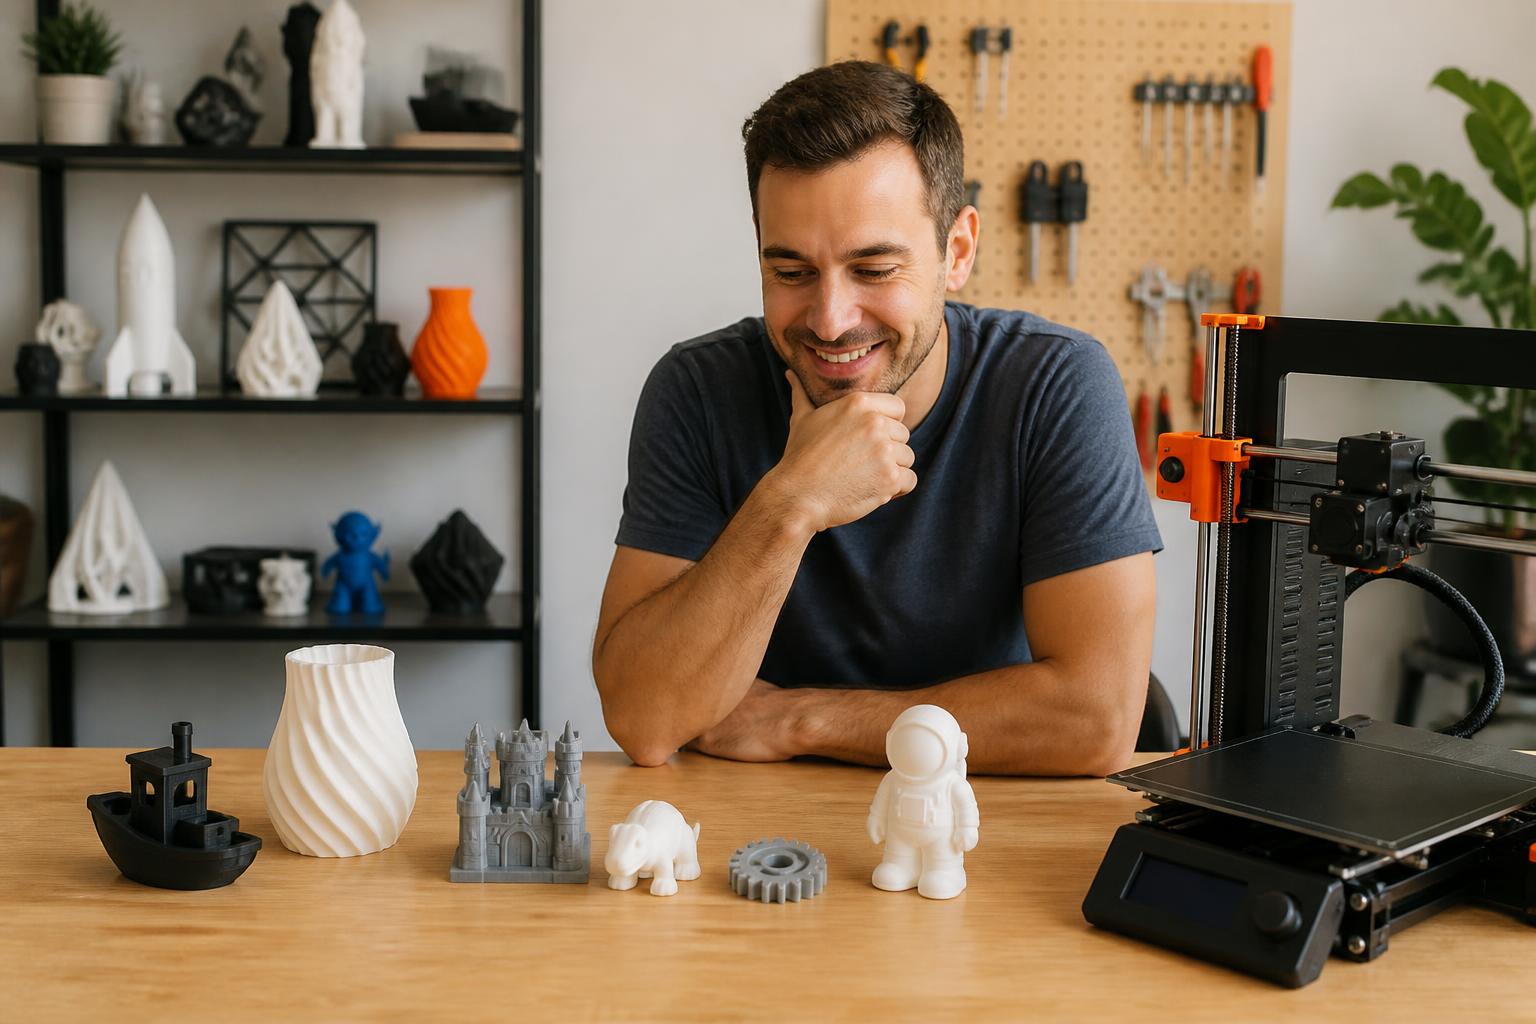
The three best inexpensive 3D printers right now are:
- Anycubic Kobra X (~$200) – Best overall budget pick with 180 mm/s max speed and 220×220×250 mm build volume
- Creality Ender 3 V3 SE (~$200) – Most beginner-friendly with Sprite direct-drive extruder and reliable CR Touch bed leveling
- Sovol SV08 Max (~$400) – Best for large prints with 300×300×350 mm build volume and CoreXY gantry
All three include auto bed leveling and work with PLA out of the box. Set your nozzle to 200–220 °C (392–428 °F), bed to 60 °C (140 °F), and start with 0.2 mm layer height at 50 mm/s for your first test print.
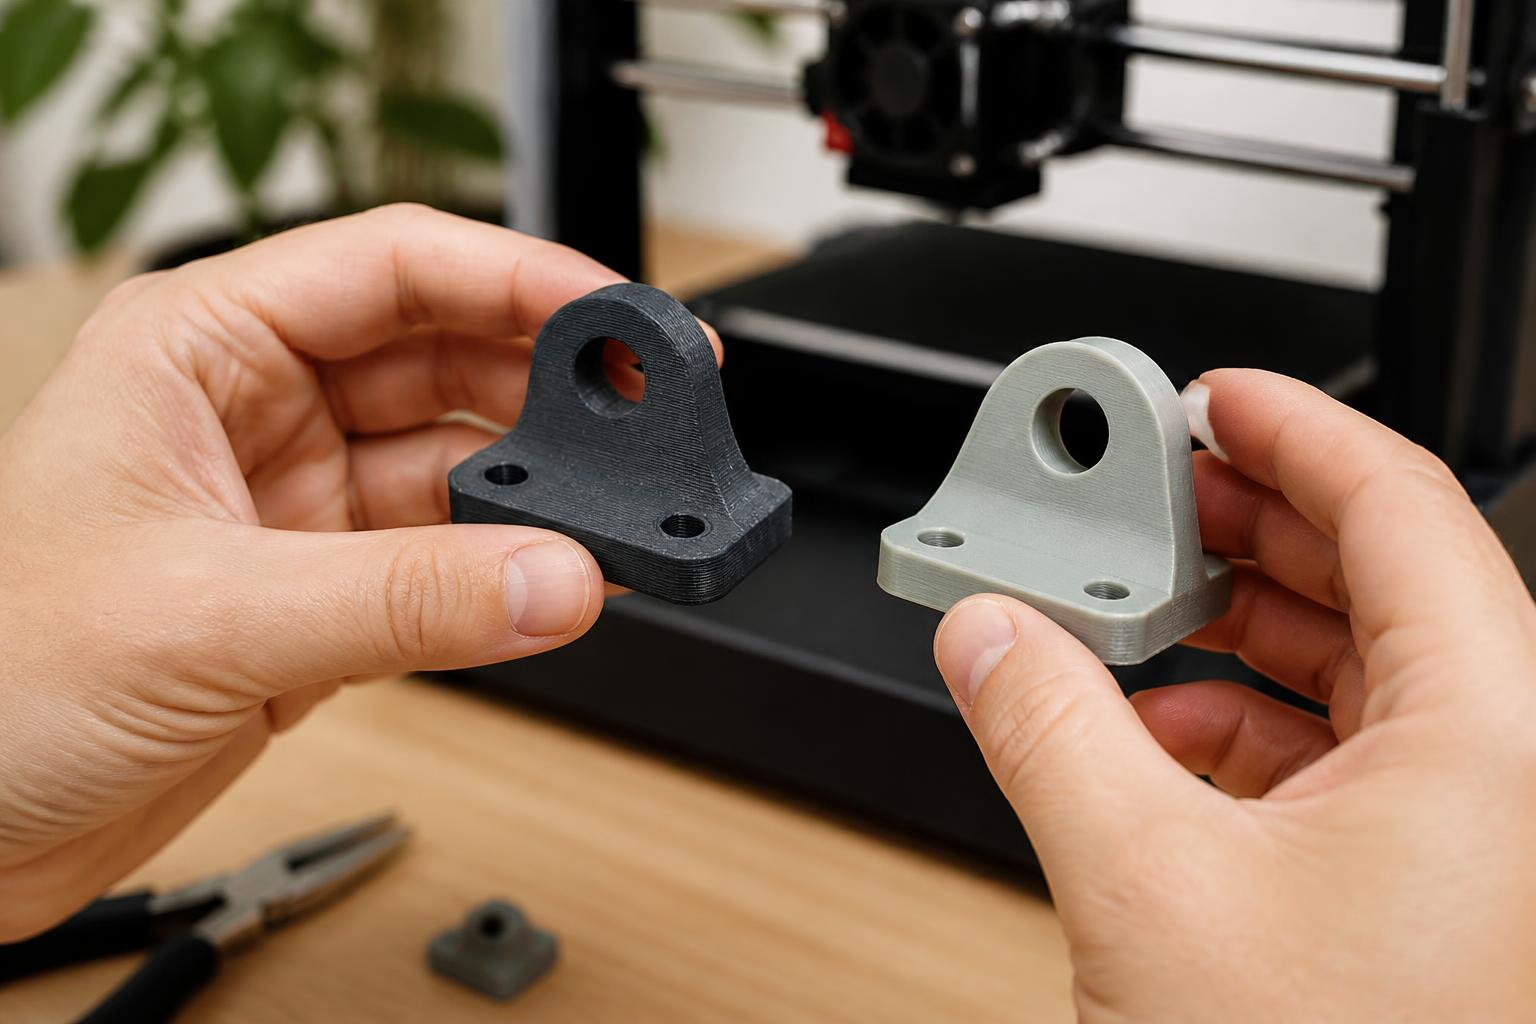
Practical implication: If you’re on a strict $200 budget, the Kobra X saves you $70–100 compared to the SV08 Max, but you lose the ability to print large one-piece parts. The Ender 3 V3 SE is the safer choice if you want less tinkering—its direct-drive extruder handles filament changes and flexible materials better. Don’t buy the SV08 Max unless you genuinely need 300 mm prints; the extra cost and desk space aren’t worth it for small parts.
Comparison framework
| Printer | Price | Build volume (mm) | Max speed | Extruder | Auto leveling | Heated bed max | Noise level |
|---|---|---|---|---|---|---|---|
| Anycubic Kobra X | ~$200 | 220×220×250 | 180 mm/s | Bowden-driven | Inductive sensor | 100 °C (212 °F) | Moderate whine |
| Creality Ender 3 V3 SE | ~$200 | 220×220×250 | 180 mm/s | Sprite direct drive | CR Touch | 100 °C (212 °F) | Quieter (better damping) |
| Sovol SV08 Max | ~$400 | 300×300×350 | 350 mm/s | Dual-gear direct drive | Inductive sensor | 110 °C (230 °F) | Louder at high speed |
Where cheap printers fall short:
- First-layer drift: Inductive sensors on all three can vary with bed temperature. Heat the bed to printing temp (60 °C for PLA) before running auto leveling, or you’ll get a false reading 0.1–0.2 mm off.
- Warping on large parts: The SV08 Max’s 300 mm bed loses heat at edges in a drafty room. A brim (5–8 mm line width, 0.2 mm height) helps. If you see corners lifting after the first 10 layers, add a cardboard enclosure temporarily.
- Heat creep at high temps: The PTFE-lined hotend on the Kobra X and Ender 3 V3 SE can’t safely exceed 240 °C (464 °F). Above that, the PTFE degrades and clogs. PLA and PETG are fine; ABS and nylon need an all-metal hotend swap.
Best-fit picks by use case
Absolute budget – Anycubic Kobra X
- Best for: First-time buyers who want a working machine under $250 and don’t need flexible filament support.
- Setup: About 15 minutes of assembly (attach gantry, plug cables). Auto leveling gets you close, but plan 30 minutes for Z-offset calibration with a 50×50 mm test square at 0.2 mm layer height.
- Prints PLA well at 200–220 °C nozzle, 60 °C bed. Expect minimal stringing at 50 mm/s with retraction 6 mm at 25 mm/s.
- Watch out: The Bowden extruder means retraction distance is longer (5–7 mm), which struggles with TPU. Stick to PLA and PETG. If you try PETG, reduce retraction to 3 mm and drop speed to 40 mm/s to avoid clogging.
Beginner reliability – Creality Ender 3 V3 SE
- Best for: Users who want easier filament changes, less clogging, and the ability to print TPU occasionally.
- Setup: About 30 minutes of frame assembly. Route the bed wire carefully—it can snag on the gantry if not clipped down. Check belt tension after 10 hours of use; it should have a low guitar-string twang when plucked.
- Why it’s better: The Sprite direct-drive extruder allows short retraction (1–2 mm at 30–40 mm/s), which handles flexible filaments cleanly. The textured PEI spring steel sheet provides strong adhesion for PLA at 60 °C.
- Watch out: The CR Touch probe is reliable, but the Z-offset still needs manual tuning. After assembly, run the probe, then lower Z by 0.1 mm and print a single-layer square. Adjust in 0.05 mm increments until lines just barely touch with no gaps.
Large prints – Sovol SV08 Max
- Best for: Users who need to print functional parts, helmets, or cosplay items in one piece without splitting models.
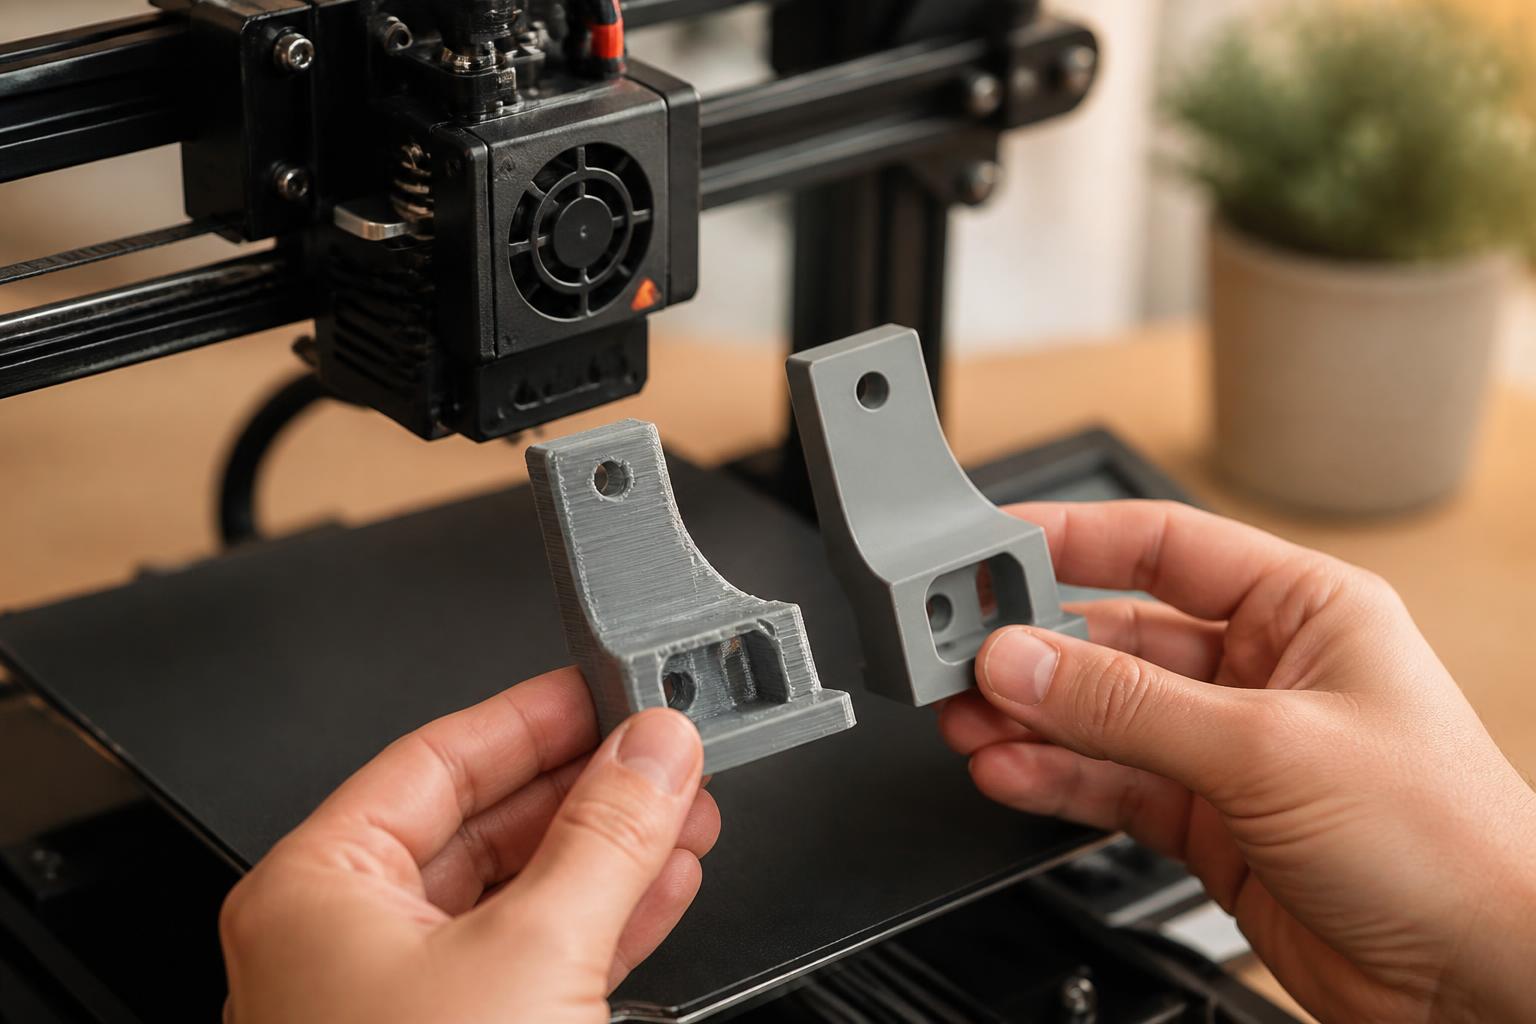
- Why: 300 mm³ build volume and CoreXY gantry allow 350 mm/s travel moves. With a 0.6 mm nozzle and 0.3 mm layer height, you can finish a full-size helmet in 15–18 hours instead of 30+ hours on a 220 mm machine.
- Setup takes longer: The bed weighs about 3 kg and takes 8–10 minutes to reach 60 °C from room temperature. Always heat the bed fully before running auto leveling—the inductive sensor gives different readings on a cold vs. hot bed.
- Watch out: Manual Z-offset calibration is trickier here. After probing, print a 100×100 mm square at 0.2 mm height. If the first layer shows gaps between lines, lower Z by 0.05 mm. If the surface is rough or the nozzle scrapes, raise Z. Expect 3–5 attempts before it’s dialed in.
- Verification step: Once the first layer looks good, measure the layer height with a digital caliper. It should read 0.18–0.22 mm for a 0.2 mm setting. If it’s more than 0.05 mm off, re-run calibration.
Trade-offs to know
The number-one failure mode: Inconsistent Z-offset that changes between prints or after the printer cools down.
- How to detect it early: Watch the first layer. If you see gaps between the extruded lines (too high), or the filament looks rough and the nozzle is dragging through it (too low), you have a Z-offset problem. A clicking extruder during the first layer usually means you’re too high and the filament isn’t sticking.
- Quick fix: During the first layer, use the printer’s live Z adjustment (if available) to lower it by 0.05 mm increments until the lines just touch. For a permanent fix, run the full calibration sequence after every firmware update or nozzle change.
- Escalation signal: If Z-offset drifts more than 0.2 mm between prints and you’ve already dialed it in, your inductive sensor may be failing. Replace it ($5–10) or switch to a BLTouch probe for better consistency.
Realistic mismatch to watch for:
The PTFE-lined hotend on the Kobra X and Ender 3 V3 SE limits your material options. If you try printing ABS at 250 °C (482 °F) without an all-metal upgrade, the PTFE tube will start breaking down at the nozzle end, causing a partial clog that produces under-extrusion and stringing. You’ll notice gaps in solid infill and inconsistent layer lines. Fix it by replacing the hotend with an all-metal version (like a Slice Engineering Copperhead, around $25) or stick to materials below 240 °C.
Other trade-offs:
- Small build beds: The 220 mm cubes on the Kobra X and Ender 3 V3 SE force you to split large models. Use dovetail joints or puzzle-piece connectors in your slicer (add a 0.2 mm tolerance gap) to assemble parts cleanly. – Noise: The Kobra X and SV08 Max use stepper drivers that whine at high speeds. The Ender 3 V3 SE is quieter due to better vibration damping. If noise is a concern, place the printer on a concrete paver ($3) with a foam pad underneath to absorb vibration.
- Hidden costs beyond the printer: Add $20 for a spare PEI sheet, $15 for a nozzle set (0.2, 0.4, 0.6, 0.8 mm), and $10 for a digital caliper. Filament runs $20–30 per kg. PLA is the cheapest; silk and specialty filaments cost more. – The SV08 Max’s heavy bed (3 kg) means slow heat-up (8–10 minutes to 60 °C) and more wear on the bed-leveling wheels. Check the level weekly if you print large parts that take 12+ hours.
Related questions
Is a cheap 3D printer worth it?
Yes, if you expect to spend 2–4 hours during the first week tuning Z-offset, bed leveling, and retraction settings. Most owners get consistent PLA prints after that. Plan $50–75 in initial upgrades (PEI sheet, spare nozzles, digital caliper). Without tuning, the prints will look stringy, poorly adhered, and inconsistent.
Do I need auto bed leveling?
Yes, strongly recommended for anyone new to 3D printing. Manual bed leveling with paper and screws is tedious and error-prone. Auto bed leveling gets you close, but you still need to set the Z-offset manually once after assembly. Skipping auto leveling on a budget printer means chasing the first layer on every print.
What is the cheapest 3D printer that actually works?
The Anycubic Kobra X at $180–200 and the Creality Ender 3 V3 SE at $200 are the real entry points. Both print PLA reliably out of the box after Z-offset calibration. Avoid no-name sub-$100 printers—they lack auto leveling, use thin acrylic frames that flex, and rarely hold calibration past the first print.
Explore This Topic
- Back to Best Printer by Budget
- Back to sc0007
Related guides in this cluster:
- Best budget 3d printer: Top Picks & Guide
- Best affordable 3d printer: Top Picks & Guide
- Best 3d printer under 300: Top Picks & Guide

Ryan has been operating FDM 3D printers since 2017. He runs a 12-machine print farm. His daily drivers include a Bambu Lab X1 Carbon, Prusa MK4s, and Creality Ender-3 V3s that have logged over 15000 print hours. He started 3D Printer Nerd to provide structured troubleshooting guides with diagnostic order, material-specific parameters, and clear stop points.