Best 3D Printer for Prototyping: Functional Parts, Fast Iterations
Best 3d printer” /> for prototyping: Top Picks & Guide
Quick answer
The Bambu Lab X1 Carbon with AMS is the best 3D printer for prototyping in 2026 for teams that need fast, reliable functional parts. It prints engineering filaments (PLA, PETG, ABS, PAHT-CF) at speeds up to 500 mm/s, has an actively heated chamber that prevents warping, and uses lidar-assisted auto-leveling that eliminates first-layer failures. Setup takes about 30 minutes, and the preloaded calibration prints work on the first try. This recommendation applies to parts under 10 inches on any axis—if you routinely prototype larger components, see the large-format section below.
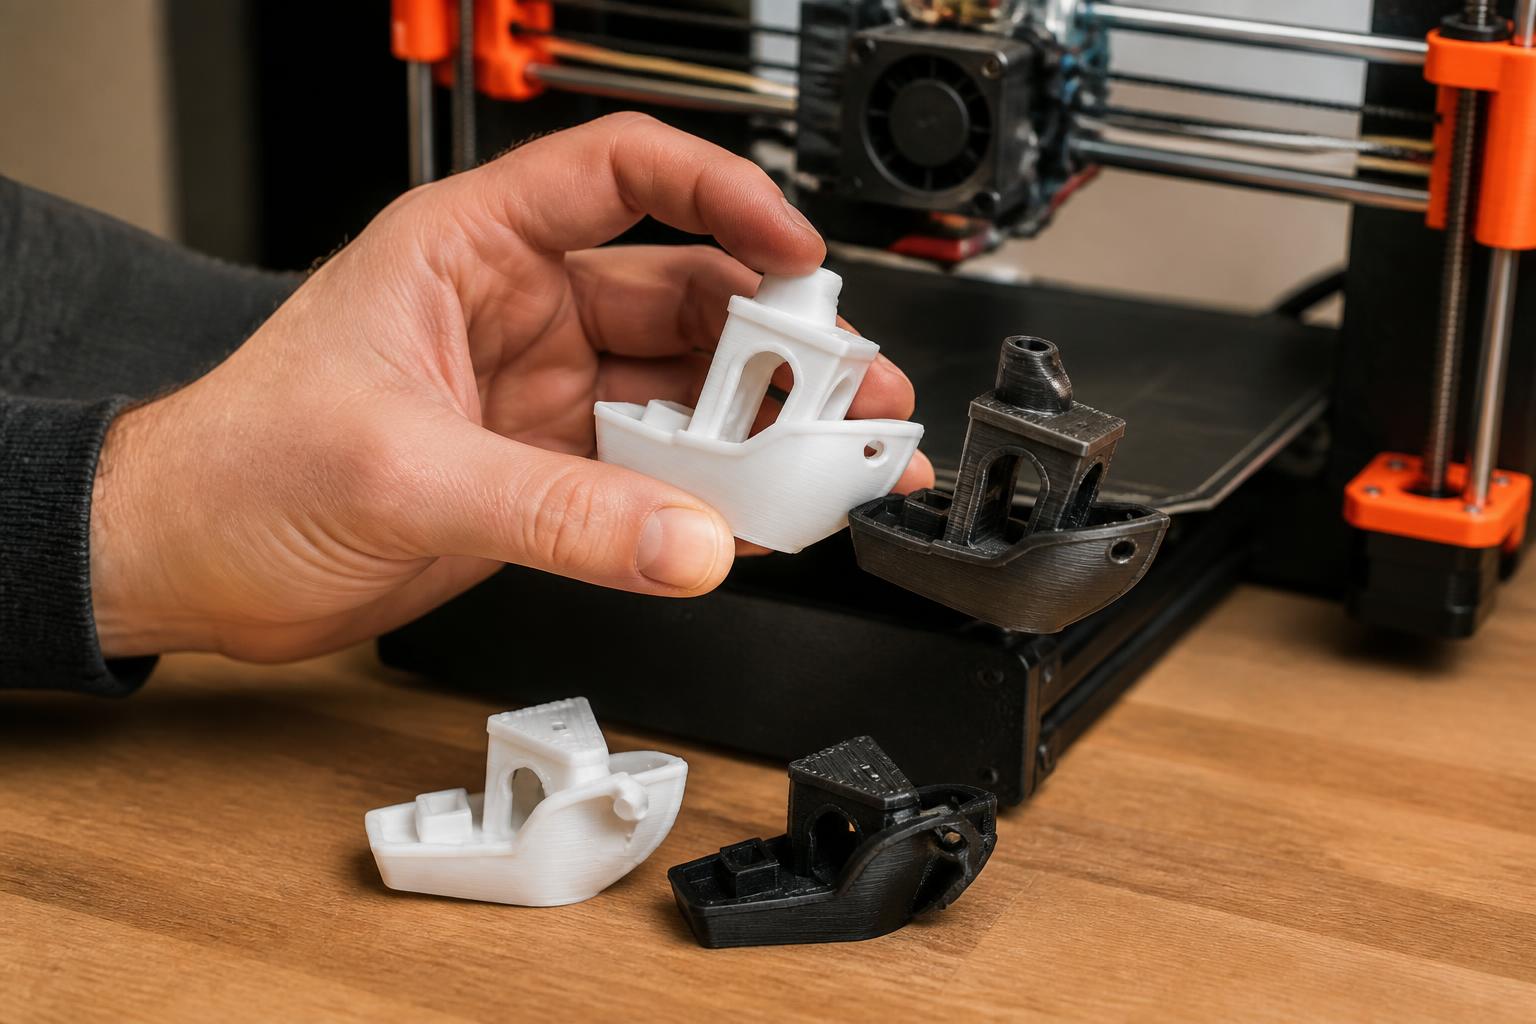
For a budget alternative, the Creality K1 Max delivers similar speed and a larger build volume (11.8-inch cube) for roughly $700, but requires manual calibration after setup and has a passive enclosure that struggles with high-temperature materials. For industrial-scale prototypes over 12 inches, the BigRep ONE.5 is the standard but costs well over $10,000 and demands dedicated floor space and technical support.
Comparison framework
The table below shows how these three printers compare on the specs that directly affect iteration speed, material flexibility, and reliability.
| Printer | Build volume | Max nozzle temp | Enclosure type | Auto-leveling | Multi-material | Typical price | Time to first print |
|---|---|---|---|---|---|---|---|
| Bambu Lab X1 Carbon + AMS | 256 × 256 × 256 mm (10″ cube) | 300 °C | Heated (chamber holds 60 °C) | Lidar-assisted (real-time flow adjustment) | Up to 4 filaments via AMS | ~$1,200 | ~30 min |
| Creality K1 Max | 300 × 300 × 300 mm (11.8″ cube) | 300 °C | Passive (vented, no active heating) | Pressure sensor (manual offset fine-tuning needed) | Single extruder only | ~$700 | ~60 min (+ calibration) |
| BigRep ONE.5 | 1,000 × 1,000 × 1,000 mm (39″ cube) | 320 °C | Heated (industrial chamber) | Manual-assisted (requires trained operator) | Optional dual extrusion | $10,000+ | 2–4 hours (setup & calibration) |
What these specs mean for your prototype outcomes:
- The X1 Carbon’s lidar sensor measures each layer’s height and adjusts flow in real time. This means first-layer issues that cause failed prototypes—lifting, nozzle dragging, gaps—are almost eliminated. You can walk away during the first hour of a print with high confidence.
- The K1 Max has the same high-speed motion system but its enclosure is vented. Printing ABS or ASA without active chamber heating still risks cracking and delamination on parts taller than 80 mm. Run a temperature check: if the chamber drops more than 5 °C from baseline during the first 10 minutes, the seal is insufficient for high-warp materials.
- The Prusa MK4 (not in the speed-focused table above but worth mentioning) maxes out around 200 mm/s in practice but offers fully open-source firmware and parts availability. It’s the right choice if you need to swap hotends for specialized materials like flexible TPU or high-temp PEEK, but it’s slower per part than the Bambu or Creality options.
Best-fit picks by use case
Fast iteration on small to medium functional prototypes (under 10 inches)
Bambu Lab X1 Carbon with AMS
- Spec-to-outcome connection: The 300 °C hotend and active chamber heating let you switch from PLA (quick form-fit checks at 210 °C nozzle, 60 °C bed) to PAHT-CF (load-bearing tests at 280 °C nozzle, 100 °C bed) without recalibrating. The AMS handles up to four filaments, so you can use PVA or BVOH support material for complex overhangs without manual swaps.
- Verification step before buying: Confirm that your prototype dimensions fit within 256 mm on all axes. Measure your largest planned part: if it exceeds 10 inches, this printer cannot print it in one piece.
- Who should skip it: Teams that need fully open-source firmware for proprietary materials (the X1 Carbon runs closed-source). Also skip it if you routinely print parts over 256 mm on any axis—you need the large-format option below.
Budget rapid prototyping
Creality K1 Max
- Why it works: Same core high-speed movement system as the Bambu at a 40% lower price. The 300 mm cube build volume fits larger jigs, housings, and production tooling prototypes.
- One failure mode to watch and detect early: The passive enclosure does not maintain a stable temperature above 40 °C, so ABS and polycarbonate parts often develop layer-split cracks. Detect it early: If you see a consistent 0.2 mm gap between layers on the first few perimeters of a tall (>80 mm) ABS print, stop immediately. Add a draft shield in your slicer (an extra wall around the part) or switch to PETG at 240 °C nozzle, 80 °C bed. Continuing will result in a split print that wastes 3+ hours.
- Verification step for enclosure seal: During the first print with ABS, place a temperature probe in the chamber center after 10 minutes. If it reads below 38 °C, the seal is poor. Consider adding an aftermarket enclosure wrap (silicone pad or foam tape) to improve retention, or accept that you will need to stick to PLA and PETG.
- Who should skip it: Anyone who needs reliable high-temperature printing (ASA, PC, nylon) without buying a separate enclosure upgrade or losing time to calibration.
Large-format prototypes (parts over 12 inches)
BigRep ONE.5
- Spec-to-outcome connection: The one-cubic-meter build volume allows full-scale automotive brackets, industrial tooling, and furniture prototypes. Dual extrusion (optional) means dissolvable support for complex internal geometries that would be impossible to remove manually.
- Reality check: This is a production-floor machine. It requires compressed air (for the enclosure purge), a 220V circuit, and a dedicated trained operator. The per-part material cost is 3–5× higher than desktop printers because thicker layer heights (0.3–0.5 mm) are needed for throughput, which reduces surface quality. Expect 12–24-hour print times for large parts.
- Verification step before committing: Measure your actual build volume needs. If your largest prototype is under 300 mm on any axis, the X1 Carbon or K1 Max will be faster, more precise, and cheaper per part. Only choose the BigRep if you genuinely need parts that cannot be split and glued.
- Who should skip it: Any team prototyping parts under 300 mm—the overhead of setup, material cost, and print time makes desktop printers a better fit.
Trade-offs to know
The most common failure mode in prototyping printers
Many users buy a fast printer (K1 Max or similar) believing speed alone guarantees iteration speed. In practice, failed prints waste more time than print speed saves. A print that lifts from the bed 2 hours in requires re-leveling, bed cleaning (isopropyl alcohol wipe), and restarting—eating 3+ hours of net progress. A 10-minute slower first layer that sticks is worth more than an hour of saved speed on a failed part.
How to detect failure early and when to escalate
- Check first-layer adhesion before leaving a print unattended. Run a 50 mm single-layer calibration square and examine the bottom. If it shows translucent gaps (nozzle too close) or feathering edges (nozzle too high), adjust Z-offset and re-run. Do not start a prototype print until the calibration square produces a solid, opaque layer.
- Monitor chamber temperature during the first 10 minutes. If it drops more than 5 °C from the setpoint after the bed reaches temperature, the seal is poor. Add a draft shield or chamber insulation. For the K1 Max, consider upgrading to a silicone enclosure pad (~$25) to improve retention.
- For multi-material setups, watch for underextrusion on the second material change. If you hear a skipped-extruder clicking or see a pattern of two smooth layers then a skipped layer, pause and do a cold pull immediately. Continuing will clog the nozzle and require a complete hotend disassembly.
Escalation signal: If you cannot get a consistent first layer after three attempts with the recommended Z-offset calibration, the printer likely requires hardware adjustment—check gantry alignment, belt tension, or bed screws. This is not a software tuning issue; stop and tighten loose components before proceeding.
Enclosure vs. no enclosure
- A heated enclosure (X1 Carbon) lets you print materials with high glass-transition temperatures—ABS at 260 °C bed, nylon at 280 °C bed—without curling or cracking. The chamber temperature actively holds 50–60 °C.
- An optional enclosure (Prusa MK4) helps with PETG drafts but cannot keep ABS from warping on parts over 80 mm tall because there is no active heating. If you prototype mostly in PLA and PETG, skip the enclosure and save $200–300.
- Stop point: If you plan to print ABS or nylon for load-bearing functional prototypes, do not buy a printer without an actively heated chamber. You will waste material and time.
Multi-material: convenience vs. maintenance
The AMS adds 10–15 minutes of setup time when loading new filaments, and the cutter blade (which snips filament before retraction) needs replacement every 300–400 swaps—roughly $8 per blade. For teams that print single-material parts 90% of the time, a single-extruder printer like the Prusa MK4 is simpler with fewer failure points. The AMS is worth it if you regularly use dissolvable supports or need to color-swap for visual prototypes.
Related questions
Can I use a budget printer like the Ender 3 for prototyping?
Yes, but the time you gain from low upfront cost is lost in constant tinkering. An Ender 3 requires manual bed leveling before every print, has no enclosure, and takes 2–3 times longer per part. It works for one-off prototypes if you have spare time but is not recommended for tight iteration cycles where reliability matters.
What layer height should I use for prototype quality?
0.2 mm is the standard balance of speed and surface finish for most functional prototypes. For quick fit checks, 0.3 mm saves about 30% time with minimal strength loss. For visual models, 0.12 mm reduces layer lines but doubles print time. Start at 0.2 mm and only change if your specific part requires it.
Do I need a dry box for engineering filaments?
Yes. Nylon, PETG, and polycarbonate absorb moisture from the air, which causes bubbling, stringing, and weak layer bonds. Store spools in a sealed dry box with silica gel desiccant and a hygrometer showing below 15% relative humidity. A $30 solution prevents most print failures from these materials. You can skip the dry box for PLA, which is far less hygroscopic.
How important is the build surface material for prototype adhesion?
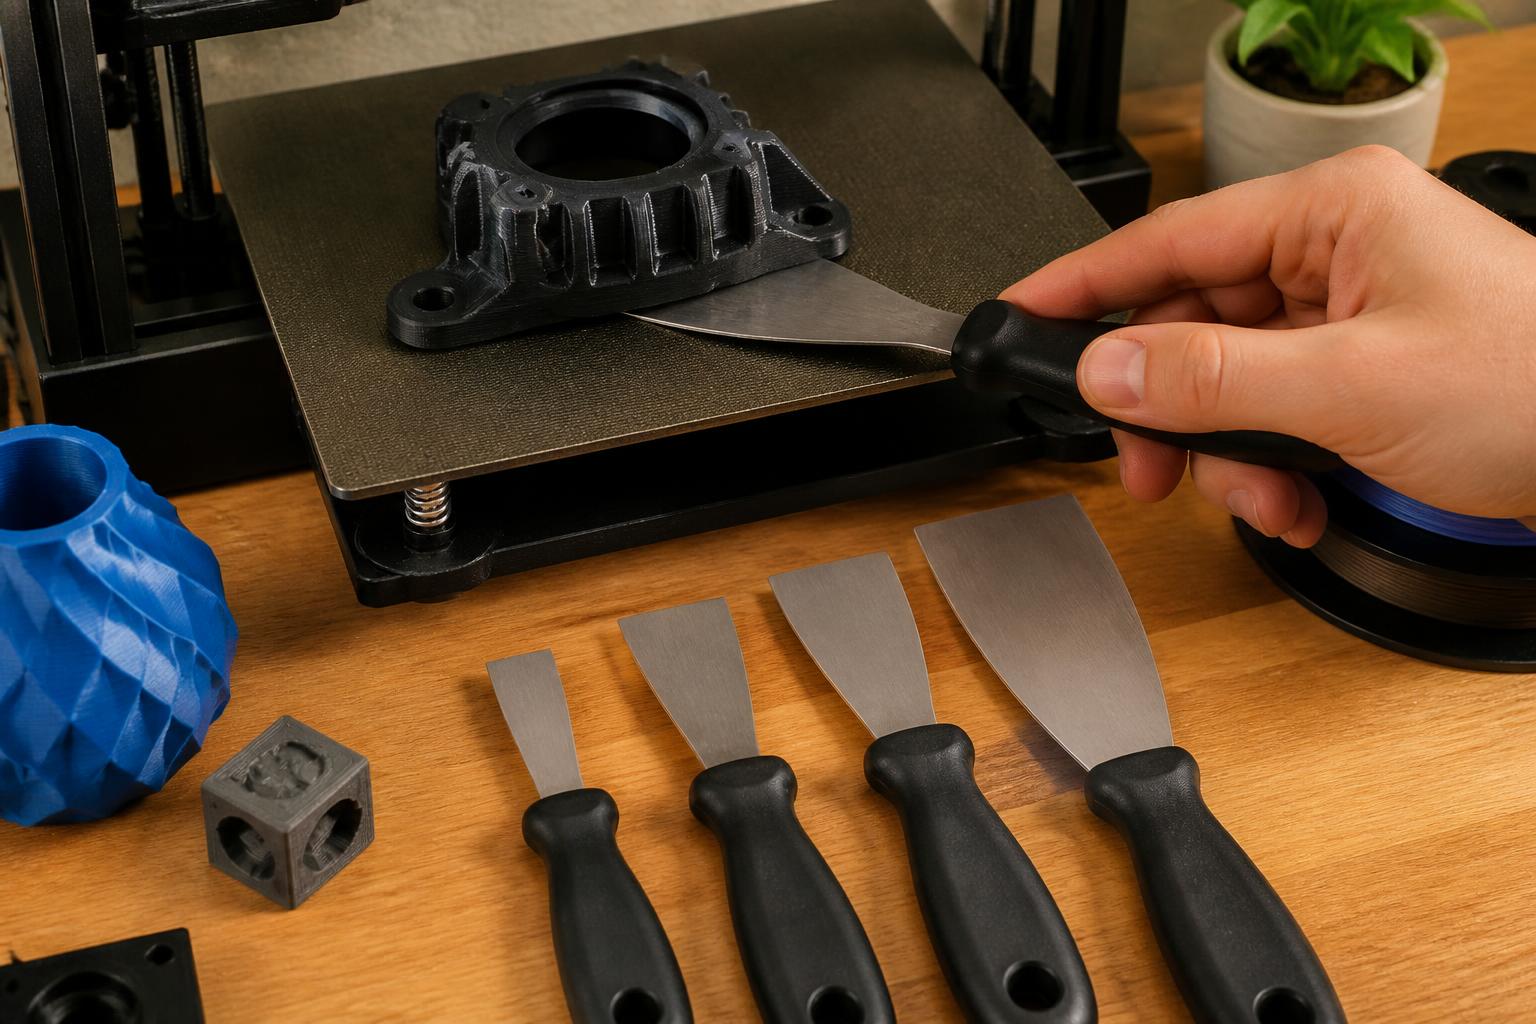
Critical. The Bambu X1 ships with a textured PEI plate that works well for PLA and PETG. For ABS, switch to a smooth PEI sheet or a garolite plate—textured PEI can cause lifting at the corners. For nylon, apply a thin layer of PVA glue stick on glass and heat the bed to 100 °C. Swapping plates takes 30 seconds. Buying a second dedicated plate for each material family you use regularly is the best $25–$40 investment you can make to eliminate adhesion-related failures.
Explore This Topic
- Back to Best Printer by Use Case
- Back to sc0007
Related guides in this cluster:
- Best 3d printer for the money: Top Picks & Guide
- Best 3d printer for the price: Top Picks & Guide
- Best 3d printer for starters: Top Picks & Guide

Ryan has been operating FDM 3D printers since 2017. He runs a 12-machine print farm. His daily drivers include a Bambu Lab X1 Carbon, Prusa MK4s, and Creality Ender-3 V3s that have logged over 15000 print hours. He started 3D Printer Nerd to provide structured troubleshooting guides with diagnostic order, material-specific parameters, and clear stop points.