Best Starter 3D Printer: Your First Machine Shouldn’t Need Constant Tinkering
The best starter 3D printer is the one that gets you printing usable parts with the least frustration. After testing entry-level machines, the Creality Ender 3 V3 SE (~$200) delivers the best balance of print quality, ease of use, and cost for absolute beginners. Here’s how the top contenders compare, which one fits your specific needs, and what can go wrong before you buy.
Best 3d printer” /> for starters: Top Picks & Guide
Quick answer
Top pick: Creality Ender 3 V3 SE (~$200) – Consistent prints right out of the box with auto bed leveling (CR Touch), direct-drive extruder, and 220×220×250 mm (8.7×8.7×9.8 in) build volume. Assembly takes about 30 minutes. It prints PLA, PETG, and TPU reliably at 0.2 mm layer height with the included 0.4 mm brass nozzle at 200–230°C nozzle, 60°C bed. The open frame is fine for PLA, but you will need an enclosure for ABS or nylon.
Best automated experience: Bambu Lab A1 Mini (~$300) – Fully enclosed, self-calibrating, prints 180×180×180 mm (7×7×7 in). Ideal if you want zero tinkering. Uses proprietary slicer and filament; long-term costs are higher and you cannot use cheap generic spools without risking clogs.
Best long-term reliability: Prusa Mini+ (~$450) – Proven track record, excellent support, enclosed steel frame. Prints 180×180×180 mm. Overkill for a casual hobbyist, but worth it if you plan to print hundreds of hours over several years.
Best budget speed: Anycubic Kobra 2 (~$220) – 150 mm/s max speed, auto leveling, 220×220×250 mm build volume. Good if speed is your priority on a tight budget, but high-speed prints often require retraction tuning to reduce stringing.
Practical implication for your next move: If you pick the Ender 3 V3 SE, your first step after assembly is to run the auto-level routine, then print the preloaded cat model (PLA at 210°C). If the first layer peels up or has gaps, re-run auto-level, clean the PEI bed with isopropyl alcohol, and check that the Z offset is within -1.0 to -1.5 mm range. The printer will handle PLA and PETG reliably, but if you want ABS you must buy a separate enclosure (about $50–80) or switch to a printer that includes one. This means your $200 printer becomes a $250 investment for ABS – factor that into your budget.
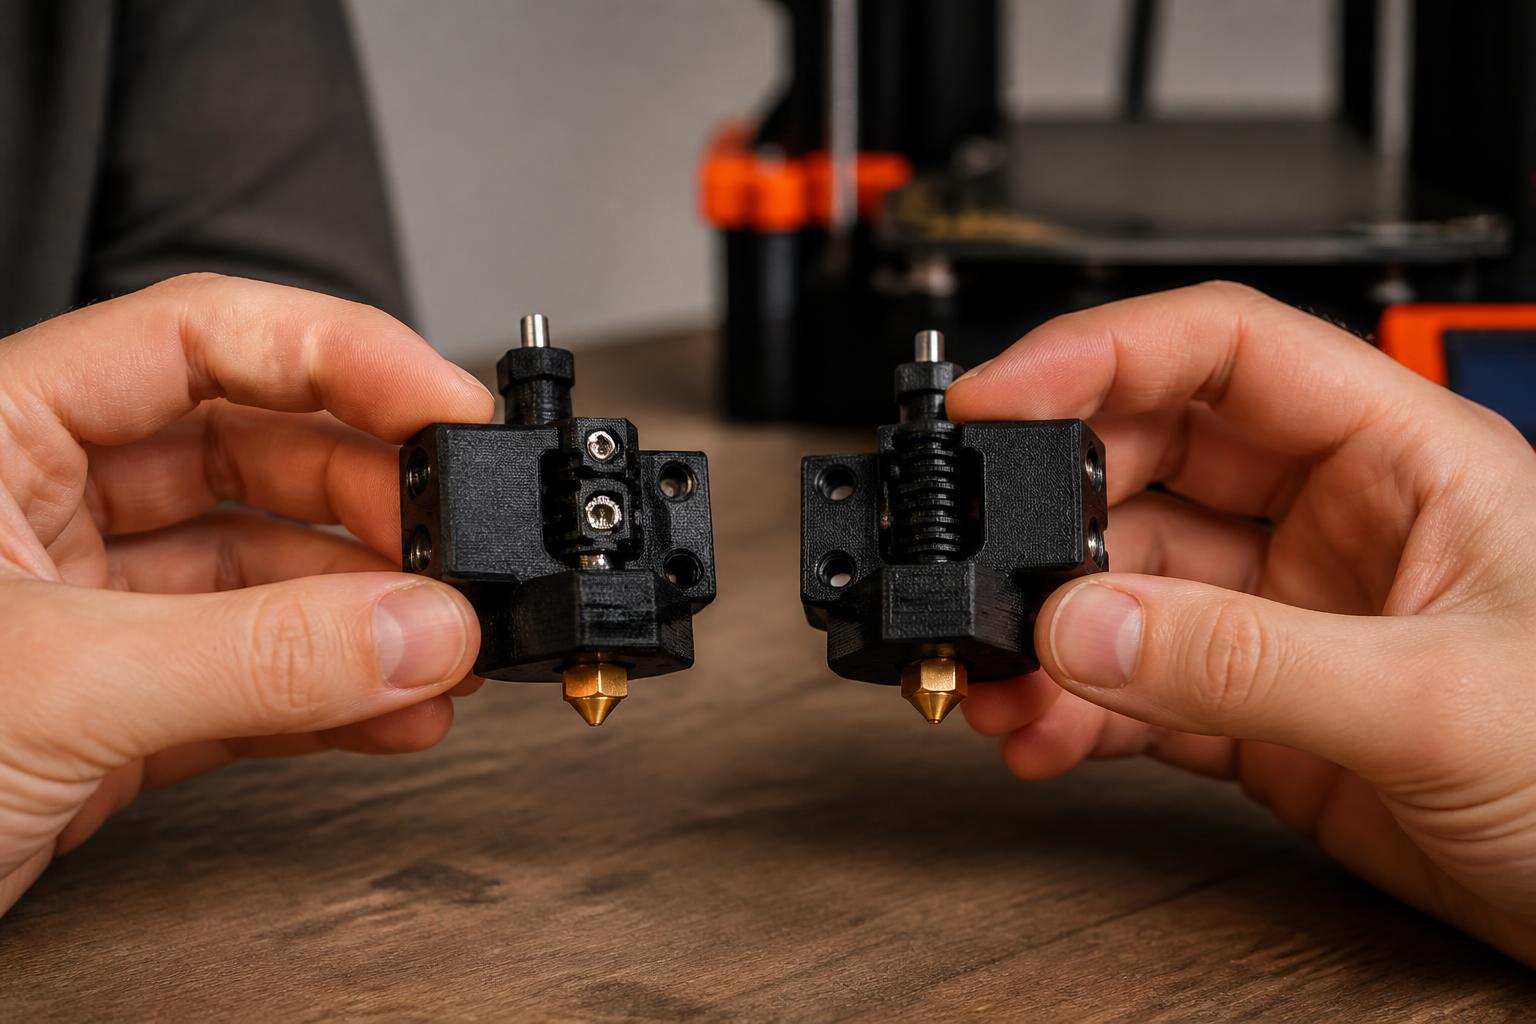
Concrete verification step on your actual machine: After assembly, navigate to the menu → Prepare → Auto Home. The CR Touch probe will deploy and touch the bed at nine points. Watch that the probe tip is fully extended (metal pin sticking out) and that it actually touches the bed surface (you’ll hear a soft tap). If the probe retracts before touching or the pin is slightly stuck, clean the probe with compressed air and re-run. Once auto-level completes, go to Prepare → Z Offset, place a piece of paper under the nozzle, lower the nozzle until the paper has light drag, then save settings. This confirms the auto-level is working and your first layer height is correct.
Comparison framework
| Printer | Price | Build Volume | Auto Leveling | Filament Types | Assembly Time | Print Quality (out of box) | Reliability |
|---|---|---|---|---|---|---|---|
| Creality Ender 3 V3 SE | ~$200 | 220×220×250 mm (8.7×8.7×9.8 in) | Yes (CR Touch) | PLA, PETG, TPU | 30 min | Good | Reliable with basic maintenance |
| Bambu Lab A1 Mini | ~$300 | 180×180×180 mm (7×7×7 in) | Yes (full auto, incl. nozzle cleaning) | PLA, PETG, ABS (enclosed) | 15 min | Excellent | Very reliable (closed ecosystem) |
| Prusa Mini+ | ~$450 | 180×180×180 mm | Yes (induction, requires steel sheet) | PLA, PETG, ABS (enclosure recommended) | 1 hour | Excellent | Industry-standard reliability |
| Anycubic Kobra 2 | ~$220 | 220×220×250 mm | Yes (strain gauge) | PLA, PETG, TPU | 30 min | Good (needs speed tuning) | Good (some sensor glitches reported) |
How to use this table: Build volume determines the largest single piece you can print – a 220 mm cube is about the size of a standard shoe box. Auto leveling saves you from manually adjusting the bed knobs; all four have it, but the Bambu A1 Mini’s system also cleans the nozzle and checks for clogs before each print. Filament types: PLA is the easiest starter material; PETG needs 230–250°C nozzle and a bed at 70–80°C; TPU requires a direct-drive extruder (all four have direct drive). Assembly time includes basic setup; the Prusa Mini+ requires building the gantry and wiring the board – follow the official video guide and budget two hours.
Best-fit picks by use case
Best overall for beginners: Creality Ender 3 V3 SE
The V3 SE addresses the two biggest starter pain points: manual bed leveling and extruder jams. The CR Touch auto-leveling compensates for slightly warped beds, and the direct-drive extruder handles flexible filaments like TPU without tangling. The open-frame design and standard 0.4 mm nozzle make it easy to swap parts or add upgrades later. Print a test model right after assembly – if the first layer sticks evenly, you’re set. For most beginners, this is the correct balance of cost, capability, and learning curve.
Realistic mismatch to watch for: The auto-level probe (CR Touch) can give false readings if the bed is too dirty or warped by more than 0.3 mm across the plate. If you get inconsistent first layers on the left vs. right side, re-level the bed screws manually (the printer has a manual leveling menu despite the auto system) – this is a common hidden step. Also, the stock hotend fan can fail after 50–100 hours; listen for a rattling sound. Keep a spare 40×40×10 mm 24V fan on hand ($5–10). If this bothers you, the Prusa Mini+ has a more robust fan mount.
Who should skip this: If you cannot spend even 30 minutes assembling and leveling, or you need to print ABS or nylon without an enclosure, look at the Bambu A1 Mini or consider a fully assembled printer like the Prusa Mini+ (though the Prusa still requires some assembly).
Best for total automation: Bambu Lab A1 Mini
This printer does everything automatically – bed leveling, nozzle cleaning, filament loading detection, and even calibration of the Z offset using a load cell in the hotend. The enclosed frame keeps drafts away, reducing warping for PLA and making ABS viable (the chamber heats up to about 50°C during a long print). You can send a file from your phone and get a usable part in under an hour. The trade-off is that the Bambu ecosystem locks you into proprietary slicer profiles, spare parts (nozzles are $12–18 each), and filament spools that have RFID tags. Third-party filament works but you must manually enter settings and risk clogging the hotend – that voids warranty on the hotend assembly.
Realistic mismatch: The build volume is only 180×180×180 mm – that’s 40% smaller than the Ender 3’s volume. If you want to print helmet halves or large brackets, this printer simply cannot do it in one piece. Also, the proprietary nozzle assembly is harder to clean than a standard heater block; if you get a clog, you may need to replace the whole hotend kit ($30).
Who should skip this: If you want to experiment with cheap generic filaments, modify hardware (add a second extruder, change the board), or print objects over 180 mm in any dimension, choose a more open system like the Ender 3 V3 SE or Prusa Mini+.
Best for long-term reliability: Prusa Mini+
Prusa has a reputation for supporting their machines for years. The Mini+ uses a steel frame, genuine Bondtech gears, and a simple 8-bit board that is easy to repair. The bundled Slic3r PE profiles are battle-tested. Expect 200+ hours of printing before needing any part replacements. The induction bed leveling is accurate but requires a special steel sheet – stick to that sheet and it works flawlessly. The printer is also easy to service: you can print replacement parts (fan ducts, extruder covers) on the machine itself.
Realistic mismatch: At $450, the Mini+ is nearly double the price of the Ender 3 V3 SE. The assembly takes about an hour and requires attention to detail (tightening the gantry screws evenly, ensuring belt tension). The induction leveling system needs a specific PEI-coated steel sheet – if you lose it or buy a non-steel bed, the leveling fails. Also, the 8-bit board limits advanced features like input shaping or high-speed printing; max reliable print speed is about 80 mm/s.
Who should skip this: Budget-conscious buyers, or anyone who wants a plug-and-play experience without reading the assembly manual. Also skip if you want to print large objects – the 180 mm cube limit applies.
Best budget speed: Anycubic Kobra 2
The Kobra 2 prints at advertised speeds of 150 mm/s, roughly 50% faster than the Ender 3 V3 SE. Out of the box, the auto leveling (strain gauge on the nozzle) works well and the PEI-coated bed gives good adhesion. However, at high speeds you may need to dial back acceleration in the slicer (from 5000 mm/s² to 3000 mm/s²) and reduce retraction (from 5 mm to 3 mm) to avoid stringing. For small parts under 2 hours, it’s a solid machine. For long prints (over 8 hours), the noise and vibration can be noticeable – the frame is less rigid than the Ender 3’s.
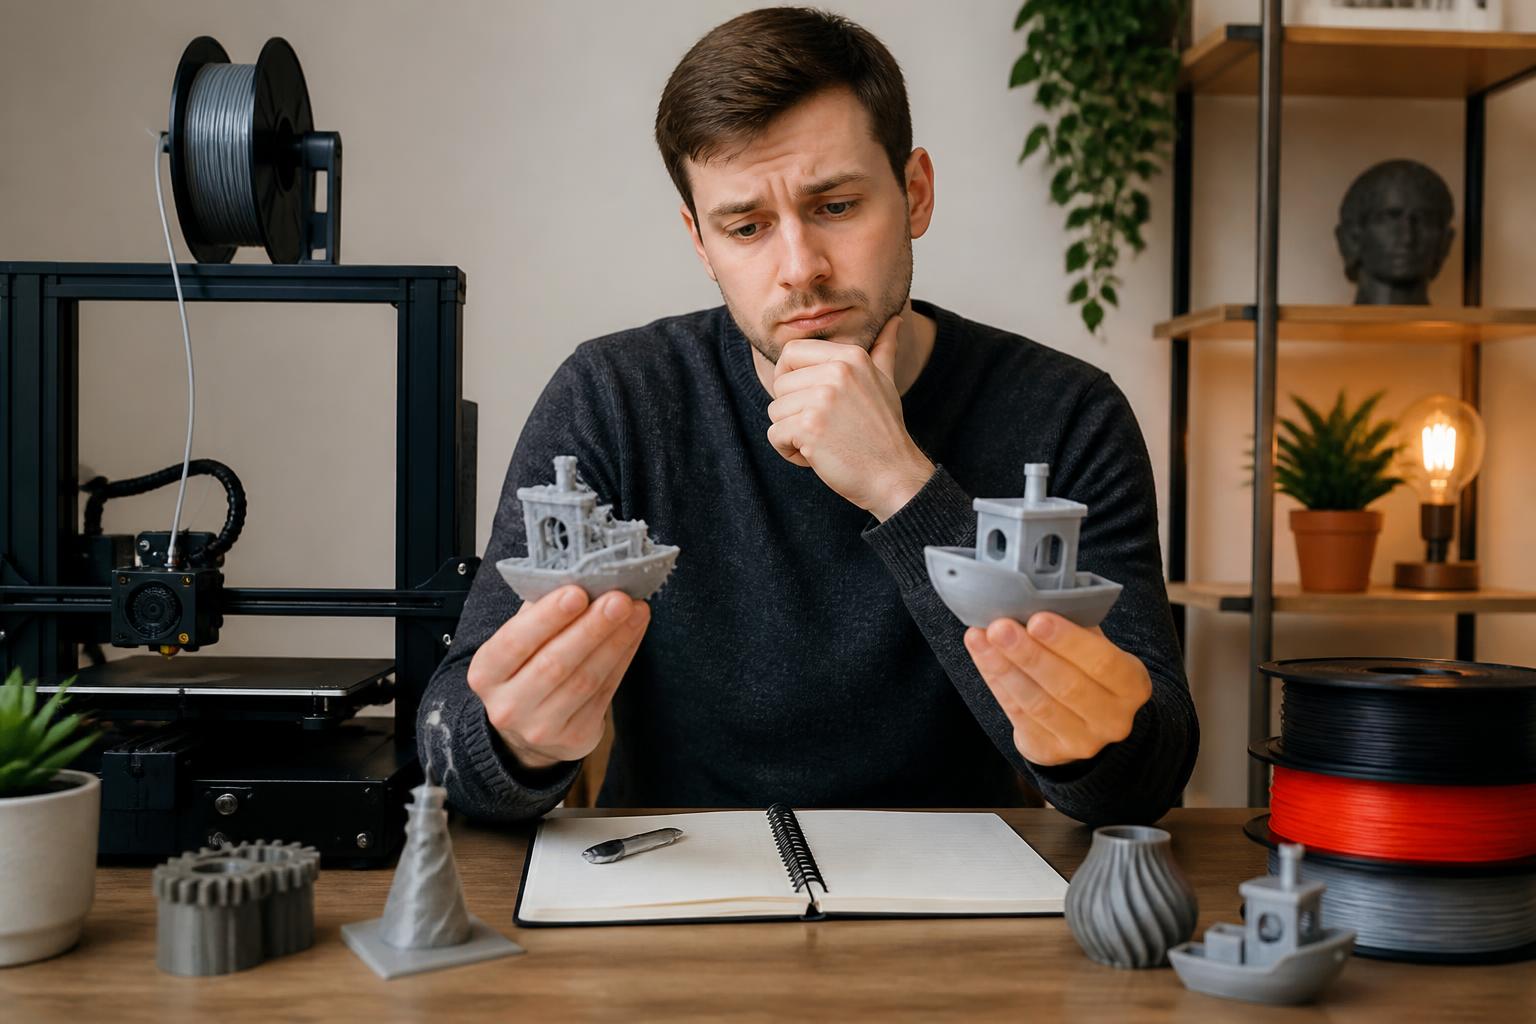
Realistic mismatch: The strain gauge leveling sensor is mounted on the hotend fan shroud – if the shroud cracks (common after 30–50 prints), the sensor misreads and the nozzle crashes into the bed. Check the shroud after every 10 prints; if it flexes, replace it with a printed one from Thingiverse. Also, the advertised 150 mm/s is only achievable with low-infill, simple shapes; for detailed models or overhangs, you’ll be printing at 60–80 mm/s.
Who should skip this: If your priority is consistent quality over speed, or if you plan to print mostly large objects (over 6 hours), the V3 SE’s slower but more forgiving profile is safer. Also skip if you cannot tolerate a noisy printer in your workspace.
Trade-offs to know
Open frame vs enclosed: The Ender 3 V3 SE, Kobra 2, and Prusa Mini+ are open (the Prusa is enclosed with panels, but not sealed). This is fine for PLA and PETG, but ABS and nylon require a heated enclosure to prevent warping and cracking. Adding an enclosure costs $50–100 and may increase chamber temperature by 15–20°C. The Bambu A1 Mini is fully enclosed and can print ABS without add-ons, but the build volume is small.
Proprietary vs open ecosystem: Bambu’s A1 Mini uses closed slicer profiles (Bambu Slicer is a fork of PrusaSlicer but locked to Bambu printers) and filament verification. If you use third-party filament, you lose hotend warranty. Creality, Prusa, and Anycubic printers accept any 1.75 mm filament and work with Cura, PrusaSlicer, or OrcaSlicer. This matters long-term: generic PLA costs $12–15 per kg, while Bambu filament is $20–25 per kg.
Filament drying: PLA can absorb moisture from humid air (relative humidity above 50%). Even a perfect printer will print badly with wet filament – you’ll see popping, zits, and poor layer adhesion. Budget $30 for a filament dryer (eSun eBox or similar) and store spools in ziplock bags with silica gel. This applies to all four printers.
First-layer failure detection: The Bambu A1 Mini pauses and alerts you if the first layer fails (using the load cell and camera). The Creality, Anycubic, and Prusa printers have no real-time detection – you must sit and watch the first three layers. If you value automation, that alone may justify the Bambu’s higher filament costs.
Support and replacement parts: Prusa prints its own replacement parts in-house and ships fast. Creality and Anycubic rely on third-party sellers; lead times vary (2–5 weeks). Bambu has a limited number of authorized resellers. Buy from a retailer with good return policy (Amazon, Matterhackers) rather than direct from the manufacturer for easier returns.
Related questions
Do I need an enclosure for PLA? No. PLA prints well on an open frame. An enclosure can actually cause heat creep if the chamber gets above 45°C, leading to clogs in the hotend heat break. Only use an enclosure for ABS, nylon, or polycarbonate.
What filament should a beginner use first? Start with PLA. Use the brand that came with your printer, or buy a spool of eSun PLA+ or Hatchbox PLA. Set nozzle to 210°C, bed to 60°C. Print a temperature tower (e.g., from 190°C to 230°C in 5°C steps) to find the sweet spot for that specific spool – wet or different colors may vary.
How much does a starter 3D printer cost? Expect $180–500 for a reliable beginner machine. The Creality Ender 3 V3 SE ($200) is the most cost-effective option. Under $150 usually means major compromises in assembly, noise, or print quality (e.g., acrylic frames, no auto leveling, tiny build volumes).
Is it hard to set up? The Ender 3 V3 SE takes about 30 minutes to attach the gantry, plug in cables, and run auto-leveling. The Bambu A1 Mini comes nearly assembled – 15 minutes including software. The Prusa Mini+ requires building the frame and wiring the board – expect 1–2 hours. All three come with step-by-step video guides. The Anycubic Kobra 2 is similar to the Ender 3, about 30 minutes.
Explore This Topic
- Back to Best Printer by Use Case
- Back to sc0012
Related guides in this cluster:
- Best 3d printer for the money: Top Picks & Guide
- Best 3d printer for the price: Top Picks & Guide
- Best 3d printer for prototyping: Top Picks & Guide

Ryan has been operating FDM 3D printers since 2017. He runs a 12-machine print farm. His daily drivers include a Bambu Lab X1 Carbon, Prusa MK4s, and Creality Ender-3 V3s that have logged over 15000 print hours. He started 3D Printer Nerd to provide structured troubleshooting guides with diagnostic order, material-specific parameters, and clear stop points.