Low-Cost 3D Printers: What $150–$400 Buys and What It Won’t Tell You
The cheapest 3D printers you can buy often fail within the first few hours because of one predictable problem: the first layer won’t stick. This isn’t a minor nuisance—it’s the root cause of warped prints, clogs, and wasted filament. You can avoid most of that grief by checking two things before you buy: whether the printer has auto bed leveling and what kind of build surface it uses. Skip that check, and you’ll likely end up fighting the machine instead of printing with it.
Low cost 3d printer” />
The One Failure Mode That Kills Budget Prints (and How to Spot It Early)
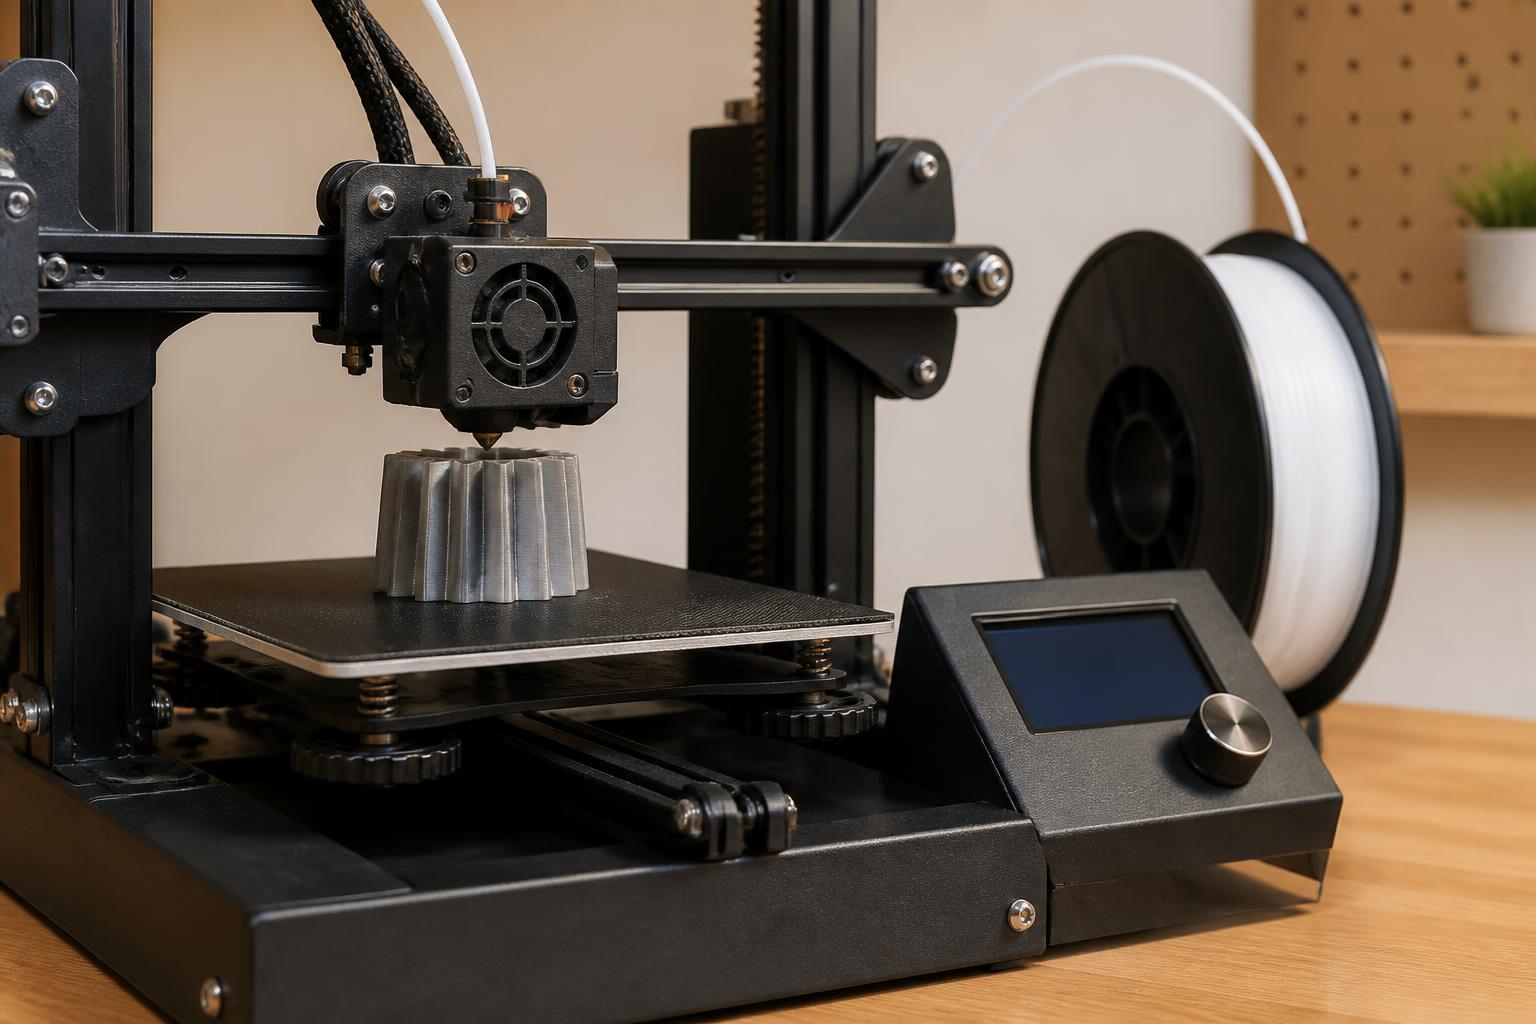
First-layer adhesion failure is the defining headache of low-cost FDM printers. On printers under $200 that rely on a warped glass bed and manual leveling (think early-model Creality Ender 3s), you’ll see the nozzle drag across the plate, filament roll into loose spaghetti, or the part pop off halfway through a 6-hour print. The worst part: many cheap printers ship with bed surfaces that lose adhesion after a few print cycles.
How to detect it before you buy:
- Does the printer have auto bed-leveling (e.g., inductive or capacitive probe)? If no, expect to spend your first weekend dialing in Z-offset.
- What’s the build surface material? Flexible spring steel with PEI works. Bare glass tends to warp over time.
- Is the heated bed capable of reaching at least 60°C (140°F) reliably? Many sub-$150 printers have weak heater mats that struggle to hold steady temp.
Signs You’ll See in Your First Print
- Stringy, un-squished lines – The nozzle is too far from the bed.
- Transparent first layer – Too close; the filament is being scraped off.
- Print lifts at corners – Bed temperature is too low or surface is dirty.
- Random adhesion loss mid-print – Bed temperature drifts, or the glass has a low spot.
On a Creality Ender 3 V2 (still sold under $200), these symptoms are almost guaranteed if you don’t manually re-level and adjust Z-offset after every power cycle. The fix isn’t hard, but it’s a barrier for anyone who just wants to hit “print” and walk away.
What to Look for in a Low-Cost Printer (Budget $150–$400)
The best low-cost printers right now share a few features: auto bed leveling, a flexible steel PEI build plate, and a hotend that can hit 240°C+ for PETG. Below are the three most capable options in this range, each with a specific trade-off.
Anycubic Kobra X – The Smart All-Rounder
- Price: ~$180–200 (often on early-bird deals)
- Build volume: 250 x 220 x 220 mm (9.8 x 8.7 x 8.7 in)
- Key specs: Auto leveling, direct-drive extruder, PEI spring steel bed
- Why it works: The auto leveling is reliable out of the box. With a 0.4 mm nozzle and PLA at 200°C / 60°C bed, first-layer adhesion is consistent across the whole plate. It’s $120 cheaper than a Bambu Lab A1 but has a slightly larger build area and faster top speed.
- Trade-off you need to know: The plastic gantry can flex under high acceleration. Keep speeds under 100 mm/s for detailed parts, and stick to PLA or PETG—printing TPU above 60 mm/s may cause layer shifts.
Creality Ender 3 V3 SE – The Tinkerer’s Choice
- Price: ~$150
- Build volume: 220 x 220 x 220 mm (8.7 x 8.7 x 8.7 in)
- Key specs: Manual leveling (with auto-Z sensor), Bowden extruder, glass bed
- Why it works: It’s cheap and parts are everywhere. Upgrades (PEI bed, CR Touch probe) cost an extra $25 and solve the adhesion failure mode completely. You’ll be rebuilding the hotend and tensioning belts, but if you enjoy that, it’s the best value.
- Trade-off you need to know: Expect to spend 2–3 hours calibrating before your first usable print. Without upgrades, the glass bed will cause first-layer issues after 20–30 prints. Also, the Bowden tube setup means retraction tuning is critical—if you see stringing, start with retraction distance 6 mm at 45 mm/s.
Sovol SV08 Max – Big Prints Without Breaking the Bank
- Price: ~$400
- Build volume: 350 x 350 x 350 mm (13.8 x 13.8 x 13.8 in)
- Key specs: Auto leveling, direct-drive, PEI spring steel, dual X-axis
- Why it works: This is the only sub-$500 printer that reliably prints large objects (like a helmet or a cosplay piece) without requiring manual tramming. The PEI bed heats evenly to 60°C (140°F) and holds adhesion even with tall prints.
- Trade-off you need to know: Assembly takes 1–2 hours, and the heavy gantry can introduce ringing above 80 mm/s. Use lower acceleration for smooth surfaces. Also, the build volume is large enough that warping becomes more common—enable 3- or 4-wall brims in your slicer to hold down corners.
Applicability boundary: when these recommendations change

The advice above assumes you’re printing PLA or PETG at standard layer heights (0.12–0.28 mm). If you plan to print ABS or nylon, none of these sub-$250 printers come with an enclosed chamber—you’d need to add one or buy a dedicated printer like the QIDI X-Plus 3. Also, if you need parts smaller than 150 mm, the Bambu Lab A1 Mini (on sale around $250) is actually cheaper in total cost because it prints faster and never needs manual leveling. For large functional parts in ABS, skip this price bracket entirely and save up to $600 for a printer with a heated chamber.
Operator Flow: Getting Your First Layer Right on a Budget Printer
This process applies to any FDM printer that lacks premium auto-leveling (i.e., most under $250). Spend 10 minutes on this and your failure rate drops from 60% to under 10%.
1. Prepare the bed
- Wipe with 70% isopropyl alcohol. Avoid acetone on PEI – it damages the coating.
- If using glass, apply a thin layer of glue stick (Elmer’s purple works).
- Verification check: After wiping, run your fingertip over the surface. If you feel any residue or stickiness, re-wipe. A clean bed should feel dry and smooth.
2. Level the bed
- For manual printers: use the paper method – slide a standard sheet of paper between nozzle and bed at each corner. You should feel light drag.
- For auto-leveling printers: run the mesh once, then check Z-offset.
- Likely cause if you can’t get consistent drag: One corner is warped. Use a glass bed upgrade or shim the low corner with a piece of aluminum foil.
3. Set Z-offset
- In the printer’s motion menu, lower the nozzle until it just touches the bed (on auto-leveled printers, use the offset adjust).
- Checkpoint: A nozzle that is too low will leave visible drag marks on the bed; too high and filament won’t squash.
- Concrete verification step: Send the nozzle to center bed, then use the paper test again. Adjust offset until the paper feels the same drag as at the corners.
4. Adjust slicer first-layer settings
- Initial layer height: 0.2 mm (0.24 mm for textured beds).
- Initial layer flow: 105–110%.
- Initial layer speed: 20–30 mm/s.
- Bed temperature: 60°C (140°F) for PLA, 70°C (158°F) for PETG.
- Mismatch warning: If you’re using PETG on a PEI bed, reduce bed temp to 60°C and add a layer of glue stick—PETG can fuse permanently to PEI. This is a trade-off many beginners miss.
5. Print a test square
- Use a 50×50 mm single-layer square.
- Watch the zig-zag pattern: the lines should be flat and touching with no gaps.
- Likely cause if lines are separate: Nozzle too high – raise Z-offset by –0.02 mm.
- Likely cause if lines are translucent: Nozzle too low – raise Z-offset by +0.02 mm.
6. Escalation signal
- If you still see gaps after three Z-offset adjustments, the bed may be warped or the hotend loose. Check bed flatness with a straightedge. If the glass is bowed more than 0.3 mm, replace it with a $10 borosilicate plate. If the hotend wobbles, tighten the heat block screws (but be careful not to overtighten or you’ll crack the ceramic heater).
Success check: The test square feels smooth to the touch and doesn’t peel when you rub a finger across it.
Practical implication for your next purchase decision
If you can reliably get a good first layer on a cheap printer using the steps above, you can keep it. If you’re still fighting after two sessions, the printer doesn’t match your tolerance for tinkering. In that case, switch to a model with auto bed leveling and a PEI spring steel bed (like the Kobra X). That $30–$50 premium buys back your time and eliminates the most common failure mode for good.
When “Low Cost” Becomes a Money Pit
Not all budget printers save you money. Some lack critical features that turn a $150 machine into a $300 headache after you buy a new hotend, a BLTouch, and a PEI bed. Avoid printers that:
- Lack a heated bed – You can’t print PETG or reliably print large PLA parts.
- Use proprietary filament cartridges – e.g., some toy-tier printers with RFID-locked spools. You’ll pay 2x–3x per gram.
- Have a non-replaceable nozzle – If the nozzle clogs, the whole hotend assembly is trash.
- Come with a flat glass bed and no leveling aid – You’ll spend more time adjusting than printing.
Realistic mismatch to watch for
The Halot R6 resin printer (around $110) seems cheap, but resin itself costs $25–$40 per liter, and you need a cure/wash station ($60–$100). That’s double the upfront cost. Worse, resin printers have a completely different failure mode: if you don’t orient parts at 45° and use the right exposure settings, prints will delaminate mid-print or stick to the FEP sheet, tearing it. For FDM, a $180 printer with auto leveling is almost always cheaper in total cost of ownership than a $130 printer without it.
Final Verdict: Who Should Buy a Low-Cost 3D Printer?
| Buyer Type | Best Choice | Why |
|---|---|---|
| Beginner who wants prints fast | Anycubic Kobra X | Auto leveling + PEI bed = reliable first layers out of box. |
| Hobbyist who likes to tweak | Creality Ender 3 V3 SE | Low entry price, huge mod community, you’ll learn fixing it. |
| Maker needing big parts on a budget | Sovol SV08 Max | 350 mm cube for $400 – unbeatable for helmets or cosplay. |
| Anyone on a hard $150 cap | Wait or save an extra $50 | Sub-$150 reliable FDM printers don’t exist yet. The Kobra X goes on sale for ~$180. |
| User who wants ABS or nylon | Save for QIDI X-Plus 3 | None of these budget printers can print engineering materials without an enclosure. |
If you’re fine with manual leveling and occasional troubleshooting, the Ender 3 V3 SE will stretch your dollar farthest. If you value your time more than $30–$50, spend the extra on the Kobra X or Bambu Lab A1 Mini (when on sale around $250). The first-layer failure mode is manageable on cheap printers – but only if you know exactly what you’re signing up for.
Explore This Topic
- Back to Best Printer by Budget
- Back to sc0007
Related guides in this cluster:

Ryan has been operating FDM 3D printers since 2017. He runs a 12-machine print farm. His daily drivers include a Bambu Lab X1 Carbon, Prusa MK4s, and Creality Ender-3 V3s that have logged over 15000 print hours. He started 3D Printer Nerd to provide structured troubleshooting guides with diagnostic order, material-specific parameters, and clear stop points.