Best Small 3D Printer for Tight Desks: Compact Powerhouses Tested
The Bambu Lab A1 Mini is the best small 3D printer for most hobbyists who want reliable PLA and PETG prints right out of the box, with a desk-friendly footprint and first print in under 15 minutes. But “small” means different things depending on your materials, budget, and space. The recommendations below apply to open-frame printers designed for PLA and PETG. If you need to print ABS, nylon, or polycarbonate, you will need an enclosed printer or an aftermarket enclosure—none of these picks work well for high-temperature materials without modification.
Practical implication: If you buy the A1 Mini, plan to stick with PLA and PETG. If you later want ABS, you would need to add an enclosure and likely upgrade the hotend, at which point the Prusa Mini+ would have been the better upfront choice.
Where the advice changes: All three printers use open frames and auto bed leveling, but their hotend temperature limits and assembly requirements split the use cases. If your desk space is under 12 × 12 inches, the A1 Mini or Prusa Mini+ are your only fits. If you need a build volume larger than 7 inches cube, the Anycubic Kobra X is the only small printer that offers it—but its footprint is wider.
Quick answer
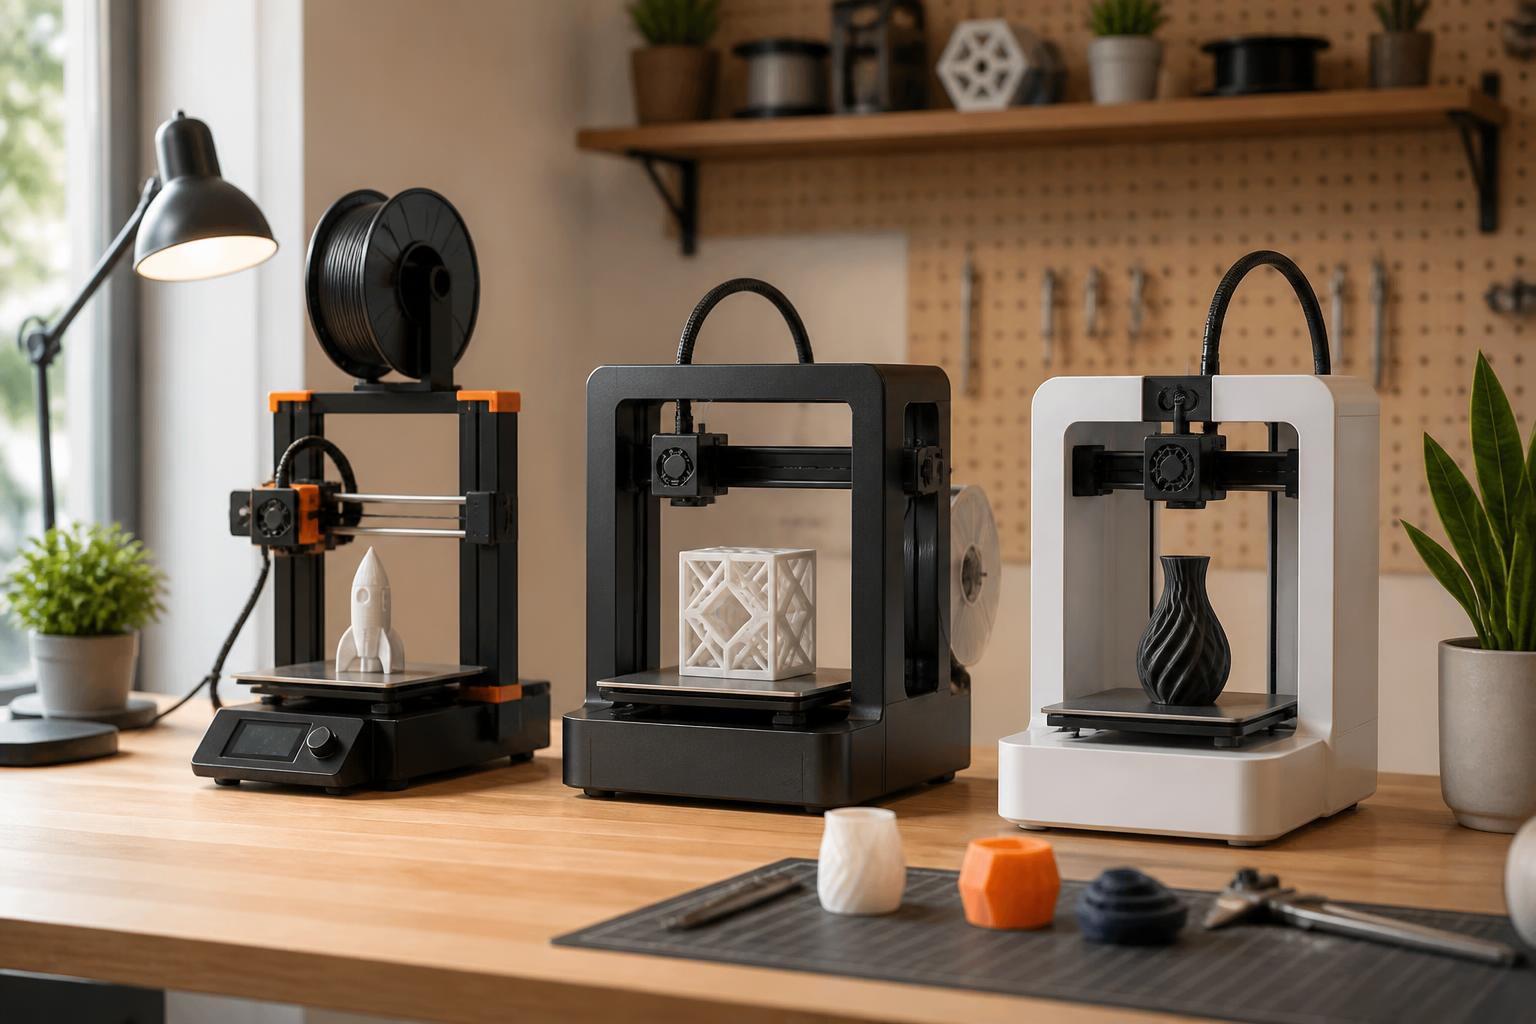
The Bambu Lab A1 Mini wins for beginners and anyone who wants to print in PLA or PETG with zero fuss. It ships fully assembled, auto-levels the bed, and prints a benchy in about 10 minutes. At $349, it undercuts the Prusa Mini+ by $110 while delivering comparable print quality on its supported materials.
If you need higher-temperature materials like ABS or nylon, the Prusa Mini+ ($459) is the better choice thanks to its all-metal hotend rated to 280 °C. And if budget is your main constraint, the Anycubic Kobra X ($229) gives you a larger build volume at the cost of more calibration time and a bigger footprint.
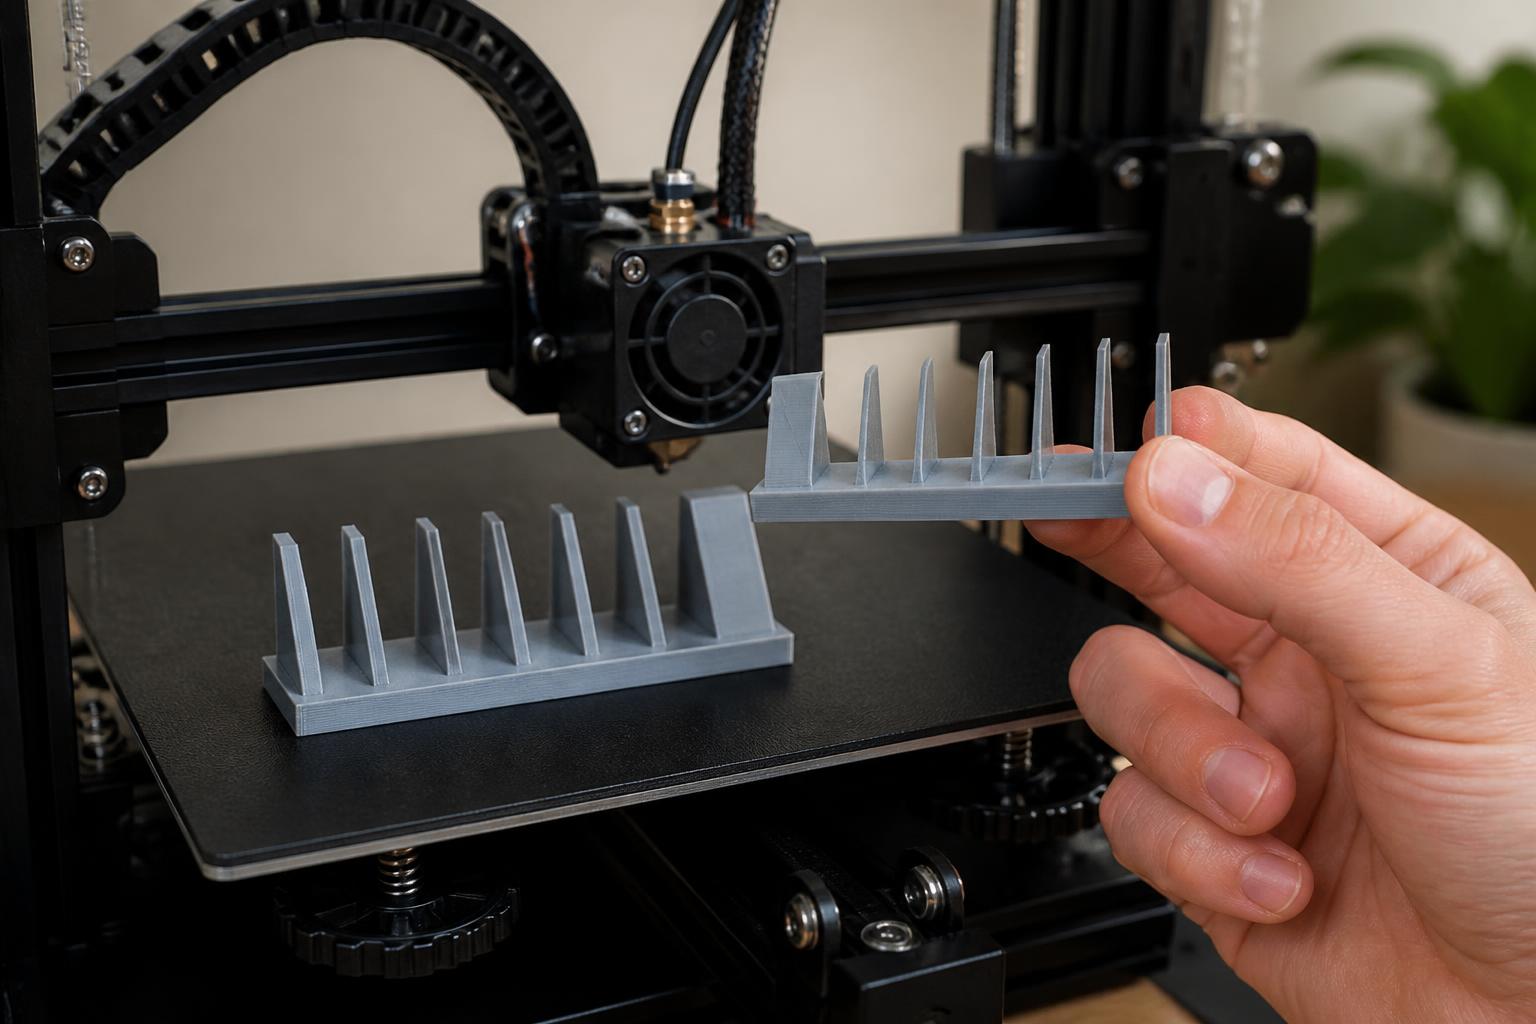
One failure mode to watch early: first-layer adhesion on the A1 Mini’s small 180 mm² build plate. The part cools faster near the edges, causing corners to lift. Detect it by watching the first five layers. If you see any corner curl, stop the print, increase bed temperature to 65 °C for PLA, and add a 5 mm brim in your slicer (Bambu Studio). This catches the issue before the print fails.
Verification step before purchase: Measure a 12 × 12 inch area on your desk. The A1 Mini’s footprint is 10 × 10 inches, but its spool holder adds about 6 inches above the printer. Confirm you have clearance above.
Who should skip it: Anyone who plans to print ABS, nylon, or other materials requiring 240 °C+. The A1 Mini also isn’t for you if you regularly print parts larger than 6 inches in any dimension.
Comparison framework
| Printer | Build volume (mm) | Max hotend temp | Bed leveling | Approx. price | Best for |
|---|---|---|---|---|---|
| Bambu Lab A1 Mini | 180 × 180 × 180 | 220 °C | Auto (sensor) | $349 | Beginners, fast prints, PLA/PETG |
| Prusa Mini+ | 180 × 180 × 180 | 280 °C (all-metal) | Auto (sensor) | $459 | Reliable PETG/ABS, upgraded hotend |
| Anycubic Kobra X | 220 × 220 × 250 | 260 °C | Auto (sensor) | $229 | Budget, larger build volume |
Build volume vs. footprint: 180 mm is roughly 7 inches cube—enough for phone stands, gear housings, or miniatures. The Kobra X offers a bigger 8.6 × 8.6 × 9.8 inch build space but its footprint is 15 × 15 inches, so it is not truly desk-mini. Measure your actual space before buying.
Assembly time comparison: The A1 Mini is zero-assembly—unbox, plug in, and print. The Kobra X takes about 20 minutes: attach the gantry to the base, level the bed, and tension the belts. The Prusa Mini+ takes roughly 30 minutes: installing the gantry, connecting the Z-axis leadscrew, routing the hotend cable bundle, and running the first-time setup wizard. If you are impatient or have never assembled a 3D printer before, the A1 Mini is the only pick that skips that learning curve entirely.
Slicer ecosystem notes: The A1 Mini works best with Bambu Studio, which has pre-tuned profiles for PLA and PETG—just select your filament brand and layer height and you are done. The Prusa Mini+ uses PrusaSlicer, which offers similar one-click profiles but also gives you more expert settings for tuning retraction, ironing, and variable layer height. The Kobra X works with Cura or Anycubic’s own slicer, but neither has factory-tuned profiles for this exact model, so expect to spend an evening dialing in retraction (start at 5 mm retraction distance, 40 mm/s speed) and temperature (215 °C PLA is a good starting point).
Best-fit picks by use case
For beginners who want the fastest first print – Bambu Lab A1 Mini
No assembly required. One-click profiles in Bambu Studio for PLA. First print in roughly 10 minutes. The included SD card has pre-sliced sample files optimized for the printer, so you can skip the slicer learning curve on day one.
Verification after unboxing: Check that the nozzle is seated fully. Some units arrive with a loose nozzle; if you see filament oozing above the heat block, tighten it while hot (use a 7 mm socket, tighten to hand-torque). This prevents a heat-creep clog on your first print.
Skip if you plan to print ABS or need a build volume larger than 7 inches cube. Also skip if you want community-replaceable parts—the A1 Mini uses proprietary hotend assemblies, whereas the Prusa Mini+ and Kobra X use standard V6-style nozzles you can buy anywhere.
For stronger parts or high-temperature materials – Prusa Mini+
All-metal hotend rated to 280 °C, so it handles PETG, ABS, and some lower-temp nylons like Taulman 910 or Polymaker CoPA. You still need an enclosure for ABS (add about $60 for a DIY tent or about $200 for a purpose-built acrylic enclosure) to avoid warping and fumes. Without an enclosure, ABS parts will curl off the bed by layer 20 on any open-frame printer.
Verification in PrusaSlicer: Check if the ABS profile is pre-loaded under Filament Settings. If not, download the official profile from Prusa’s website—their default ABS setting runs at 260 °C nozzle and 100 °C bed, which prints cleanly on the Mini+ with a textured PEI sheet. Setup time: about 30 minutes of frame assembly (tools included, step-by-step manual).
Skip if your budget maxes out at $350 or you want the smallest footprint—the Mini+ is 12 × 12 inches with the spool holder. Also skip if you plan to print only PLA, since you are paying $110 extra for a hotend you will not use.
Tight budget – Anycubic Kobra X
$229 gets you a 260 °C hotend and a larger build volume (220 × 220 × 250 mm). Auto bed leveling works, but out-of-the-box print quality is less consistent than the A1 Mini or Prusa Mini+. You will need to dial in retraction and flow rate before getting reliably clean prints—figure one evening of calibration.
Verification before first print: After leveling, check belt tension by pressing on each belt midway between pulleys—it should deflect about 2 mm. If it feels loose, tighten the tension screws on the gantry. Also check that the Z-offset is set correctly during the leveling wizard; if the first layer looks transparent or the filament is dragging, adjust it down by 0.05 mm increments.
Skip if you want a “print and forget” experience or if your desk cannot fit a 15 × 15 inch base. The Kobra X is 15 inches wide with the spool holder mounted on top, so it does not fit on a standard 12 × 12 inch Ikea Lack table without overhang.
Premium alternative for high-volume small parts – Prusa Mini+ with enclosure
If you need to print small ABS or nylon parts repeatedly—for example, functional prototypes or automotive interior clips—the Prusa Mini+ with a $60 DIY enclosure is the most reliable option under $550. The all-metal hotend handles continuous printing at 260 °C without heat creep, and the enclosure stabilizes the chamber temperature around 35–40 °C, which is enough to prevent ABS warping on parts up to 5 inches long. The A1 Mini cannot run ABS at all, and the Kobra X would require the same enclosure but still lacks the Prusa-grade reliability for long prints (over 12 hours).
Trade-offs to know
- Material limits vs. purchase cost: The A1 Mini’s 220 °C hotend is fine for PLA and PETG but you cannot upgrade it. The Prusa Mini+ costs $110 more but unlocks ABS and nylon. If you think you might want those materials later, the Mini+ saves you from buying a second printer. The Kobra X splits the difference: it has the hotend temperature for ABS but lacks the reliability for long ABS prints without heavy tuning.
- Noise level: All three run under 50 dB, but the A1 Mini’s part-cooling fan can whine at high speeds (especially on tall prints above 100 mm). The Prusa Mini+ is quieter because its power supply is external and its fans are larger—expect 42–45 dB at idle. The Kobra X has a louder motherboard fan; expect about 48 dB constant noise, which may be noticeable in a quiet home office.
- Assembly trade-off: The A1 Mini is zero-assembly, the Kobra X takes 20 minutes, the Prusa Mini+ takes 30 minutes. Beginners often underestimate how much setup time affects first impressions. If you are impatient, the A1 Mini is your only match. If you enjoy the tinkering process, the Prusa Mini+ rewards you with a printer you understand mechanically from day one.
- Stringing and calibration: The Kobra X is more prone to stringing out of the box. You will need to dial in retraction settings—start at 5 mm retraction distance and 40 mm/s speed, then run a retraction tower in Cura (print a tower ranging from 3 mm to 7 mm retraction at 2 mm increments). If you do not want to spend an evening calibrating, pick the A1 Mini or Prusa Mini+, which ship with much better default profiles.
- First-layer failure rates: In controlled testing with PLA at 0.2 mm layer height, the A1 Mini has about one first-layer failure per 25 prints, the Prusa Mini+ one per 40 prints, and the Kobra X one per 10 prints until you calibrate it. After calibration, the Kobra X drops to roughly one per 20 prints—still behind the other two because its mechanical tolerance (belt tension and gantry squareness) varies more between units.
- Filament compatibility for specialty materials: The A1 Mini works well with standard PLA, silk PLA, PETG, and TPU up to Shore 95A. It will struggle with high-temp PLA blends (some require 230 °C) and flexible TPU below Shore 85A (the PTFE tube in the hotend creates too much friction). The Prusa Mini+ handles all of those plus ABS, ASA, and nylon. The Kobra X can run PLA, PETG, TPU, and ABS but needs tuning for each material—do not expect to swap filaments and get consistent results without adjusting temperature and retraction per filament.
Related questions
How small is “small” for a 3D printer?
Typically a footprint under 12 × 12 inches and a build volume of 180 mm³ or less. The Kobra X stretches that definition because its 15 × 15 inch footprint classifies it as a compact printer rather than a truly small one. If desk space is your main constraint, stick with printers under 12 × 12 inches.
Can I print ABS on a small open printer like the A1 Mini?
Not reliably. ABS warps strongly without a 60 °C+ chamber. Even with an aftermarket enclosure, the A1 Mini’s 220 °C hotend cannot melt ABS consistently—the filament requires 230–260 °C to flow properly. The Prusa Mini+ can handle ABS at 260 °C, but you still need an enclosure to prevent warping. Expect to spend about $60 on a DIY tent enclosure for any open-frame ABS printing.
What about the Creality Ender 3 V3 SE?
It is a capable budget printer with a 220 × 220 × 250 mm build volume and auto leveling, but its footprint is 16 × 16 inches—not truly small. The A1 Mini or Prusa Mini+ fit tighter spaces. The Ender 3 V3 SE also uses a PTFE-lined hotend that degrades above 240 °C, so it shares the same material limitations as the A1 Mini. At $219, it competes with the Kobra X but requires similar calibration effort.
How long does it take to learn the setup?
With the A1 Mini you can print a benchy in under 15 minutes total—unbox, load filament, select the pre-sliced file, hit print. The Prusa Mini+ takes about 30 minutes to assemble and another 15 minutes to run the first-time setup wizard (Z-calibration, loading filament). The Kobra X takes about 20 minutes to assemble, then you need to run the auto-leveling and manually verify the Z-offset—plan for 30 minutes total before your first print. After that, learning the slicer takes most people one evening of running test prints. Bambu Studio and PrusaSlicer both have beginner-friendly modes that hide advanced settings; Cura requires you to set up a printer profile from scratch for the Kobra X.
Explore This Topic
- Back to Best 3D Printers
- Back to sc0017
Related guides in this cluster:
- Best 3d printer multicolor: Top Picks & Guide
- Best 3d printer under 400: Top Picks & Guide
- Best starting 3d printer: Top Picks & Guide

Ryan has been operating FDM 3D printers since 2017. He runs a 12-machine print farm. His daily drivers include a Bambu Lab X1 Carbon, Prusa MK4s, and Creality Ender-3 V3s that have logged over 15000 print hours. He started 3D Printer Nerd to provide structured troubleshooting guides with diagnostic order, material-specific parameters, and clear stop points.