Best First Prints for Your New 3D Printer: Start With These
Best 3d printer” /> prints: Top Picks & Guide
Quick answer
If you just unboxed a new printer, start with the preloaded test model that came on the SD card. Those files are hand‑tuned for your specific machine – extruder temperatures, retraction, bed leveling, and acceleration curves are all dialed in by the manufacturer. They give you the cleanest first print and immediately tell you if something is off (e.g., poor adhesion, z‑banding, or stringing). For your second print, move to a calibration cube or a 3D Benchy – both are small, fast, and reveal common issues like ghosting, overhangs, and bridging. After that, choose based on what you actually need: functional parts, display models, or stress‑test prints.
What this means for your next move: If the preloaded model comes out clean with no layer shifts, blobs, or warping, your printer is ready for community files. If it fails – for example, the first layer doesn’t stick or the print pops off mid‑air – stop, level the bed and re‑check Z‑offset before attempting anything else. The preloaded test is your most reliable diagnostic.
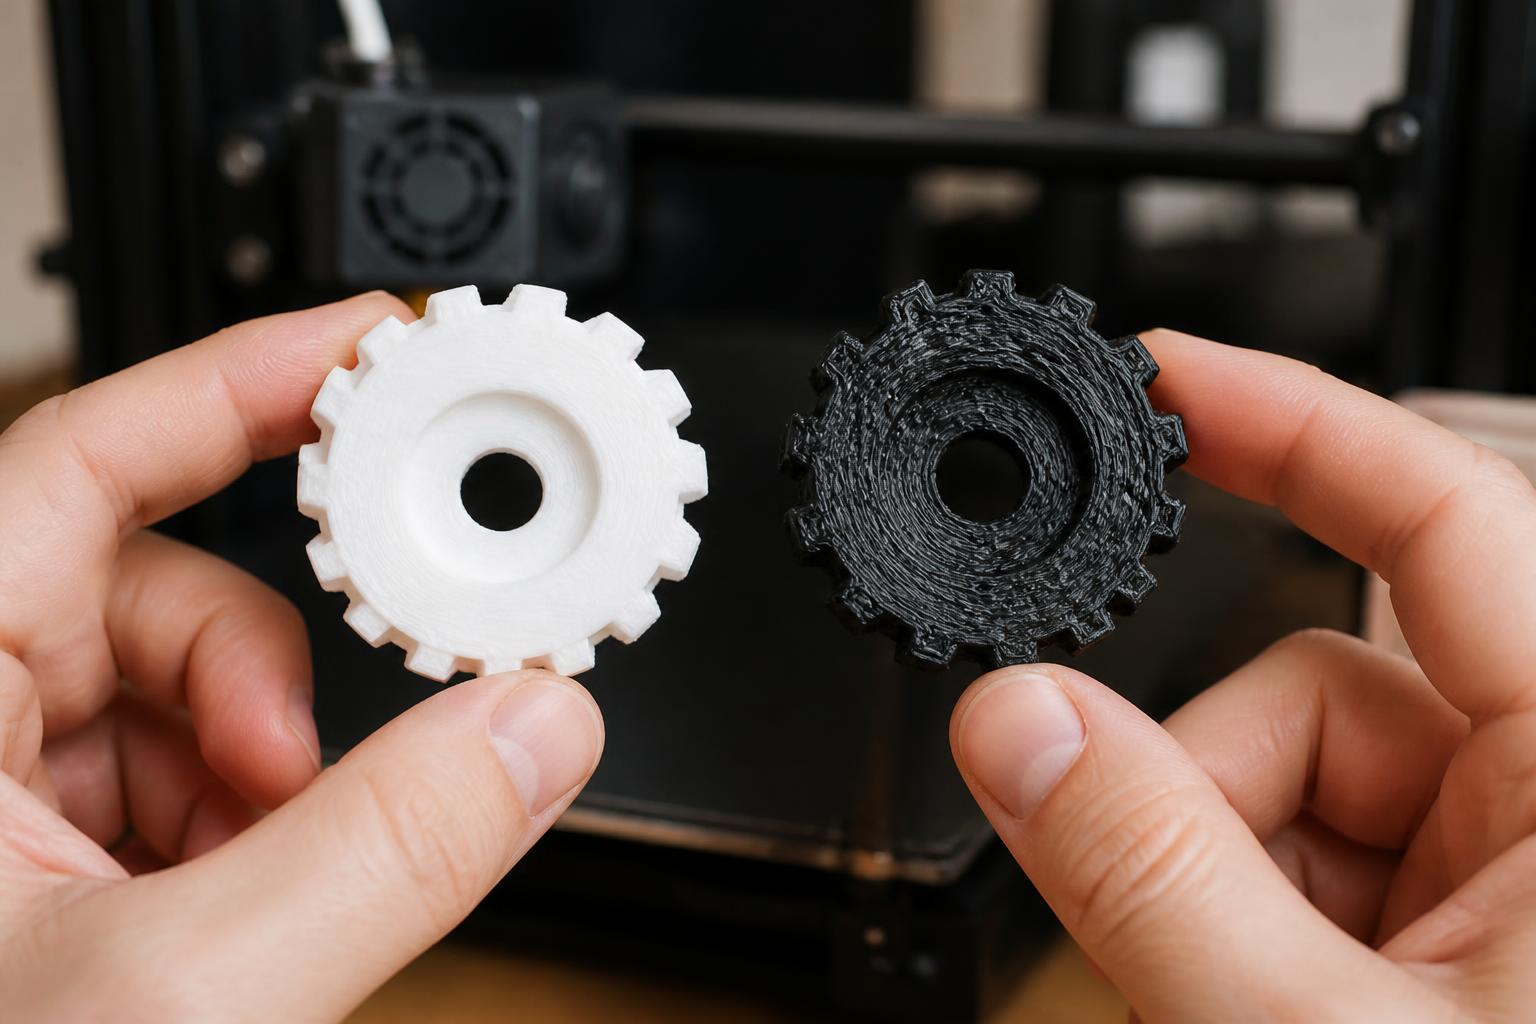
Applicability boundary: This sequence works for most consumer FDM printers (creality, Prusa, Bambu Lab, Anycubic) out of the box. If you’re using a resin (SLA) printer, skip the PLA temperature ranges and instead start with the manufacturer’s test rook or calibration model at the recommended layer height (0.05 mm) and exposure times. For large‑format printers (e.g., BigRep ONE.5 with a one‑cubic‑meter build volume), the same logic applies but your test models may need scaling and longer print times.
Comparison framework
| Print category | Typical print time (0.4 mm nozzle, 0.2 mm layer) | Recommended material & nozzle temp | Difficulty | Primary purpose |
|---|---|---|---|---|
| Preloaded test model | 15–60 min | PLA 200–210°C | Beginner | Verify printer setup |
| Calibration cube (20 mm) | 30–50 min | PLA 200°C | Beginner | Check dimensional accuracy, first‑layer squish |
| 3D Benchy | 90–180 min | PLA or PETG | Beginner–Intermediate | Comprehensive overhang, bridge, and hull test |
| Functional part (bracket/hook) | 1–4 hrs | PETG 245°C or PLA+ 215°C | Intermediate | Everyday utility with mechanical strength |
| Articulated dragon | 4–10 hrs | PLA 200–210°C | Intermediate | Visual display, print‑in‑place joints |
| Lithophane | 6–12 hrs | White PLA 200°C, 0.1 mm layer | Intermediate | Backlit image, high detail |
| Overhang/bridging test | 20–40 min | PLA 200°C | Beginner | Tune cooling and speed |
Best‑fit picks by use case
Calibration & tuning
- XYZ calibration cube – Measure each side with calipers; anything beyond ±0.2 mm means loose belts, extrusion multiplier mismatch, or Z‑steps misconfiguration. Use 0.2 mm layer height, 15% infill, 50 mm/s.
- 3D Benchy – Print at 0.2 mm layer, 50 mm/s. Check for stringing between chimney and mast and blobs on the bow (reduce retraction distance by 0.5 mm if needed). The hull reveals ringing/ghosting – if present, lower acceleration and jerk in the slicer.
Verification step: After the cube, run a single‑wall extrusion test: print a 10 mm cube with 1 perimeter, 0% infill, and measure the wall thickness with calipers. It should match exactly 2× your nozzle diameter (e.g., 0.8 mm for a 0.4 mm nozzle). If it’s off by more than 0.05 mm, adjust flow rate in the slicer before moving to functional prints.
Functional parts
- Custom tool holder – Design in Tinkercad or Fusion 360. Use PETG (245°C nozzle, 80°C bed) if near a heat source; expect some warping without an enclosure. 3 perimeters, 40% rectangular infill. For an open‑frame printer, stick to PLA+ (215°C, 60°C bed) and avoid prolonged exposure above 55°C.
- Replacement bracket – Measure the original, model it, print in PLA+. Sand lightly if fit is tight. Keep layer height at 0.2 mm; a 0.6 mm nozzle speeds it up but reduces detail on small features.
Mismatch to watch: PETG oozes more than PLA. Using a retraction distance under 4 mm (on a Bowden extruder) will cause stringing and blobs on functional parts. Increase retraction to 6–8 mm and prime extra filament by 0.3 mm after retract. If you ignore this, your bracket’s mounting holes may fill with strings that are hard to clean.
Aesthetic / display
- Articulated dragon – Stick with PLA at 0.15 mm layer for smooth joints. Typical failure: joints fuse if the first layer is too squished. Lower your Z‑offset by 0.02 mm from your usual PLA setting. If the tail snaps during removal, reduce infill to 5% and use 2 perimeters only.
- Low‑poly Pokémon – No supports needed. Use silk PLA (200°C) for gloss. Enable ironing (slicer setting) to hide top‑layer lines; set ironing flow to 10% and speed 30 mm/s.
- Lithophane – White PLA only, 0.1 mm layer, 100% infill, 40 mm/s to avoid overheating. A 10×15 cm panel takes 10–14 hours. Use tree supports only if your design has deep negative features.
Stress‑test prints
- Overhang test – Angles from 30° to 80°. Target: clean 60° overhangs. If blobs appear at 50°, increase part cooling fan to 100% and slow print speed to 30 mm/s for those layers.
- Bridging test – Gaps of 10–50 mm. Good bridges sag less than 1 mm. If sagging badly, drop nozzle temperature by 5°C and increase print speed over gaps to 80 mm/s. Also ensure your fan duct points directly at the bridge – many stock fans miss the area.
Trade‑offs to know
Preloaded models vs. community files
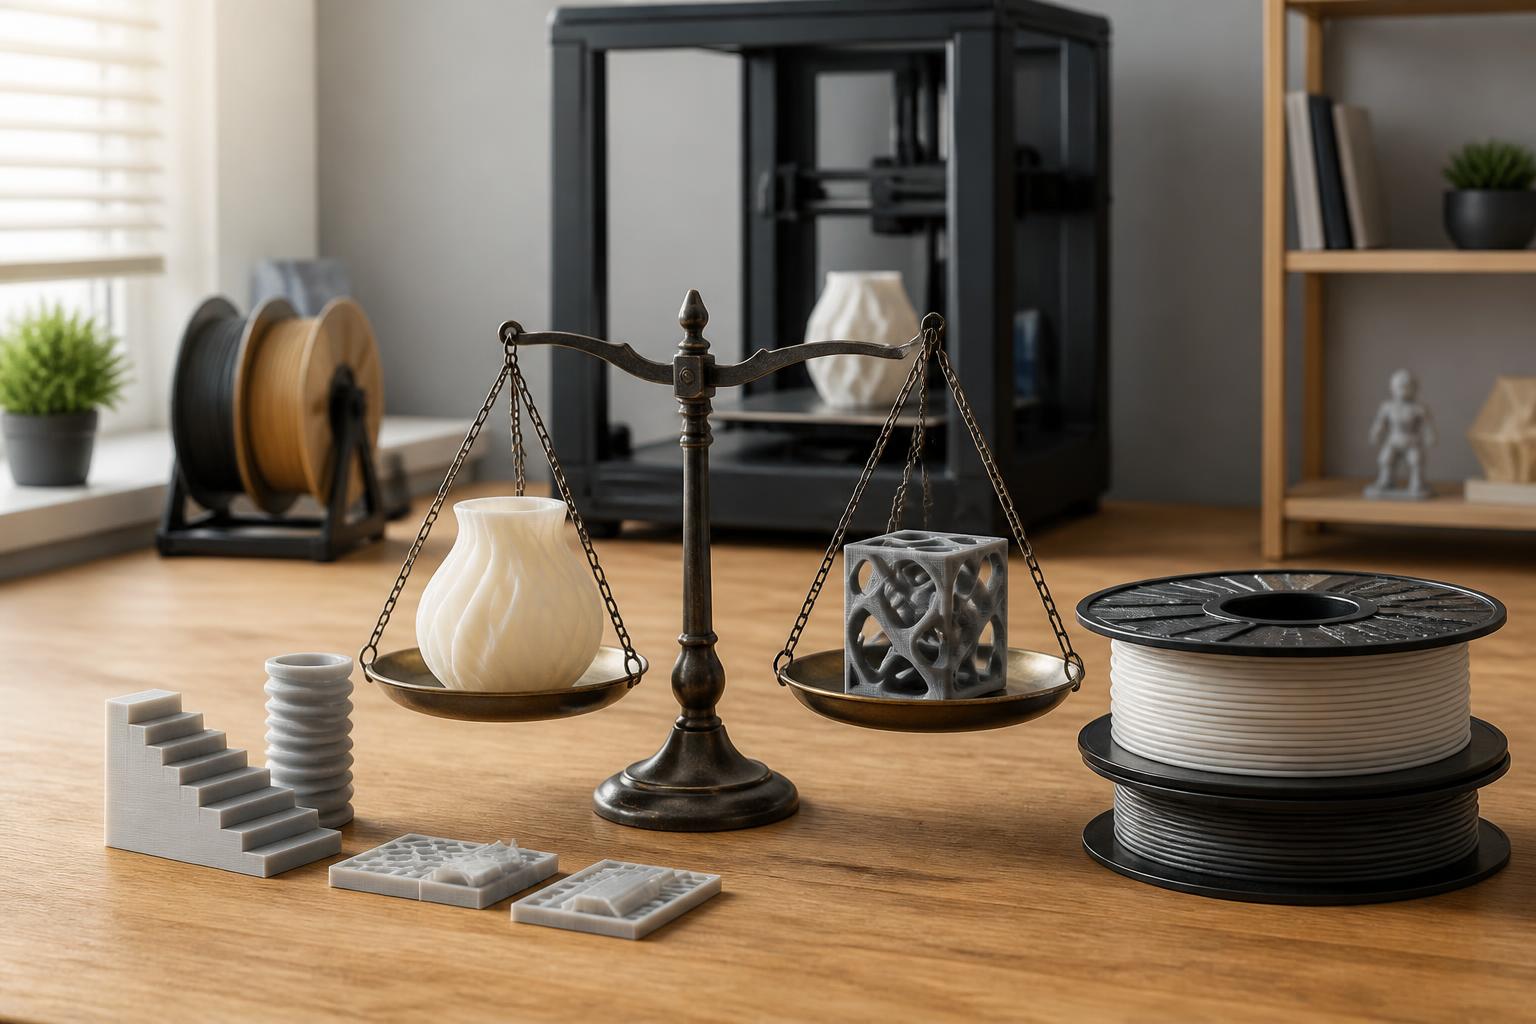
The preloaded files are the most reliable prints you’ll get, but they aren’t always what you want. Many beginners skip them and jump to a complex multicolor print from Thingiverse, only to end up with a spaghetti mess. Counter‑intuitive truth: the best 3D printer prints are often the simplest ones – the test cube and the Benchy – because they are stress‑tested by thousands of users and designed to expose issues. A complex dragon printed with a warped first layer will fail, and you won’t know if the problem is the model or your printer.
Print time vs. quality
Lowering layer height to 0.1 mm makes details pop but doubles print time. For decorative prints, it’s worth it. For functional parts, 0.2 mm is plenty and saves hours. Also, smaller nozzles (0.2 mm) produce finer detail but clog more easily – stick with the standard 0.4 mm unless you’re doing miniatures.
Material choice
PLA (200–210°C, 60°C bed) is easy, odorless, and warps little – ideal for tests and display items. PETG (245°C, 80°C bed) is tougher and more heat‑resistant (up to 75°C vs. 55°C for PLA), but it oozes more and needs higher retraction (6–8 mm). Avoid ABS on an open‑frame printer without an enclosure; it warps badly and releases fumes. For functional parts that see stress, PETG is the safer bet – but only if your printer can maintain 80°C bed temperature without the build plate cooling off during long prints (common on budget models).
Support removal
Models with steep overhangs or “floating” parts like a spaceship antenna need supports. Tree supports (available in Cura and PrusaSlicer) are easier to remove than classic line supports but increase print time by 30–50%. A good practice: only add supports to areas above 60° overhang. If you’re tired of cleanup, design your own parts to avoid overhangs – chamfer edges instead of using sharp corners.
Related questions
What should I print first on my new 3D printer?
Always the preloaded test model that came with the SD card. That file is dialed in for your printer’s specific hotend, bed leveling, and acceleration settings. If your printer didn’t include one, download a 20 mm calibration cube from a repository like Thingiverse – it’s simple, fast, and immediately shows whether your first layer is too high or too low. If the cube prints but has a textured bottom (elephant’s foot), your bed temperature is too high for the first layers, or your initial layer flow multiplier is over 100%.
How long does a 3D Benchy take?
On a standard printer with a 0.4 mm nozzle and 0.2 mm layer height, a Benchy prints in about 90 minutes at 50 mm/s. Speeding up to 70 mm/s shaves 20 minutes but often introduces visible ghosting on the hull. A Benchy at 0.1 mm layer height takes around 3 hours.
What is the easiest 3D print for beginners?
A hollow, thin‑walled vase – no supports, no infill, one continuous spiral. Set “spiralize outer contour” in your slicer (also called “vase mode”). Print with PLA at 0.3 mm layer height; it’s done in 30 minutes and teaches you how to set a consistent extrusion width. If the walls are thicker than your single perimeter width, you’re using a model that needs infill – check your slicer preview.
Explore This Topic
- Back to Best 3D Printers
- Back to sc0007
Related guides in this cluster:
- Best 3d printer multicolor: Top Picks & Guide
- Best beginner 3d prints: Top Picks & Guide
- Best 3d printer under 400: Top Picks & Guide

Ryan has been operating FDM 3D printers since 2017. He runs a 12-machine print farm. His daily drivers include a Bambu Lab X1 Carbon, Prusa MK4s, and Creality Ender-3 V3s that have logged over 15000 print hours. He started 3D Printer Nerd to provide structured troubleshooting guides with diagnostic order, material-specific parameters, and clear stop points.