Which 3D Printer Should I Buy? A Decision Framework That Actually Works
If you’re asking “what 3D printer” to buy, the short answer is: a printer that matches the materials you’ll actually use, not the one with the biggest spec sheet. Most new buyers overestimate the need for a $1,000+ machine when a well-supported $300 printer with a few targeted upgrades can produce functional parts just as reliably. The real differentiator isn’t the price tag – it’s the temperature range of the hotend, the type of bed surface, and whether the printer has an enclosure for high-temp filaments.
What this means for your next purchase: If you only plan to print PLA and occasional PETG, a $300 printer with an all-metal hotend upgrade will serve you better than a $1,200 enclosed printer. The hidden cost isn’t the printer itself – it’s the filament wasted on failed prints from poor bed adhesion, stringing, or warping. A printer that matches your real material needs will save you far more in material than any price difference upfront.
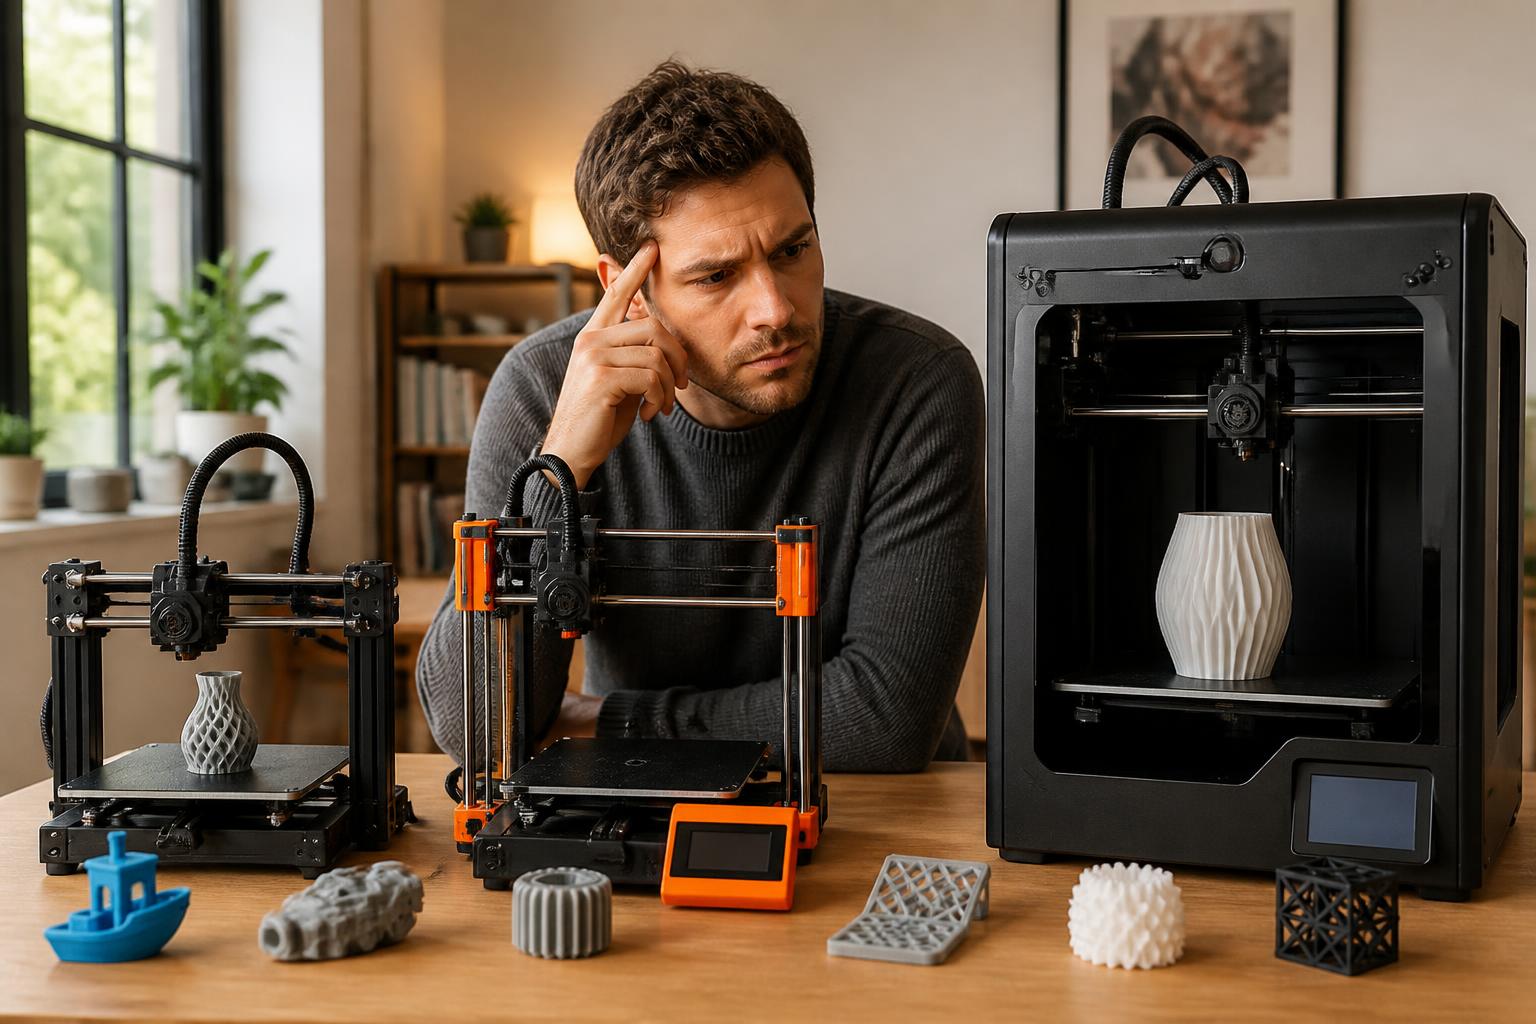
The Big Misconception: Expensive Isn’t Always Better
A common mistake is assuming a premium printer automatically prints better parts. In reality, print quality is limited more by slicer settings, filament quality, and mechanical alignment (gantry squareness, belt tension, eccentric nut adjustment) than by the printer’s brand. A Creality Ender 3 V2, for example, can produce the same 0.2 mm layer height print as a Prusa MK4 when properly tuned – the difference is convenience, not capability.
Where high-end printers earn their cost is in time savings and repeatability: auto bed leveling, filament runout sensors, and enclosure heating reduce failed prints and manual intervention. But if you’re willing to spend an hour calibrating e-steps and Z-offset, a budget printer will often outperform an expensive one that wasn’t set up correctly.
How to Match a Printer to Your Actual Prints
Material Temperature Requirements
- PLA prints need a hotend capable of 200–230°C and a bed at 50–70°C. Nearly every consumer printer can do this.
- PETG requires 230–260°C hotend and 70–85°C bed. Many budget printers hit 260°C, but the PTFE tube in the hotend degrades above 240°C – so look for an all-metal hotend if PETG is your main material.
- ABS/ASA need 240–270°C hotend, 90–110°C bed, and a fully enclosed chamber to prevent warping. Without an enclosure, even a $1,000 printer will struggle with large ABS parts.
- Nylon, Polycarbonate, or TPU require hotends that reach 260–300°C and often a hardened steel nozzle for abrasive fills.
Choose a printer that natively supports the highest-temperature material you plan to use regularly. A printer sold without an enclosure (like the Creality CR-10) can be enclosed later, but adding a reliable 100°C bed heater and chamber insulation is not trivial.
Build Volume vs. Part Size
Most desktop printers have a build volume of around 220 x 220 x 250 mm. That fits a helmet, a car cup holder, or a laptop stand. If you only print small parts (brackets, cable clips, tools), a 150 mm cube printer like the Prusa Mini is cheaper and faster to heat up. If you need to print a full-size cosplay prop, you’ll need a 300 mm or larger build plate – but be aware that large volumes make bed leveling trickier and increase print time significantly.
Enclosure Needs
- No enclosure: Best for PLA, PETG (with draft shield), and TPU. Keep the room temperature stable (65–80°F).
- DIY enclosure: Plywood or acrylic panels work if the printer’s electronics and PSU are outside the enclosure to avoid overheating.
- Built-in enclosure: Essential for ABS/ASA, Nylon, and Polycarbonate. The printer’s chamber should reach 50–70°C without melting the frame components.
If you ever want to print engineering-grade filaments, skip printers without a heated chamber – adding a chamber heater aftermarket is far more expensive than buying a printer already designed for it (e.g., Prusa XL, Bambu Lab X1C, or Voron V0.2/2.4 kit).
Verification Step: How to Confirm a Printer’s Real Hotend Temperature
Open the printer’s manual or manufacturer spec page and look for the maximum nozzle temperature and the type of heatbreak. If it says “PTFE-lined” or “Bowden tube goes all the way to the nozzle,” the printer cannot safely run above 240°C. If it says “all-metal heatbreak” or “full-metal hotend,” you can go to 260–300°C. Also check the included nozzle material – brass nozzles wear quickly with abrasive filaments (carbon fiber, glow-in-the-dark). If the specs list a hardened steel nozzle as standard, that’s a sign the printer is built for engineering materials.
Side-by-Side Comparison: Entry-Level, Mid-Range, Prosumer
| Category | Example Model | Hotend Max Temp | Bed Max Temp | Build Volume (mm) | Enclosure | Key Trade-Off |
|---|---|---|---|---|---|---|
| Entry-Level | Creality Ender 3 V2 Neo | 260°C (PTFE lined) | 100°C | 220 x 220 x 250 | No | $200–250; needs manual leveling; PTFE tube limits high-temp prints |
| Mid-Range | Prusa MK4 | 300°C (all-metal) | 120°C | 250 x 210 x 220 | No (but printable enclosures exist) | $800 kit / $1,000 assembled; auto leveling; excellent support; no enclosure |
| Prosumer | Bambu Lab X1C | 300°C (all-metal) | 110°C | 256 x 256 x 256 | Yes (active chamber heating up to 60°C) | $1,200+; closed ecosystem; fast core-XY; lidar for first-layer inspection |
Entry-Level Pitfall: The PTFE-lined hotend on most cheap printers cannot reliably print above 240°C without off-gassing and clogging. If you upgrade to an all-metal hotend later ($20–40), the printer becomes capable of PETG and even low-temp Nylon (e.g., Taulman Alloy 910).
Prosumer Pitfall: The Bambu Lab X1C uses proprietary nozzles and AMS material system, which locks you into their parts. Repair costs are higher, and you cannot easily swap to a third-party hotend if you need a specific nozzle size or material.
Realistic Mismatch: Glass Bed vs. PEI Sheet
A printer with a glass bed (common on the Ender 3 V2 Neo) gives a perfectly flat surface but requires glue stick or hairspray for PETG adhesion, and prints often stick so well they chip the glass when removed. Meanwhile, a PEI spring steel sheet (standard on the Prusa MK4) works for PLA, PETG, and TPU without adhesive – but it can be damaged by bed temperatures above 100°C for long periods, making it less ideal for ABS prints that need a 100–110°C bed. If you plan to switch between PETG and ABS often, you’ll likely need two bed surfaces and swap them.
The Upgrade Path: When a Budget Printer Beats a Premium One
If you’re comfortable with basic wiring and tweaking firmware, a $200–300 printer with $50 in upgrades often outperforms a $700–800 printer for the same materials. Common upgrades that close the gap:
- All-metal hotend (e.g., Micro Swiss or Slice Engineering) – allows 290°C+ for Nylon.
- Upgraded bed surface – PEI spring steel sheet is far better than glass for adhesion and release.
- Auto bed leveling (BLTouch or inductive probe) – saves hours of manual leveling.
- Dual-Z-axis kit – eliminates gantry sag on tall printers.
The one area a budget printer cannot catch up is print speed without quality loss. Core-XY machines (like the Creality K1 or Bambu Lab) can print at 250 mm/s with decent quality, while a bed-slinger like the Ender 3 tops out around 80 mm/s. If you need fast prototyping, pay for a core-XY or enclosed direct-drive printer.
Steps to Choose the Right Printer (Operator Flow)
1. List your filament types – write down the highest-temperature material you plan to use at least once a month (PLA, PETG, ABS, Nylon).
2. Check hotend and bed temperature specs – compare against the requirements above. If your material requires >240°C, cross off any PTFE-lined printer.
3. Decide on enclosure – if ABS/ASA or Nylon is on your list, you need a printer with a built-in enclosure (or one that can be enclosed easily without overheating electronics).
4. Measure your largest planned part – if it fits inside 220 mm cube, almost any printer works. If larger, you need a 300 mm+ build plate.
5. Balance speed vs. print quality – decide if you need prints in under 4 hours (core-XY) or if you have patience for 8–12 hour prints (bed-slinger).
Success check: If you can confidently answer “yes” to all five steps for a specific printer model, you’ve found your match. Escalate if you’re unsure about the hotend temperature limit or enclosure suitability – ask in a 3D printing forum with the exact printer name and material, not a general “which printer” question.
Food-Safe Printing? A Critical Boundary
You may consider printing kitchen tools, sippy cup lids, or food containers. Here is the hard boundary: no consumer FDM 3D printer can produce certified food-safe parts. The filament itself may be labeled food-safe (e.g., some PLA variants), but the layer lines trap bacteria, and the brass nozzle may introduce lead. The FDA requires food contact surfaces to be non-porous, non-leaching, and cleanable – impossible with FDM layer lines.
If you need a functional prototype for a food-contact item, print in PETG or PEI (Ultem), then use a silicone mold to cast the final part in food-grade silicone. For one-off use, you can apply a food-safe epoxy coating (e.g., XTC-3D) – but that adds cost and still lacks certification. Do not rely on third-party claims of “food-safe” filament for direct food contact. The only safe path is a commercial injection mold or a certified resin printer (like Formlabs with specific FDA-compliant materials).
Frequently Asked Questions
Should I buy a printer with a built-in enclosure even if I only print PLA?
A built-in enclosure is unnecessary for PLA – it actually can cause heat creep into the stepper motors and electronics if not ventilated. Save the cost unless you plan to print ABS/ASA.
Can I use a Creality Ender 3 for printing carbon fiber nylon?
Only if you upgrade to an all-metal hotend and a hardened steel nozzle (0.4 mm or 0.6 mm). The stock hotend and brass nozzle will clog within a few grams. Also, ensure the bed can reach 100°C and the printer is enclosed.
Is a direct-drive extruder worth the extra cost?
Yes if you print flexible filaments like TPU – bowden setups struggle with retraction and stringing on soft materials. For rigid filaments (PLA, PETG, ABS), a bowden is fine. Many mid-range printers now come with direct drive standard.
How many hours of printing can I expect from a $300 printer before major repairs?
With proper maintenance (belt tension, clean rails, fresh nozzle every 200–500 hours), a budget printer can run 1,000–2,000 hours before needing a new hotend or mainboard. Failures often occur from user error (clogged nozzle from poor filament, burnt hotend from loose thermistor) rather than hardware defect.
Explore This Topic
- Back to Best 3D Printers
- Back to sc0007
Related guides in this cluster:
- Recommend 3d printer
- Best 3d printer multicolor: Top Picks & Guide
- Best 3d printer under 400: Top Picks & Guide

Ryan has been operating FDM 3D printers since 2017. He runs a 12-machine print farm. His daily drivers include a Bambu Lab X1 Carbon, Prusa MK4s, and Creality Ender-3 V3s that have logged over 15000 print hours. He started 3D Printer Nerd to provide structured troubleshooting guides with diagnostic order, material-specific parameters, and clear stop points.