3 Best Beginner 3D Printers: Which One Fits Your Workspace and Budget
Best beginner 3d” /> prints: Top Picks & Guide
Quick answer
The three best beginner 3D printers are the Bambu Lab A1 Mini, Creality Ender 3 V3 SE, and Prusa Mini+. All three include auto bed leveling, print PLA reliably at 0.2 mm layer height, and use standard 1.75 mm filament. The Bambu A1 Mini delivers the least-tinkering experience for around $300–$350. The Ender 3 V3 SE hits a lower price point ($230–$260) with a larger build volume but requires a couple hours of assembly. The Prusa Mini+ costs more ($450–$500) but offers long-term repairability and open-source flexibility.
Applicability boundary: These picks assume you’re printing PLA or PETG in a standard indoor environment (room temperature 65–80 °F, low drafts). If your primary goal is printing large functional parts (over 180 mm in any dimension), or if you need to run advanced materials like nylon or polycarbonate, none of these machines are the right fit — you’d want a larger enclosed printer like the Creality K1 Max or Bambu Lab P1S with an enclosure. Similarly, if you plan to print more than 20 hours per week in a small apartment, the noise level and fumes from any open-frame printer may be a concern.
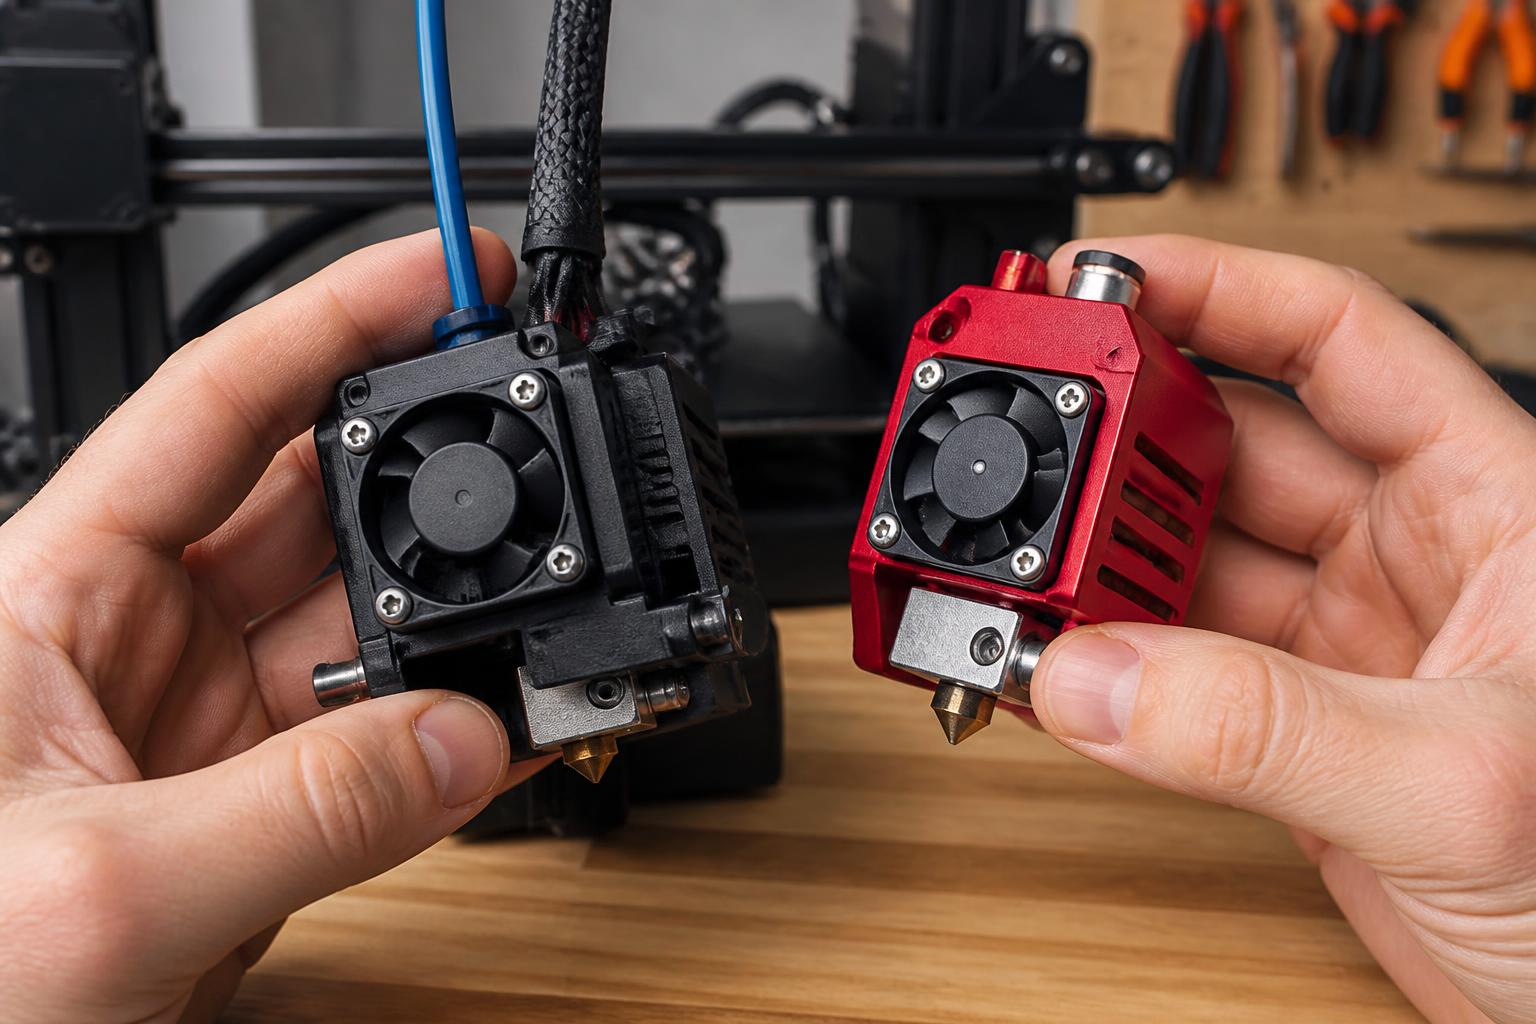
Practical implication for your choice: If you buy the Bambu A1 Mini, you’re paying a premium for convenience but accepting a 180 mm cube build volume and proprietary hotend parts that lock you into the manufacturer’s ecosystem. If you buy the Ender 3 V3 SE, you save $70–$100 but will spend roughly 1–2 hours on initial assembly and another 30 minutes dialing in the Z-offset. If you buy the Prusa Mini+, you’re investing in a machine that will still run reliably in five years — but you’ll pay double the Ender’s price and accept slower print speeds (~150 mm/s vs. 300+ mm/s on the A1 Mini). Knowing these trade-offs before buying saves you from regretting your purchase after the return window closes.
Comparison framework
The table below shows the specs that separate beginner-friendly machines from printers that require ongoing hands-on maintenance. Focus on the auto leveling column first — that’s the single feature that determines whether your first week is fun or frustrating.
| Feature | Bambu Lab A1 Mini | Creality Ender 3 V3 SE | Prusa Mini+ |
|---|---|---|---|
| Auto bed leveling | Yes (lidar sensor) | Yes (CR‑Touch probe) | Yes (load‑cell nozzle sensor) |
| Assembly required | Minimal (plug in gantry) | Partial (frame + gantry, ~1–2 hrs) | Partial (frame + gantry, ~2 hrs) |
| Build volume | 180 × 180 × 180 mm | 220 × 220 × 250 mm | 180 × 180 × 180 mm |
| Max nozzle temp | 300 °C | 260 °C | 285 °C |
| Heated bed | Yes (up to 100 °C) | Yes (up to 100 °C) | Yes (up to 100 °C) |
| Print speed (recommended beginner mode) | 200–300 mm/s | 150–180 mm/s | 120–150 mm/s |
| Filament type (out‑of‑box) | PLA, PETG, TPU | PLA, PETG, TPU | PLA, PETG, TPU |

| Wi‑Fi / app control | Yes (Bambu Handy app) | No (SD card or USB) | Optional (add‑on module) |
| Price range | $300–$350 | $230–$260 | $450–$500 |
How to verify auto leveling on the actual machine: After setup, run the auto-level cycle (usually a menu option labeled “Level” or “Calibrate”). Then open the slicer and send a single-layer test print — a 100 mm square at 0.2 mm layer height. Watch the first layer extrude across the entire bed. If the filament lays down uniformly with no gaps or ridges, the leveling is working correctly. If you see a consistent gap on one side, the bed may be warped or the sensor offset needs adjustment. On the Prusa Mini+, you can run the “First Layer Calibration” wizard from the menu to fine-tune the Z-offset. On the Ender 3 V3 SE, you manually set the Z-offset once after leveling using the “Z-Offset” menu and a piece of paper.
Best‑fit picks by use case
Best budget beginner: Creality Ender 3 V3 SE
The V3 SE is the current best value under $300. It includes CR‑Touch auto bed leveling and a direct-drive extruder, so you can print PLA at 190–210 °C nozzle / 50–60 °C bed without stringing. The build volume (220 × 220 × 250 mm) fits most functional parts, small toys, and even some helmet halves if you rotate the model diagonally.
- What you trade: Assembly takes about 1–2 hours. You still need to manually set the Z‑offset once after leveling — skip this and your first layer won’t stick. The printer lacks an enclosure, so drafts can cause warping on prints taller than 100 mm. Use a brim (5–8 mm) and keep the bed at 60 °C for large parts.
- Failure mode to watch: The stock brass nozzle can clog if you switch to PETG without adjusting retraction. Early signs are under-extrusion (gaps in the top layer) and a clicking sound from the extruder gear. If you hear clicking, immediately reduce retraction to 2 mm at 40 mm/s in the slicer. If it still clicks, replace the nozzle with a hardened steel one (available for $12–$15) before trying abrasive filaments like glow-in-the-dark or wood-filled PLA.
- Verification step for fit: Before buying, measure your workspace depth. The V3 SE requires 18 inches of clearance behind the printer for the Y-axis movement and 20 inches of height clearance for the Z-axis.
Best out‑of‑box beginner: Bambu Lab A1 Mini
The A1 Mini prints your first benchy in under 20 minutes with zero calibration. The built-in lidar sensor performs a full auto-level before each print, and the integrated Wi‑Fi lets you send files from a phone or computer. It handles PLA at 200–220 °C nozzle / 55 °C bed, and the fast mode (300 mm/s) reduces print time without sacrificing a 0.2 mm layer finish.
- Realistic limitation: The 180 mm cube build volume is smaller than it sounds. A full-size helmet (e.g., Mandalorian or Iron Man) won’t fit — you’d need a printer with at least 250 mm in one dimension. The proprietary hotend and nozzle mean you can’t swap to a third‑party nozzle without voiding the warranty. Replacement hotends cost $25–$30, and you’ll need to buy them from Bambu Lab. Also, the factory PLA+ profile uses 6 mm retraction, which can cause gaps in the first layer. Change retraction to 2 mm in Bambu Studio for the first 20 prints.
- Failure mode to watch: The Y‑axis belt tension is factory-set and not user-adjustable. If you notice horizontal ripples (ringing) along the Y‑axis at high speeds, slow the print to 200 mm/s and enable “Scarring Compensation” in Bambu Studio. The machine will still print 30–50% faster than any other beginner model at that speed.
- Verification step for leveling: Before each print, watch the nozzle touch the bed at five points during the auto-level sequence. If the nozzle scrapes the bed or leaves a visible scratch, stop the print and clean the nozzle tip — leftover plastic on the tip throws off the lidar sensor reading.
Best for learning and upgradeability: Prusa Mini+
Buying a Prusa Mini+ means you get a steel-frame machine with a proven 0.2 mm layer-height profile and a built-in calibration wizard. The bed reaches 60 °C in about 3 minutes, and the direct-drive extruder handles flexible TPU (95A) without jams. The open-source firmware and community-sourced profiles mean you can later add a filament runout sensor, enclosure, or even a custom hotend.
- What you trade: The $450+ price is double the Bambu A1 Mini, and assembly (though clearly documented) takes about 2 hours. Print speed is capped at ~150 mm/s, so a 6‑hour print on the A1 Mini takes 8–9 hours on the Mini+. The stock E‑stepper motors are louder than expected — you’ll hear a low hum during infill moves. If you print in a bedroom, consider a foam pad underneath to dampen vibration.
- Failure mode to watch: The textured PEI bed can lose adhesion for PLA below 55 °C. If the first layer peels after 10 minutes, clean the sheet with warm water and dish soap (not isopropyl alcohol — it smears fingerprints without removing them), increase bed temp to 65 °C, and re-run the first-layer calibration. The auto-level sensor uses the nozzle tip as a probe, so a worn nozzle (brass wears after about 500 hours) gives inconsistent readings. Replace the nozzle every 6 months or after 50 full spools of PLA.
- Trade-off to know: The Mini+ uses a 6‑pin hotend connector that’s not compatible with standard E3D V6 nozzles. If you upgrade to a hardened nozzle, buy the official Prusa one ($15) — third‑party nozzles may not seat properly and can leak filament into the heatbreak.
Trade‑offs to know
The biggest beginner mistake: choosing a printer without auto bed leveling
The single failure mode that turns off most new 3D printing enthusiasts is constant manual bed leveling. Early-generation machines (original Ender 3, Anycubic Mega S) require you to adjust four springs until a piece of paper barely drags under the nozzle — and you must repeat this before every print. One bump to the bed can ruin your next three hours.
How to detect it before buying: In the product specs, look for “auto bed leveling,” “sensor-based leveling,” “CR‑Touch,” or “load-cell sensor.” If the description says “manual leveling” or “four-point adjustment,” you’re buying a project printer, not a beginner printer. The three picks above all include auto leveling. If you’re browsing used printers, skip anything without a probe or sensor on the hotend assembly — even if it’s $50 cheaper.
Speed vs. quality trade‑off
The Bambu A1 Mini can hit 500 mm/s, but that mode reduces layer adhesion and increases ringing, especially on thin walls (<1.2 mm). For the first 50 prints, stick to 0.2 mm layer height and 200 mm/s maximum. Slowing to 150 mm/s produces cleaner overhangs (50‑degree overhangs without supports) and less stringing with PLA. If you see gaps on the top surface (pillowing), reduce speed to 120 mm/s and increase infill to 20%.
Material limitations — concrete mismatch to know
All three printers handle PLA and PETG well, but PETG requires a clean PEI bed or a layer of PVA-based glue stick, or it will bond permanently to the build surface (I’ve seen PETG tear chunks out of textured sheets). If you eventually want to print nylon, polycarbonate, or carbon-fiber filled filaments, you’ll need a hardened steel nozzle (rated for 600 °C+), a full enclosure to hold chamber temperature above 40 °C, and a filament dryer — none of these printers are equipped for that out of the box. The Prusa Mini+ is the only one that can be enclosed with a DIY acrylic box; the A1 Mini and Ender 3 V3 SE don’t have mounting holes for enclosure panels.
Noise level
The Ender 3 V3 SE uses a quiet board but the fans run at a steady 45 dB — noticeable in a quiet room. The Prusa Mini+ runs at 42 dB but has a variable-frequency hum during infill. The Bambu A1 Mini is the quietest at ~38 dB during slow prints, making it the best choice for a shared workspace or bedroom. If noise is a concern, the A1 Mini is the clearest pick.
Related questions
What filament should a beginner use first?
PLA. Set the nozzle to 190–220 °C and the bed to 50–60 °C. Avoid silk PLA or glow-in-the-dark blends until you’ve printed at least 10 successful parts — these require different temperature profiles and can clog a standard brass nozzle.
Do I need a heated bed?
Yes for consistent first-layer adhesion, especially with PLA. A cold bed causes edge curling (warping) on prints larger than 100 mm. All three picks include a heated bed; if you’re looking at a printer without one, skip it.
How much should I spend on my first 3D printer?
$230–$350 is the sweet spot for a reliable, beginner-friendly machine that includes auto bed leveling. Below $200 you’ll likely get a printer that requires manual leveling and frequent fixes — the initial savings vanish after the first few failed prints.
Can I control the printer from my phone?
Only the Bambu Lab A1 Mini natively supports Wi‑Fi and app control out of the box. The Creality Ender 3 V3 SE and Prusa Mini+ require a Raspberry Pi running OctoPrint or a similar add-on for wireless control — that’s an extra $50–$80 and a few hours of setup.
Explore This Topic
- Back to Best 3D Printers
- Back to sc0007
Related guides in this cluster:
- Best 3d printer prints: Top Picks & Guide
- Best beginner 3d printer 2025: Top Picks & Guide
- 3d print best: Top Picks & Guide

Ryan has been operating FDM 3D printers since 2017. He runs a 12-machine print farm. His daily drivers include a Bambu Lab X1 Carbon, Prusa MK4s, and Creality Ender-3 V3s that have logged over 15000 print hours. He started 3D Printer Nerd to provide structured troubleshooting guides with diagnostic order, material-specific parameters, and clear stop points.