Best Hobby 3D Printer: When a Weekend Machine Becomes Your Main Tool
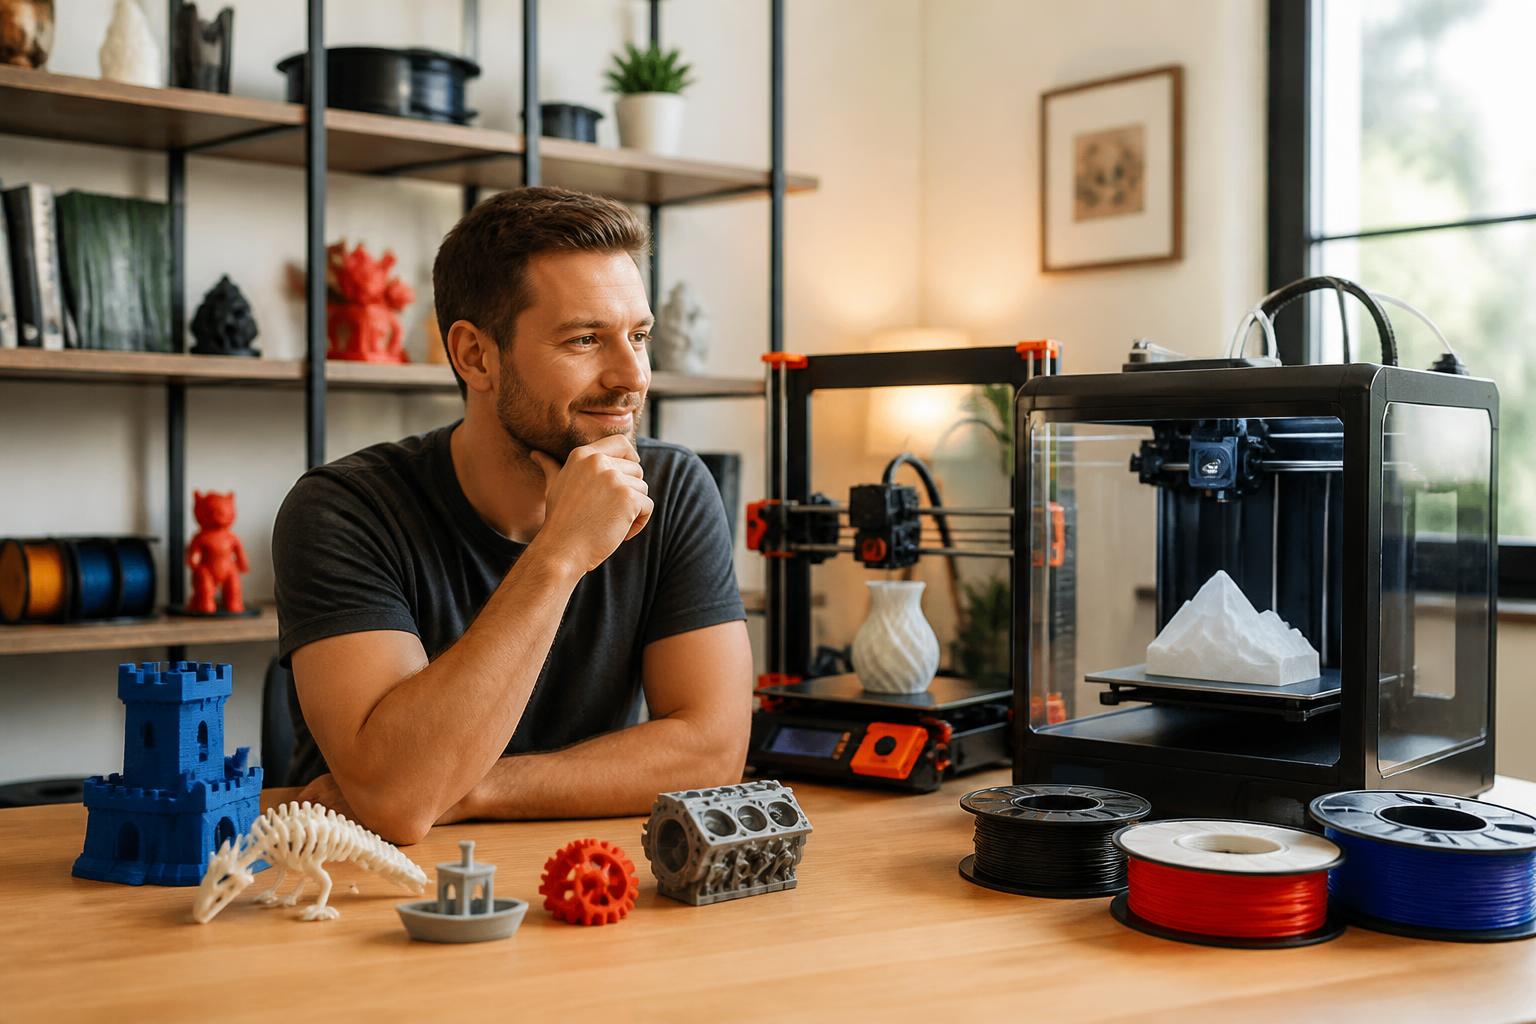
The best hobby 3D printer for most people right now is the Bambu Lab P1S – it delivers fast, reliable prints with minimal fiddling. If you value long-term repairability and open-source flexibility, the Prusa MK4 is a better bet. Avoid the urge to grab the absolute cheapest machine; the initial savings often evaporate in wasted filament and hours of re-leveling.
Quick answer
| Printer | Best for | Build volume | Stock features | Key trade-off |
|---|---|---|---|---|
| Bambu Lab P1S (enclosed) | “Just print” speed | 256×256×256 mm | Auto bed leveling, vibration comp, 300°C hotend | Locked into Bambu ecosystem for full features |
| Prusa MK4 (open frame) | Tinkerers, upgraders | 250×210×210 mm | LoadCell auto leveling, 300°C, open-source | Slower (50–100 mm/s typical) |
| Creality K1 (enclosed) | Large ABS/ASA parts | 300×300×300 mm | 300°C, carbon-fiber gantry, built-in chamber | Stock firmware is limiting; need Klipper for full control |
| Anycubic Kobra 2 Neo (open) | Tight budget under $300 | 250×220×220 mm | Direct drive, auto leveling | Single Z leadscrew can sag on tall prints |
What this means for your next decision: If you want to print functional parts in PETG or ABS without constant tuning, spend at least $500 on an enclosed machine (P1S or K1). If you enjoy modding and want to learn every component, the Prusa MK4 Kit at $450 gives you a repairable printer that will still be supported in 5 years. If your budget is under $300, the Kobra 2 Neo is usable for PLA only – plan for a dual-Z upgrade and accept that ASA is not possible without a hotend swap.
One failure mode that catches new hobbyists: buying a printer based on price alone (e.g., the Creality Ender 3 V3 SE) and then fighting constant warping, stringing, and inconsistent extrusion. How to detect it early: if you have to re-level the bed or adjust the Z-offset after every third print, the mechanical components (leadscrews, linear rails, bed heater) aren’t adequate. That $150 savings quickly turns into $50 of wasted PLA and dozens of lost hours.
What actually matters for a hobby machine
Hobby 3D printing demands a different balance than industrial or production printing. The key decision factors are:
- Ease of use out of the box – fully automatic bed leveling, reliable first-layer detection, and a well-tuned slicer profile.
- Community and support – a large user base means faster solutions for print defects (overhangs, stringing, gaps) and more compatible mods.
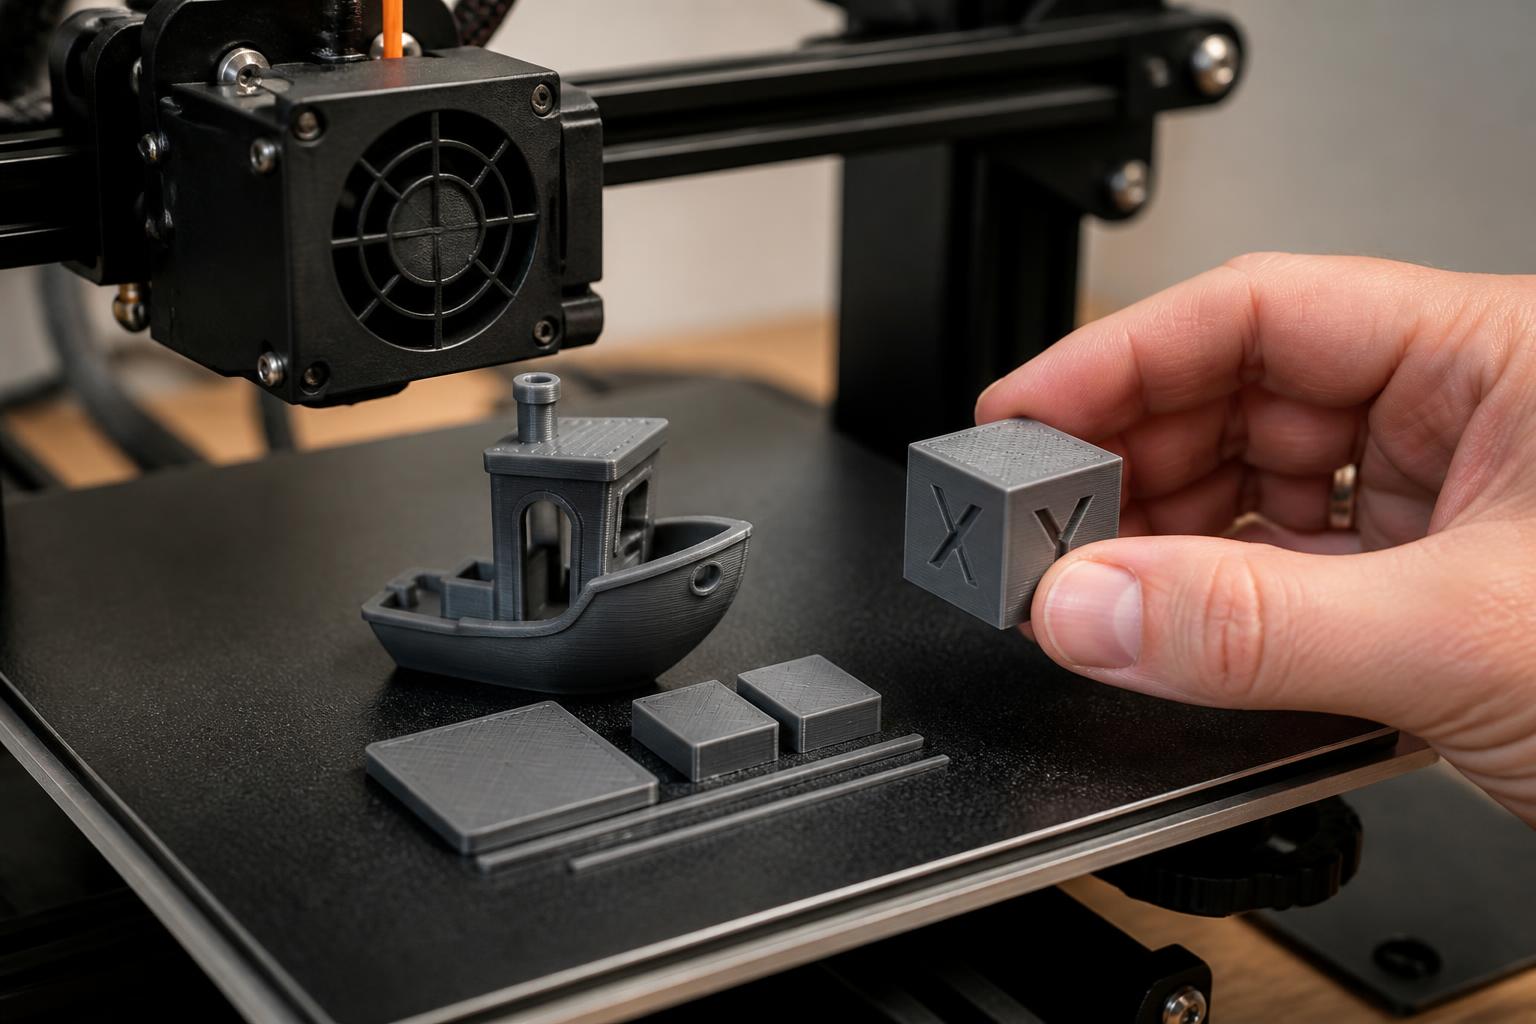
- Print quality at stock settings – not after a dozen tweaks. If you have to spend a week tuning retraction and flow rate to get a clean benchy, the printer is a time sink.
- Cost per print – includes filament, spare parts, and any proprietary consumables (print heads, nozzles, filament spools).
Concrete numbers to consider: layer height for detail work should be 0.12–0.16 mm; larger functional parts can run 0.20–0.28 mm. For PETG, a bed temperature of 75–85°C is common; for ABS, 100–110°C (enclosed). The P1S handles these ranges natively; the Kobra 2 Neo’s stock PTFE hotend limits it to about 240°C, so ABS is risky.
When a hobby printer stops being enough
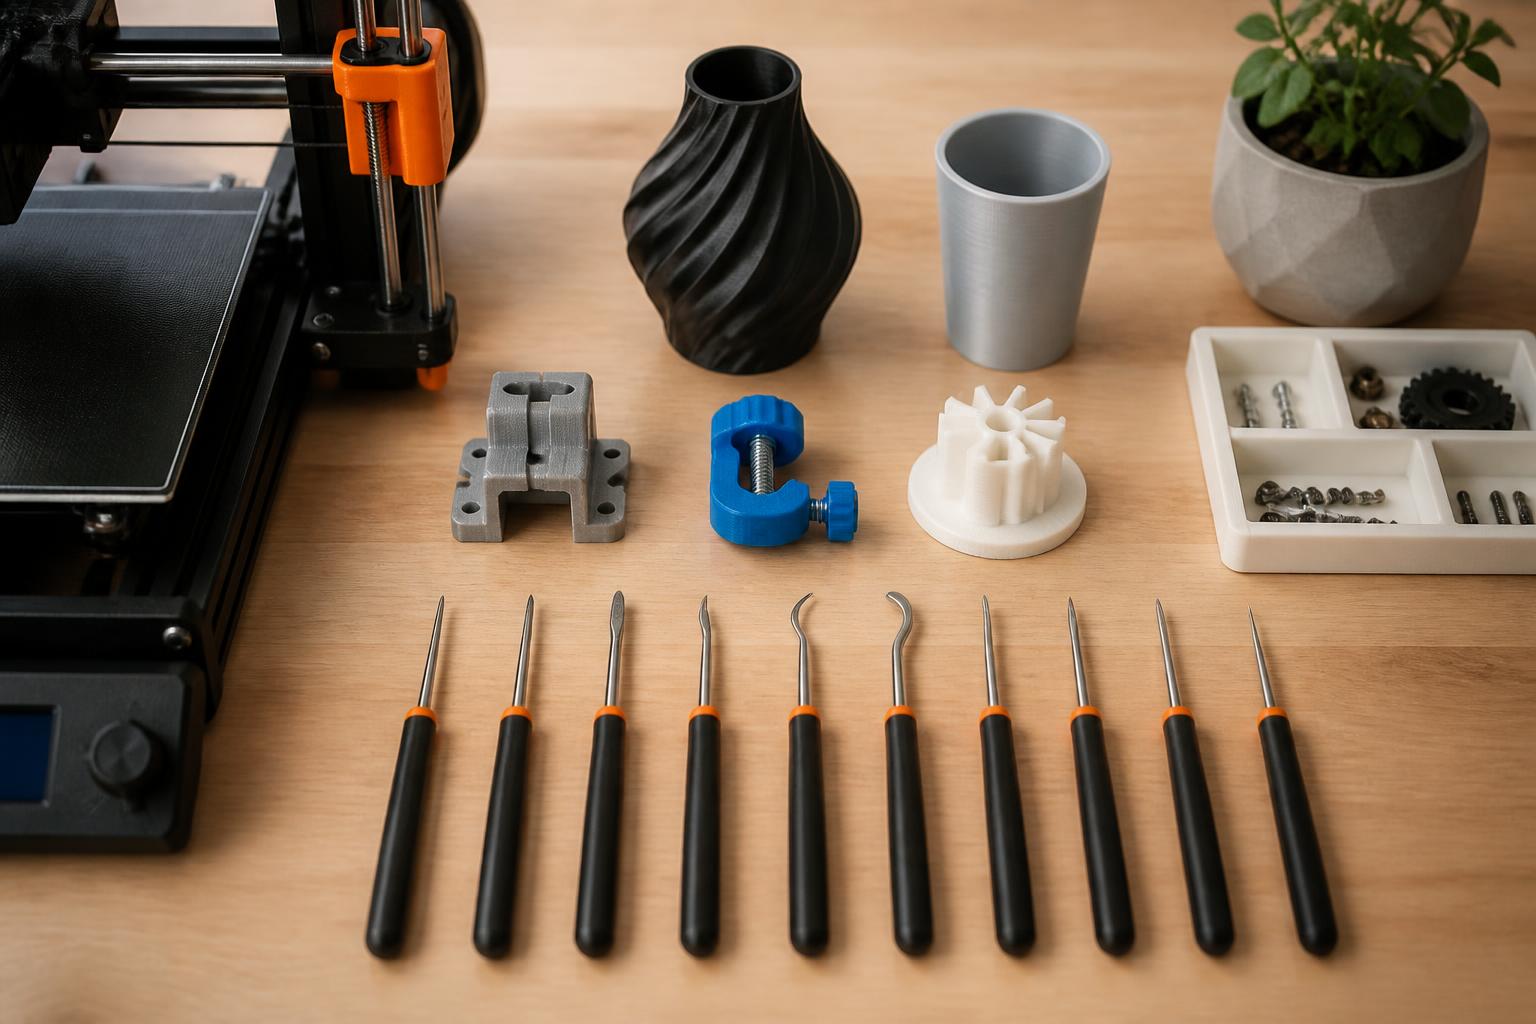
A hobby-level printer can handle parts up to about 300 mm in one dimension and materials up to 260–300°C. It is not for production runs (100+ copies), high-temp engineering materials (PEEK, PEKK), or parts requiring micron-level accuracy (small gears with tight mesh tolerances under 0.1 mm). If you need to print more than 50 similar parts per month or require repeatable layer adhesion for load-bearing components, step up to a mid-range industrial machine. Applicability boundary: the recommendations here are for personal projects, prototypes, cosplay props, and basic functional parts – not for commercial manufacturing or aerospace-grade prototypes.
Best-fit picks by use case
For beginners who just want to print (no tinkering)
Bambu Lab P1S – Auto bed leveling, vibration compensation (ringing/ghosting reduction), and cloud-based slicer profiles mean you can load a filament, send a file, and get a good first layer 19 times out of 20. Print speed: 200–300 mm/s for most PLA/PETG, though fine detail (miniatures) benefits from dropping to 60 mm/s.
- Downside: You’re locked into Bambu’s ecosystem for firmware updates, filament RFID recognition, and some advanced features. Third-party filaments still work, but you lose automatic material profiles.
For tinkerers and upgraders
Prusa MK4 – Open source, fully documented, and repairable. You can swap hotends, add dual extrusion later, install a hardened nozzle for glow-in-the-dark filaments, and rebuild the extruder from spare parts. The built-in LoadCell sensor measures nozzle pressure directly, giving reliable first layers on any surface.
- Print quality: Slower (50–100 mm/s) but produces sharper corners and tighter tolerances than most non-Prusa machines at equivalent speeds. Layer adhesion on PETG and ASA is noticeably better.
- Kit option: Save $100 and learn every component. Build time is about 5–6 hours.
For large functional parts or ABS/ASA
Creality K1 – 300 mm³ enclosed chamber, 300°C hotend, and a carbon-fiber gantry that resists z-banding. Prints ABS well without an external enclosure. The stock firmware is locked down and limited; many users flash OpenNeptune or a Klipper-based firmware within the first week.
- Watch for: Heat creep in the extruder during long PLA prints. Keep the door slightly ajar or set the chamber temp below 45°C.
For a strict budget under $300
Anycubic Kobra 2 Neo – Direct drive extruder handles TPU and flexible filaments; auto leveling uses a strain sensor. Prints PLA and PETG reliably at 0.20 mm layers. The single Z lead screw can sag on tall prints (over 150 mm), leading to z-banding. A dual-Z upgrade kit costs about $15 and adds a few minutes to assembly.
- Limit: Stock hotend max is 240°C; PETG works, but ASA/ABS are off the table unless you swap to an all-metal hotend.
Trade-offs to know
- Speed vs. surface quality: Every printer that prints at 300 mm/s (P1S, K1) introduces minor ringing on detailed parts. For minis or models with fine text, run at 60–80 mm/s. The Prusa MK4 at 80 mm/s consistently out-resolves the P1S at 150 mm/s on overhangs and sharp corners.
- Upgrade trap: Adding a direct drive, all-metal hotend, and auto-leveling to a $200 printer (like the Ender 3 V3 SE) costs $100–150 in parts and 10 hours of modding. You end up with a $350 machine that still lacks a rigid frame and a good motion system. A stock $400 Prusa MK4 or $500 Bambu P1S will out-print it in both quality and reliability.
- Enclosure necessity: PLA requires no enclosure. PETG benefits from a draft shield. ABS and ASA require an enclosed chamber – the P1S and K1 have it built in; the MK4 and Kobra 2 are open. An aftermarket enclosure for an open-frame printer runs $60–150.
- Mismatch to watch for: Buying an open-frame printer (MK4, Kobra 2) if you plan to print ASA or large ABS parts. The consequence is warped parts, poor layer adhesion, and cracking. You will need to buy or build an enclosure, adding cost and footprint. If you must have ABS capability, choose an enclosed model from the start.
How to verify a printer’s reliability before buying
You can’t test a machine in a store, but you can check three indicators from online reviews and community forums:
1. Check the “first print” videos on YouTube – look for auto leveling that completes without manual nozzle-paper adjustments. If the reviewer has to touch the Z-offset before the first layer, the auto leveling is not fully hands-off.
2. Search for “extruder clog” or “heat creep” in the printer’s subreddit or Facebook group. A high frequency of those posts suggests the hotend cooling is inadequate for sustained prints beyond 4 hours.
3. Look for the number of user profiles in PrusaSlicer or Cura – a printer with a large, active community has dozens of community-tuned profiles. Printers with only one or two official profiles often require more trial-and-error.
Concrete verification step: Before buying, go to Printables.com or Thingiverse and search for the printer name + “profile”. If you find at least five separate user profiles with detailed settings (retraction distance, temperature, acceleration), the printer has a healthy ecosystem. Fewer than three indicates you’ll be tweaking slicer settings alone.
Detecting a failing cheap printer (operator flow)
If you already own a budget machine and suspect it’s the bottleneck, follow this check quickly:
- Checkpoint 1: After each print, note how many times you had to adjust the bed leveling or Z-offset during the last 10 prints. If it’s more than twice, the mechanical stability is poor.
- Likely cause: Loose bed springs, bent Z leadscrew, or a warped aluminum bed. On printers under $200, the bed is often stamped steel that flexes with temperature.
- Action to take: Upgrade to silicone bed spacers (remove springs entirely) and install a dual-Z leadscrew kit. This costs $20–40 and takes 30 minutes. If that doesn’t reduce leveling frequency to once every 20–30 prints, the frame itself is the limit.
- Escalation signal: If you still get inconsistent first layers after those mods, stop investing. Replace the printer with one from the picks above. The time lost fighting a flawed machine will cost more than the upgrade.
Related questions
What filament should a hobbyist start with?
PLA – it prints at 190–210°C on a 60°C bed, doesn’t need an enclosure, and has low warp. Once you’re comfortable, try PETG (230–250°C, 75–85°C bed) for stronger, more heat-resistant parts. Avoid ABS until you have an enclosed printer and good ventilation.
How much money will I spend on filament per month?
Casual use (a few prints per week) consumes 250–500 grams. A 1 kg spool of PLA costs $15–25 and lasts 2–4 weeks. Budget $10–20 per month for filament, plus an occasional nozzle replacement ($5–15).
Should I buy a kit or pre-assembled?
If you enjoy building and want to understand how the machine works, a kit (e.g., Prusa MK4 Kit) saves around $100 and teaches you how to fix common issues like heat creep or a loose belt. If your goal is to start printing within an hour, buy pre-assembled.
How long does a hobby 3D printer last?
With basic maintenance – cleaning the bed, lubricating linear rails, replacing worn nozzles – a modern printer should last 3–5 years. The Prusa MK4 is the most repairable (all parts available individually); the Bambu P1S requires proprietary print-head assemblies after heavy use.
Explore This Topic
- Back to Best 3D Printers
- Back to sc0011
Related guides in this cluster:
- Best 3d printer multicolor: Top Picks & Guide
- Best 3d printer under 400: Top Picks & Guide
- Best starting 3d printer: Top Picks & Guide

Ryan has been operating FDM 3D printers since 2017. He runs a 12-machine print farm. His daily drivers include a Bambu Lab X1 Carbon, Prusa MK4s, and Creality Ender-3 V3s that have logged over 15000 print hours. He started 3D Printer Nerd to provide structured troubleshooting guides with diagnostic order, material-specific parameters, and clear stop points.