Best 3D Printed Objects That Actually Survive: Functional Print Ideas
The best 3D‑printed object you can make is the one that actually survives its first week of use. A PLA cable clip that sags in a hot car or a cookie cutter that leaches colorants into dough are failures you can avoid with the right material, settings, and a dose of honest expectations. This guide matches specific print jobs to proven filaments and slicer profiles, then flags the trade‑offs that show up after the print finishes.
| Use case | Best material | Layer height | Infill | Why it works |
|---|---|---|---|---|
| Home organization (cable clips, drawer dividers, shelf brackets) | PLA or PETG | 0.20 mm | 15–20 % gyroid | Fast to print, strong enough for light loads, minimal warping on an unenclosed bed |
| Workshop tools (jigs, clamp handles, sanding blocks) | PETG or ABS | 0.16 mm | 30–50 % rectilinear | Higher impact resistance and heat tolerance; PETG works without an enclosure |
| Gifts & novelties (articulated animals, lithophanes, keychains) | PLA (silk PLA for gloss finish) | 0.12 mm | 10–15 % | Easiest to print cleanly, wide color range, good detail at 0.12 mm |
| Food‑contact items (cookie cutters, bowl scrapers) | Certified food‑safe PETG or PEI | 0.20 mm | 20 % | Must be labeled EU 10/2011 or FDA 21 CFR compliant; requires dedicated nozzle |
Applicability boundary: This guide covers functional prints, gifts, and food‑contact items that fit on a 220 × 220 mm bed with a 0.4 mm nozzle. Large‑format builds (400 mm+), flexible TPU parts, and high‑temp engineering resins use different parameters not detailed here. If you are printing miniatures for painting or cosplay armor pieces, the priority shifts from strength to surface finish, which is not the focus of this page.
Best 3d printed” /> stuff: Top Picks & Guide
What to print: comparison by use case
The choice depends on three factors: required strength, heat exposure, and surface finish. Each section below includes concrete numbers and a practical implication so you can decide within a minute.
Home organization – speed vs. function
These parts live indoors, carry light loads, and should print fast enough to justify the filament cost.
- Filament: PLA (eSun PLA+ is a reliable pick). If the part will sit near a stove, in direct sun, or inside a garage that hits 50 °C+, switch to PETG.
- Nozzle: 0.4 mm. For larger parts like pegboard bins, a 0.6 mm nozzle cuts print time by ~30 % with minimal quality loss.
- Bed temp: PLA 50–60 °C; PETG 70–80 °C.
- Layer height: 0.20 mm for most parts; drop to 0.16 mm if text or small features matter.
- Infill: 15 % gyroid. Gyroid resists shear better than grid and reduces stringing on PETG.
- Example: A modular drawer divider in PLA, printed at 0.20 mm, 15 % infill, takes about 2 hours on a 220 × 220 mm bed. One spool can produce a dozen dividers.
Practical implication: If you print a PLA shelf bracket and it lives in a garage that hits 55 °C in summer, it will sag within a month. The practical choice is PETG from the start. You can confirm fit by test‑printing a single divider first: if it slides into the drawer with 0.2 mm slop or is too tight, adjust the horizontal expansion setting (±0.1 mm) before printing the rest of the set.
Trade‑off: PLA will deform in a hot car. If the part might see 50 °C+, switch to PETG. PETG is more hygroscopic – dry it at 65 °C for 6 hours before printing or you will get stringing and weak layer adhesion.
Workshop tools – strength and toughness
Tool parts need impact resistance, some heat tolerance (friction from sanding), and dimensional accuracy for moving fits.
- Filament: PETG is the easiest strong choice for an open printer. ABS requires an enclosure and active carbon filter. For extreme loads (hammer handles, vise jaws), use Polymaker PolyMide PA6‑CF (nylon/carbon fiber) but dry it at 80 °C for 12 hours.
- Nozzle: 0.4 mm for detailed jigs; 0.6 mm for large vises or clamps.
- Bed temp: PETG 75–80 °C; ABS 100–110 °C (enclosure required).
- Layer height: 0.16 mm for precision fits; 0.20 mm is fine for rough tools.
- Walls: 4 perimeters. This adds more strength than cranking infill to 80 %.
- Infill: 30–50 % rectilinear. For parts that see point loads, use adaptive cubic.
- Post‑process: PETG tool handles benefit from a quick acetone wipe (brief contact) to smooth layer lines and improve grip.
Fit verification: Before printing a full‑size clamp handle or jig, print a 20 × 20 mm calibration cube at your intended settings, measure the actual layer thickness with calipers, and check that the Z‑axis dimension is within 0.1 mm of spec. If the cube is short, adjust the Z‑offset or PID tune the hotend. A tool handle that is 0.3 mm undersized will wobble in the socket.
Trade‑off: PETG leaks moisture – a spool left out for a week prints stringy and loses 15 % of its layer bond strength. Dry every PETG spool before a functional print. ABS shrinks more; allow 0.5 % scaling in the slicer for press‑fit parts.
Gifts and novelties – detail and finish
These prints emphasize visual quality over brute strength. Time spent on post‑processing can pay off more than material cost.
- Filament: PLA (standard or silk). Silk PLA prints at slightly higher temperatures (210–220 °C) and benefits from a cold bed (40 °C) to preserve gloss.
- Layer height: 0.12 mm for lithophanes or articulated dragons; 0.08 mm for miniatures if you have a 0.25 mm nozzle.
- Support: Tree supports with a 0.1 mm z‑distance are easier to remove and leave fewer scars.
- Ironing: Enable ironing on top surfaces (0.1 mm depth, 25 mm/s) for a near‑polished finish on flat areas.
- Example: A 3‑inch articulated octopus in silk PLA, 0.12 mm layer height, 10 % infill, prints in about 5 hours. No supports needed.
Trade‑off: Fine detail prints are slow – a 0.08 mm layer takes almost double the time of 0.12 mm. If speed matters more than ultra‑smooth surfaces, stay at 0.16 mm and sand lightly with 400‑grit. Also, silk PLA is more brittle than standard PLA; articulated joints may snap if you force them.
Food‑contact items – safety first
This category has the highest risk. Most PLA and PETG contain additives (pigments, plasticizers) that are not safe for ingestion. Even “food‑safe” filaments can pick up contaminants from a nozzle that previously printed non‑food materials.
Safety flow – do this before printing:
1. Check filament certification. Only use filament labeled EU 10/2011 or FDA 21 CFR compliant. Examples: Filament PM Food‑Safe PETG, MadeSolid PET+. If the spool does not have the certification printed on the label, assume it is not food‑safe.
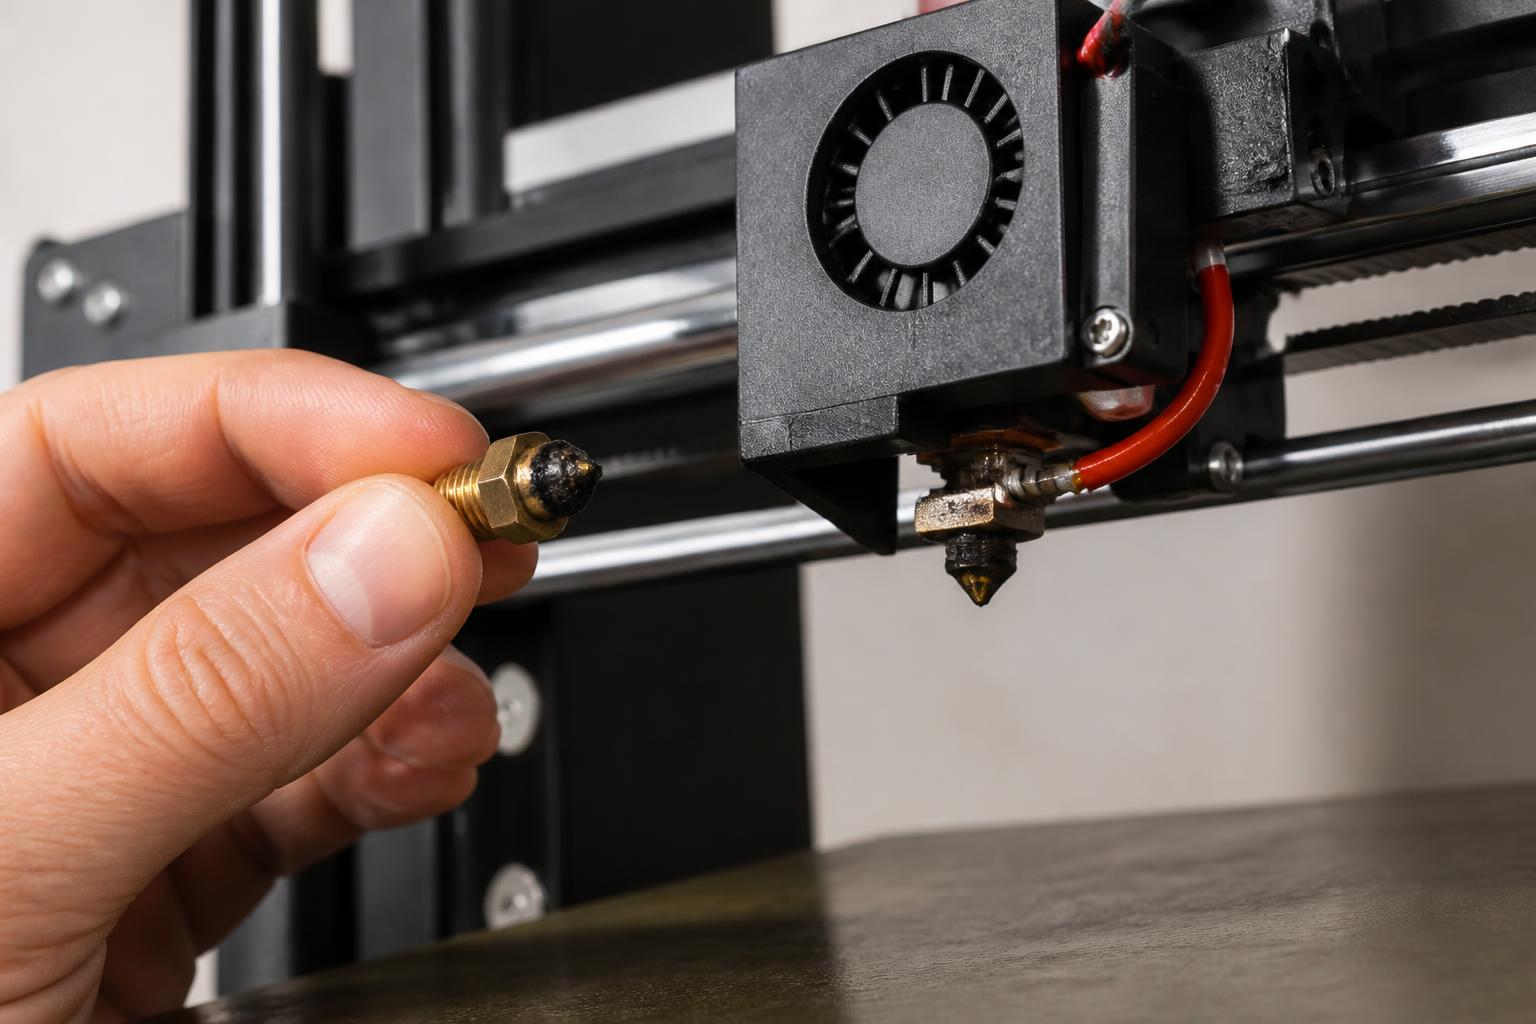
2. Replace the nozzle with a brand‑new 0.4 mm brass nozzle. Dedicate it solely to food‑safe prints. Tiny metal residues from other colors or filaments can leach into food.
3. Set slicer parameters: 0.20 mm layer height, 20 % infill, 4 perimeters, 5 solid top/bottom layers. This density reduces bacterial growth in voids.
4. Post‑process with food‑safe sealer: Sand smooth with 400‑grit wet/dry paper, then apply a food‑safe epoxy sealer (Alumilite Amazing Clear Cast). Do not use acetone or general‑purpose clear coats.
5. Wash by hand only. Dishwashers degrade most 3D‑printed materials over 5–10 cycles.
Escalation signal: If you cannot confirm the filament’s certification after checking the spool label and manufacturer website, do not print food‑contact items. The risk is not theoretical – microscopic layer gaps trap moisture and bacteria, and hot food accelerates leaching of unlabeled additives. Print the cookie cutter as a decorative item only.
Trade‑offs to know before you commit
Every print choice forces a compromise. Here are the three most common ones.
Strength vs. speed: Doubling infill from 20 % to 50 % increases print time by roughly 40 % but only boosts tensile strength about 10–15 % because the walls carry most of the load. Better strategy: increase wall count to 5–6 instead of 4, and keep infill at 25 %. This shaves 20 % off the time while keeping 90 % of the strength.
Material cost vs. reliability: Cheaper PLA (under $18/kg) often has diameter variations of ±0.08 mm and picks up moisture faster. A $22–25 spool like Polymaker PolyTerra or Hatchbox saves you failed prints and jammed nozzles. The $7 difference is cheaper than a half‑failed spool.

Surface quality vs. post‑processing: Printing at 0.08 mm layer height gives a near‑uniform matte surface, but a 20‑hour print can be ruined by one power loss. At 0.20 mm the part finishes in 5 hours, but you will need to sand and prime for a glossy look. If you dislike sanding, stay at 0.16 mm and use ironing on the top layer.
One mismatch worth calling out: Printing a PLA jig for a hot glue gun or soldering iron will soften in contact. The part may deform during use, ruining the fit. A PETG or ABS jig can handle brief contact with 100 °C surfaces, but prolonged exposure still causes creep. For any tool that touches a heat source exceeding 60 °C, verify the material’s glass transition temperature (PETG ~85 °C, ABS ~105 °C) before committing the print time.
Related questions
What is the best 3D‑printed material for outdoor use?
ASA is the go‑to: it prints like ABS but is UV‑resistant and won’t yellow for several years. PETG annealed at 80 °C for 30 minutes improves creep resistance but still degrades in direct sun over 12 months.
Can 3D‑printed parts be made food safe after printing?
Only if you use certified filament, a dedicated nozzle, and seal the part with food‑grade epoxy. Even then, avoid prolonged contact with acidic foods (citrus, tomato) because the sealant may break down over repeated washes. Replace the part every 6 months.
How do I make a 3D print stronger without changing material?
Increase wall count to 5 or 6 perimeters. Orient the part so major loads run parallel to the layer lines (layers are weakest in the Z direction). Use a larger nozzle (0.6 mm or 0.8 mm) to deposit wider beads that fuse better, reducing layer‑line stress risers.
Explore This Topic
- Back to Best 3D Printers
- Back to sc0019
Related guides in this cluster:
- Best 3d printed items: Top Picks & Guide
- 3d print best: Top Picks & Guide
- Best 3d printer multicolor: Top Picks & Guide

Ryan has been operating FDM 3D printers since 2017. He runs a 12-machine print farm. His daily drivers include a Bambu Lab X1 Carbon, Prusa MK4s, and Creality Ender-3 V3s that have logged over 15000 print hours. He started 3D Printer Nerd to provide structured troubleshooting guides with diagnostic order, material-specific parameters, and clear stop points.