Best Things to 3D Print: Useful Items That Earn Their Place
If you own a 3D printer, the best items to print aren’t the gimmicky trinkets that clog every feed. The ones that actually earn their place on your build plate are functional, durable, and tailored to the right material and settings. Below, you’ll find the short list of proven prints that solve real problems, along with the trade-offs that separate a usable part from a failed first layer.
Best 3d printed” /> items: Top Picks & Guide
Quick answer
The most reliable 3D printed items for daily use are:
- Household organizers (e.g., cable clips, drawer dividers) – print in PETG at 0.2 mm layer height, 20% gyroid infill.
- Custom tool holders (e.g., wrench racks, drill bit stands) – use PLA+ for stiffness, 0.28 mm layer height, 40% infill.
- Repair parts (e.g., broken hinge replacements, vacuum adapters) – PETG or ABS, 0.16 mm layer height, 100% infill for high-stress areas.
- Kitchen-safe items (e.g., measuring spoons, funnels) – only with certified food-safe filament and a dedicated stainless steel nozzle. For anything that touches wet or acidic food, buy silicone instead.
Avoid any list that touts “print-in-place” fidgets or articulated dragons as top picks – they’re fun, but they rarely hold up under real use. Focus on prints that solve a recurring annoyance or replace a broken store-bought part.
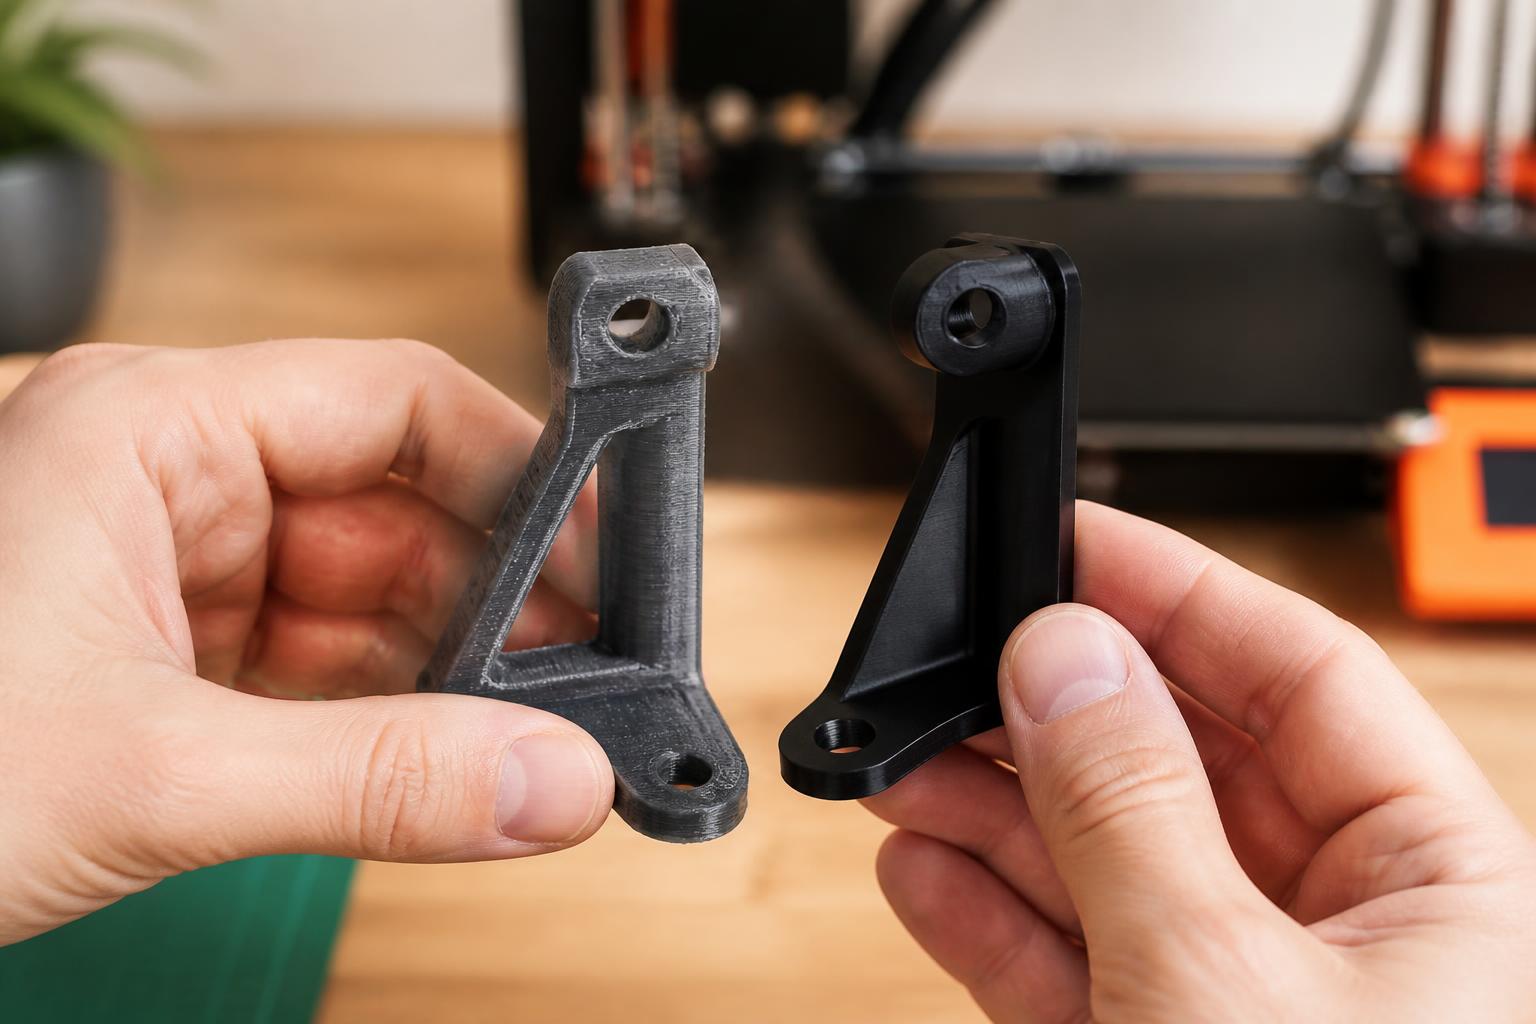
Applicability boundary: The recommendations above assume you have a standard FDM printer (200–300 mm build volume, single extruder, 0.4 mm nozzle). If you own a resin printer, skip these material guidelines—resin parts are brittle and UV-sensitive, not suited for tool holders or repair parts. If your printer lacks an enclosure, cross off ABS and polycarbonate for warp-prone parts unless you can build a temporary enclosure (a cardboard box works for small prints). For builds smaller than 100 mm, you can get away with lower infill (15%) and thinner perimeters (2–3), but the table below still applies.
Comparison framework
The three decisions that separate a great print from a waste of filament are material choice, infill strategy, and layer height. Here’s how they stack up for the most common use cases.
| Use Case | Best Material | Why Not the Other | Infill Range | Layer Height | Expected Print Time (100g part) |
|---|---|---|---|---|---|
| Household organizer (indoor, low temp) | PETG or PLA+ | PLA deforms above 50°C; PETG is overkill for cable clips | 15–20% gyroid | 0.20 mm | 2–3 hours |
| Tool holder (workshop, bench) | PLA+ or PETG | ABS adds no benefit indoors; ABS fume issues | 30–40% rectilinear/gyroid | 0.28 mm | 3–5 hours |
| Repair part (medium load, up to 70°C) | PETG | PLA softens too quickly near a dryer vent | 20–40% (100% for stress points) | 0.16 mm | 4–6 hours |
| Repair part (high load, >70°C) | ABS or PC (enclosure required) | PETG warps above 80°C; PC needs 300°C hotend | 40–100% | 0.16 mm | 6–10 hours |
| Kitchen item (dry goods only) | Certified food-safe PLA (e.g., Proto-Pasta HTPLA) | No standard PLA is certified; colored filaments contain non-food additives | 99% infill | 0.10 mm | 8–12 hours |
Practical implication your next decision: If the part will sit in a room that gets sunlight or near a window, rule out PLA immediately – it will warp on its own at 50°C, and a sunny windowsill can hit 60°C. For repair parts, if you cannot confirm the service temperature, err on the side of PETG (safe to ~75°C) and avoid using the part above that threshold. If you are swapping a broken fan shroud on a 3D printer itself, use ABS or PC – the hotend area regularly exceeds 70°C.
Verification step on your machine: Before committing to a material or print profile, run a temperature tower for that specific filament. Load the gcode (available on Thingiverse/Printables for your printer profile), print it, and check the bridging quality at each temperature. This single 30-minute test eliminates stringing, warping, and layer adhesion failures before you waste a multi-hour print. For PETG, look for clean bridging at 230–240°C; if you see excessive stringing, increase retraction (4–6 mm at 35 mm/s) and lower nozzle temp 5°C.
Best-fit picks by use case
Household organizers that actually work
Cable clips and cable management channels are the highest-ROI prints. They’re small, print fast, and eliminate the tangled desk mess.
- Recommended design: cable clip with adhesive backing (screwless)
- Material: PETG (better UV and heat resistance than PLA for near-window use)
- Slicer settings: 0.2 mm layer height, 3 perimeters, 20% gyroid infill, no supports
- Printer tip: Check first-layer adhesion – PETG can string if nozzle temperature is too high. Start at 230°C nozzle, 75°C bed.
Drawer dividers also work well, but they need precise dimensions. Verification step: Measure the drawer width with calipers, then subtract 1 mm for a snug fit. Use a parametric model (like the OpenSCAD “drawer divider” on mainstream repositories). Print in PLA or PETG at 0.2 mm layer height, 15% rectilinear infill. The risk: warping across long spans – use a brim and a heated chamber or enclosure if your printer has one.
Custom tool holders for the workshop
A 3D printed drill bit stand keeps your bits organized and accessible. The common failure: bits tip over because the holes are too loose or the base is too light.
- Fix: Print with 100% infill for the base (about 3–4 mm thick) and use a tight interference fit for the holes (undersize by 0.2 mm over nominal bit diameter).
- Material: PLA+ or PETG. ABS is overkill unless you’re leaving the holder in a hot car.
- Layer height: 0.28 mm for speed, 0.16 mm if you want clean lettering.
- Warning: With 100% infill, the part will take 6+ hours. Pause at the first layer to confirm adhesion, then walk away.
Wrench racks (wall-mounted) are another heavy user. Print them flat on the bed to avoid layer-line shear. Use 4 perimeters, 30% infill, and at least 8 mm thickness. If the rack snaps under a large wrench (e.g., a 15mm wrench exceeding 20 Nm), increase wall count to 6 and bump infill to 40%.
Realistic mismatch/trade-off: Using PLA for a drill bit stand left in an uninsulated garage during summer will cause the base to soften and sag – the bits will slowly tilt. PETG resists that, but it prints with more stringing. You can clean strings with a heat gun (quick pass, 300°C, 6 inches away) or by sanding. If you absolutely need zero cleanup, print the base in PLA and the bit holder in PETG – but then you have two separate components that may not fit perfectly.
Repair parts that keep you from buying new
When a plastic part breaks on a vacuum, fan, or car interior, a 3D replacement is often cheaper and faster than ordering OEM. The critical decision: material strength vs. ease of printing.
- For low-stress replacements (e.g., a remote battery cover): PLA works fine. Use 3 perimeters, 20% infill, 0.2 mm layer height.
- For medium-load parts (e.g., a broken hinge on a plastic tool case): PETG or ASA. PETG at 245°C, bed at 80°C, and a brim. Avoid excessive cooling – disable part-cooling fan for the first 5 layers, then set fan speed to 30%.
- For high-stress or heat-exposed parts (e.g., a bracket near a dryer vent): ABS or polycarbonate. ABS requires an enclosure, bed at 100°C, and a slow print speed (40 mm/s). Polycarbonate needs a hotend capable of 300°C and an all-metal hotend.
One consistent failure: printing a replacement hinge with the layer lines running parallel to the bend axis. Always orient the part so layer lines run perpendicular to the direction of stress. Verification step: Before slicing, use the “lay flat” orientation check in your slicer – the part should have the longest dimension along the X/Y plane and the bending load across layers. If you can’t orient it that way without supports, accept the reduced strength and reinforce the part with an added fillet at the stress corner.
Practical implication: If you can’t verify the temperature near the repair location, choose PETG over PLA as a safer default. PETG is tougher than PLA under impact and won’t degrade below 70°C. But if the part is thin (under 3 mm) and needs flexibility (e.g., a snap-fit tab), PETG may crack instead of flexing. In that case, TPU (shore 95A) is a better choice – just expect to slow print speed to 20–30 mm/s and use a direct-drive extruder.
Kitchen-safe items (proceed with caution)
The biggest blocker is the lack of certified food-safe 3D printer filament. No standard PLA or PETG is approved for direct food contact because the printing process creates micro-crevices that harbor bacteria, and the additives in colored filaments may not be food-grade.
- If you still want to print a measuring spoon or a funnel, use only “food-safe” PLA from a manufacturer that provides a certificate (e.g., Proto-Pasta HTPLA). Swap to a brand-new stainless steel nozzle (brass contains lead), and use a dedicated print surface that has never touched non-food filaments.

- Print settings: 0.1 mm layer height to minimize crevices, 99% infill, and anneal the part per manufacturer instructions to close micro gaps.
- Bottom line: For anything that contacts wet or acidic food, buy a kitchen-grade silicone or stainless steel item instead. A 3D printed funnel for dry goods only is the safest compromise.
Realistic mismatch/trade-off: Even with certified filament and a dedicated nozzle, the surface roughness of a 3D printed part (Ra typically 10–50 µm) is far higher than injection-molded silicone (Ra < 1 µm). Bacteria adhere more easily. The FDA requires that food-contact surfaces have no crevices deeper than 0.1 mm; a 0.1 mm layer height print still leaves microscopic channels between layers. Annealing helps but doesn’t eliminate them. If you print a measuring spoon, use it only for dry flour or sugar, wash it in the dishwasher (top rack, if the material tolerates 70°C), and replace it after six months.
Trade-offs to know
| Trade-off | What it means | When to accept it |
|---|---|---|
| PLA vs. PETG | PLA prints easily (190–210°C, no enclosure) but deforms above 50°C. PETG resists heat better but strings more. | Use PETG for any part near a window, a car, or a hot appliance. Use PLA for indoor, low-temp organizers. |
| Print speed vs. strength | Running at 0.28 mm layer height cuts time by 30% but reduces layer adhesion. | Save fast layers for simple clips; use 0.16 mm for anything that bears load. |
| Infill percentage | More infill adds weight and strength fast, but diminishing returns above 40% for geometry-driven strength. | 20% for general utility, 40% for load-bearing, 100% only for the base of a tool holder or a small high-stress part. |
|
| Print-in-place mechanisms | Popular designs (e.g., articulated dragons) look impressive but often have poor tolerances, leading to loose joints or pieces that snap off. | Skip them unless you enjoy post-processing with a file. Instead, print assembled parts with separate pins. |
| Nozzle size for kitchen prints | Using a 0.4 mm nozzle forces a minimum 0.2 mm layer height, leaving wider crevices. A 0.25 mm nozzle allows 0.1 mm layers but doubles print time. | Only use the finer nozzle if you are committed to the kitchen-safe workflow and have a spare hotend assembly. |
Skip the “giant” prints. A 3D printed vase that takes 30 hours and 500 g of filament will cost you more in material and electricity than a glass vase from Target. The best 3D printed items are the ones that exploit additive manufacturing’s real advantage: custom fit, one-off replacement, and complex geometry that can’t be machined.
Related questions
Are 3D printed items strong enough for everyday use?
Yes, if you match material to load. PETG and ABS can handle household abuse. A properly printed wrench (100% infill, 6 perimeters) can tighten a bolt up to about 20 Nm before the layer lines shear.
What’s the most useful 3D printed item I can make today?
Cable clips or a wall-mounted toothbrush holder. Both print in under an hour, use minimal filament, and immediately fix a minor annoyance.
Can I 3D print food-safe kitchen items?
Only with certified food-safe filament, a dedicated stainless steel nozzle, and post-processing to seal surface gaps. For wet or greasy food, buy a molded silicone tool instead.
Why do my 3D printed parts warp, especially in PETG?
Warping is caused by rapid cooling shrinkage. Keep the bed at 75–80°C for PETG, use a brim, and avoid large, thin flat areas. An enclosure helps significantly for larger prints.
Explore This Topic
- Back to Best 3D Printers
- Back to sc0019
Related guides in this cluster:
- Best 3d printed stuff: Top Picks & Guide
- 3d print best: Top Picks & Guide
- Best 3d printer multicolor: Top Picks & Guide

Ryan has been operating FDM 3D printers since 2017. He runs a 12-machine print farm. His daily drivers include a Bambu Lab X1 Carbon, Prusa MK4s, and Creality Ender-3 V3s that have logged over 15000 print hours. He started 3D Printer Nerd to provide structured troubleshooting guides with diagnostic order, material-specific parameters, and clear stop points.