The Real Cost of Cheap 3D Printing: It’s Not Just the Sticker Price
You can get a functional 3D printer for under $200, and a large-format machine for around $400—but the upfront price is only half the story. The real cost shows up in the hours you spend tuning, the filament you waste on failed first layers, and the replacement parts you buy when a cheap extruder cracks mid-print. The key is knowing which budget machine has trade‑offs you can live with and which one will nickel‑and‑dime you into frustration.
low cost” />
What $150–$200 Buys Today (and What It Costs You in Time)
A $150–$200 FDM printer today includes features that would have cost $500 a few years ago: auto bed leveling, a heated bed (typically 60–100°C), and a print volume around 220×220×250 mm. The $99–119 Creality HALOT R6 is a resin printer, which shifts the cost picture entirely—resin plus a wash‑and‑cure station adds $100–200. For most hobbyists, a cheap FDM machine like the Sovol SV06 or Creality Ender 3 V3 SE is the sensible entry point.
What you lose at that price:
- Reliable out‑of‑the‑box first layers – you will need to dial in Z‑offset and bed mesh yourself.
- Consistent extrusion above 230°C – budget hotends often use low‑quality heat breaks that cause heat creep.
- Durable motion components – plastic parts and undertensioned belts introduce ringing or Z‑banding after 200–300 hours of use.
- Quiet operation – older stepper drivers (A4988) are common, so expect whine and vibration noise.
Plan on spending 10–15 hours of setup and tuning before you get a successful print. That time is part of the real cost.
Practical implication: If you are willing to trade time for money, a sub‑$200 printer can deliver decent results for PLA and PETG. But if your goal is reliable functional parts or printing materials above 240°C, you will need to budget for upgrades or start at a higher price point.
The Most Expensive Failure Mode (and How to Catch It Before You Print)
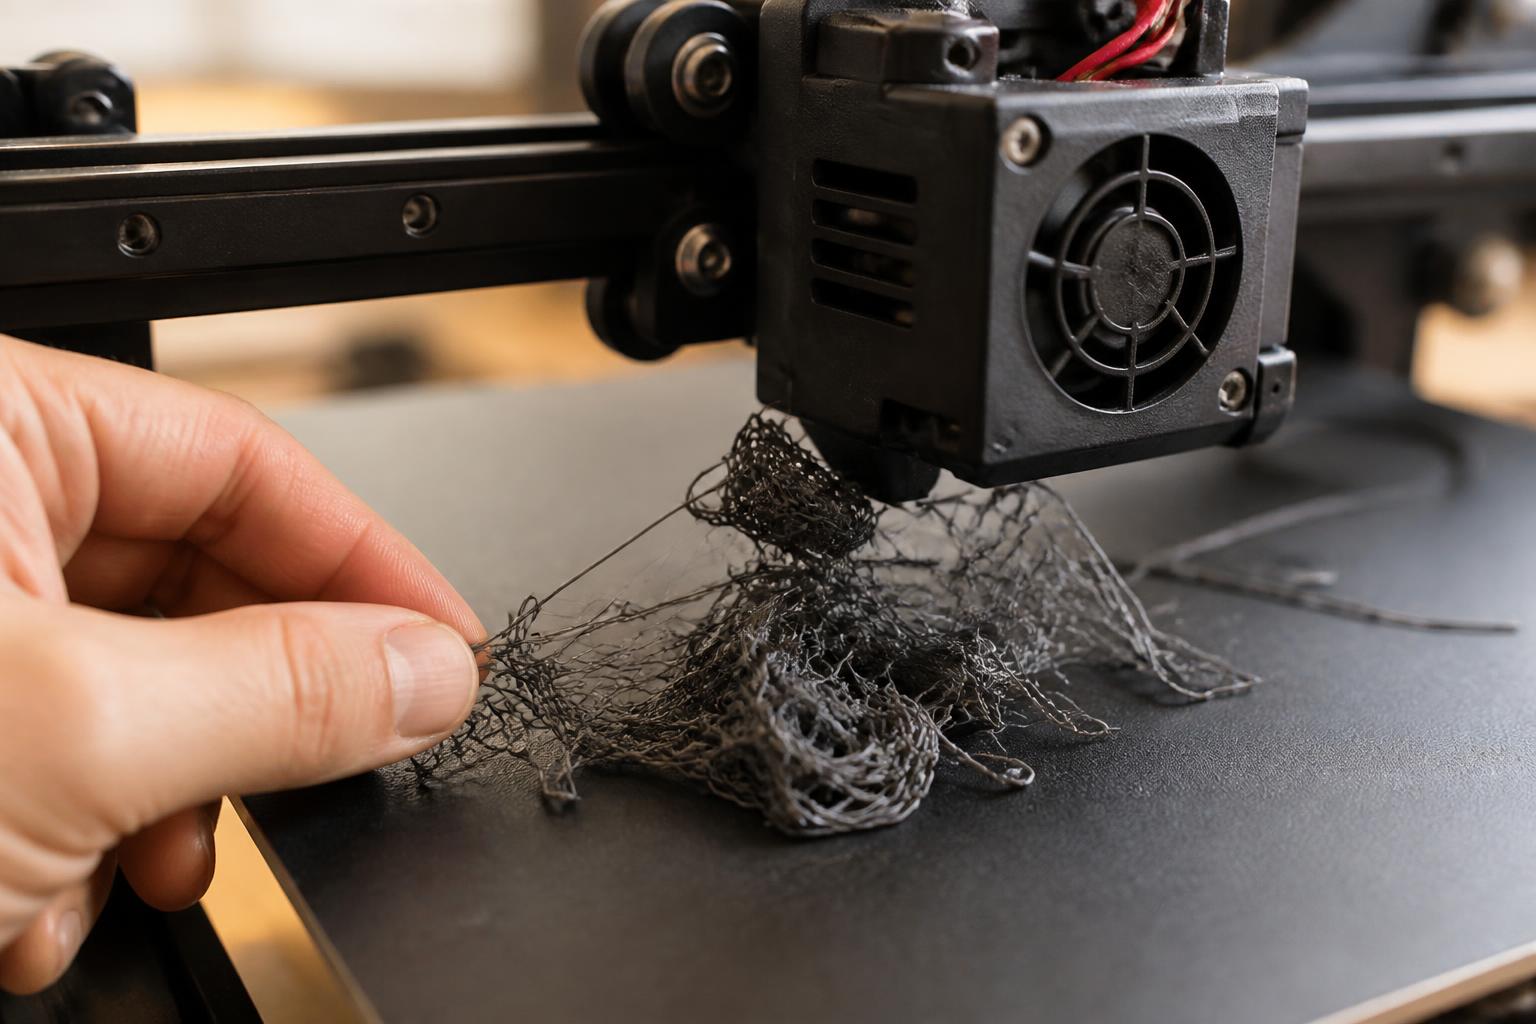
The single biggest time‑waster on a budget printer is repeated first‑layer failure caused by a warped bed paired with a marginal leveling system. You cannot see this while the printer runs—you only see the aftermath: a blob of filament welded to the nozzle, a print that curls off the plate at hour three, or a ruined PEI sheet.
Applicability boundary: This failure mode affects budget FDM printers with stamped aluminum beds (common on Creality Ender 3 series and clones). It does not apply to resin printers or machines with cast aluminum tooling plates, such as the Prusa MK4 or Bambu Lab A1 Mini.
How to Detect It Before Your First Print
Follow these steps in order:
1. Heat the bed to 60°C and let it soak for five minutes. This simulates real print conditions—a cold bed may appear flat but warps as it expands.
Checkpoint: If the bed surface feels uneven to the touch after soaking, proceed to step 2.
2. Place a straightedge diagonally across the bed and shine a flashlight behind it. If you see light gaps wider than 0.1 mm in the center or corners, the bed is warped.
Checkpoint: A single gap up to 0.15 mm may be correctable with mesh compensation. Gaps wider than 0.2 mm will cause consistent adhesion problems.
3. Run the printer’s auto‑leveling routine, then manually check each corner with a feeler gauge set to 0.1 mm. If the difference between the highest and lowest probe point exceeds 0.2 mm, the mesh compensation may not fully correct the surface.
Checkpoint: Variation between 0.1 mm and 0.2 mm is manageable with manual tramming. Above 0.2 mm, you need a flatter surface or a glass plate.
Verification step: After running the auto‑leveling, use the printer’s menu to view the bed mesh values. If any single cell is more than ±0.2 mm from the mean, write those values down—you will need to manually adjust Z‑offset for that area in the slicer.
If You Catch Warping Early
- Add a borosilicate glass bed ($10–15). This provides a flat surface and consistent adhesion for PLA and PETG. Do not use picture‑frame glass—it may shatter under thermal stress.
- Raise bed temperature by 5–10°C to compensate for heat loss through the glass. For PLA, set the bed to 65°C instead of 60°C; for PETG, 85°C instead of 80°C.
- Use a wide brim (8–10 mm) on all prints until you confirm the mesh is reliable. Set the brim line distance to 0.0 mm in the slicer to ensure solid adhesion.
- Verify your Z‑offset again after installing glass—the change in bed thickness shifts the nozzle‑to‑bed gap.
Trade‑off: A glass bed eliminates warping but adds weight (about 300–400 g on a 220 mm bed) and increases bed inertia, which may require you to lower acceleration settings to avoid ringing. Glass also reduces bed temperature uniformity by 2–4°C across the surface, so you may see slightly weaker first‑layer adhesion near the corners.
When to Escalate
If, after adding glass and manual tramming, you still get first‑layer gaps or elephants‑foot bulging, the printer’s Z‑axis leadscrew or coupler is likely misaligned. This is a return‑or‑refund signal for any machine under $300—do not spend more time chasing it.
Success check: After the glass bed and a three‑point manual tram, you should be able to print a single‑layer 100×100 mm square with no gaps or ridges. If that prints cleanly, your bed warping is solved.
Budget Printer Comparison Under $400
The table below covers the most common budget FDM models that real owners actually recommend, along with the key limitation that tends to bite new users.
| Printer | Typical Price | Build Volume (mm) | Key Limitation | Who Should Skip |
|---|---|---|---|---|
| Creality Ender 3 V3 SE | $179–$199 | 220×220×250 | Plastic extruder arm can crack under tension | Anyone who prints above 240°C or uses abrasive filaments |
| Sovol SV06 | $199–$229 | 220×220×250 | Inductive sensor requires a metal build plate; no touch probe | If you want automated leveling without manual Z‑offset tweaks |
| Sovol SV08 Max | ~$400 | 350×350×400 | Large bed increases thermal gradient risk; input shaper needs tuning out of the box | If you mostly print small parts, the extra size adds headache without benefit |
| Anycubic Kobra 2 Neo | $199–$219 | 220×220×250 | Direct‑drive extruder can skip with flexible filament; firmware is closed source | If you need custom G‑code macros or plan to print TPU regularly |
Why the SV08 Max at $400 deserves a look: It gives you a 350 mm³ build volume for the price of a mid‑sized printer. But that large bed introduces a higher risk of thermal gradients—you will need a draft shield and a consistent room temperature (68–76°F) to print large PLA parts without warping. The extra build volume is wasted if you mostly print parts smaller than 150 mm.
When $150 Extra Saves You Money
Moving from $200 to $350–400 changes the game in three specific ways:
- Reliable motion system – Printers like the Bambu Lab A1 Mini ($299) or the Sovol SV08 Max use linear rails or robust V‑slot extrusions with belt tensioners that stay tight for hundreds of hours. On a $200 printer, expect belt adjustments every 50–100 hours.
- Better hotends – All‑metal heat breaks rated for 260°C+ let you print PETG without PTFE tube degradation and attempt nylon blends with an enclosure. A budget hotend degrades PTFE above 230°C, releasing toxic fumes and causing jams.
- Automatic Z‑offset and first‑layer calibration – The Bambu A1 Mini adjusts its own bed mesh and Z height within the first two layers, eliminating the single biggest failure mode of cheap printers.
Practical implication: If you plan to print more than 10 kg of filament total, the extra $150 is paid back in saved time before the second spool is done. The $200 printer that requires 15 hours of setup and constant tuning will cost you more in frustration than the difference in sticker price.
Fast Fit Check
| If you… | Budget printer works? | Alternative suggestion |
|---|---|---|
| Just want to print small PLA parts occasionally | Yes, under $200 is fine | Start with an Ender 3 V3 SE or Sovol SV06 |
| Need dimensionally accurate functional parts | Risky without linear rails | Look at a used Prusa MK3S+ or Bambu A1 Mini |
| Plan to print nylon or polycarbonate | No – budget hotend cannot sustain over 260°C | Get a machine with a full‑metal hotend and enclosure capability |
| Hate tinkering and just want prints to work | No – budget equals setup time | Bambu A1 Mini or a refurbished Prusa Mini |
FAQ
What is the total cost of entry for 3D printing on a budget?
For FDM, plan on printer ($200), one spool of PLA ($20), an extra nozzle set ($10), a glue stick or PEI sheet ($10), and a filament dryer ($35) if you live in a humid area. Total is roughly $275. Resin adds $85–150 for a wash‑and‑cure station and PPE.
How long does a cheap printer typically last before needing major repairs?
A budget FDM printer with proper maintenance usually lasts 500–800 print hours before the extruder or hotend needs replacement. The heated bed and lead screws can last longer, but belts stretch and plastic parts degrade sooner.
Can I upgrade a cheap printer over time to match mid‑range performance?
Yes, partially. Adding a glass bed, all‑metal hotend, and silent stepper drivers can improve print quality and noise, but the frame and motion system remain limitations. After $150 in upgrades, you would have been better off buying a $350 printer from the start.
Explore This Topic
- Back to Best Printer by Budget
- Back to sc0007
Related guides in this cluster:

Ryan has been operating FDM 3D printers since 2017. He runs a 12-machine print farm. His daily drivers include a Bambu Lab X1 Carbon, Prusa MK4s, and Creality Ender-3 V3s that have logged over 15000 print hours. He started 3D Printer Nerd to provide structured troubleshooting guides with diagnostic order, material-specific parameters, and clear stop points.