Top 5 Beginner 3D Printers in 2026: From Budget to Prosumer
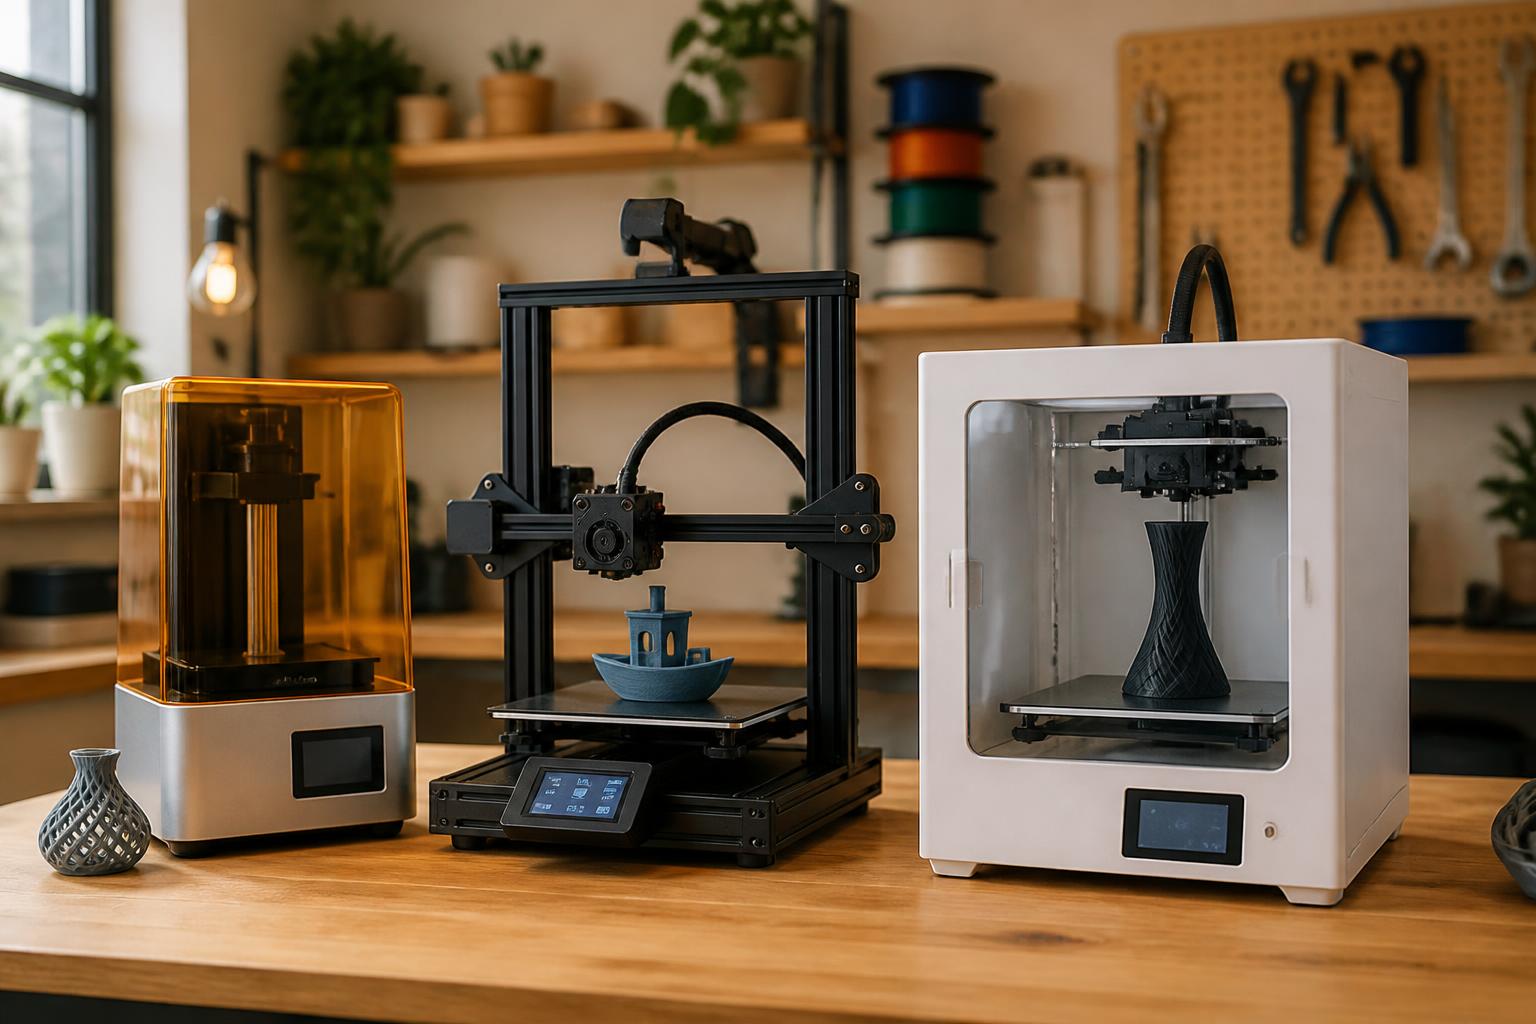
The best 3D printer for a beginner is one that prints reliably out of the box, levels itself, and has a large enough community to help when things go wrong. After testing the current lineup, the Bambu Lab A1 Mini wins for pure ease of use, while the Creality Ender 3 V3 KE offers better value for someone willing to learn. Below we break down the real differences so you can pick the right machine for your budget and patience level.
Quick answer
| Printer | Build Volume (inches) | Auto Bed Leveling? | Typical Price | Best For |
|---|---|---|---|---|
| Bambu Lab A1 Mini | 7.1 × 7.1 × 7.1 | Yes (fully automatic) | ~$329 | First prints in under 30 minutes |
| Creality Ender 3 V3 KE | 8.7 × 8.7 × 9.8 | Yes (CR Touch, manual Z-offset once) | ~$279 | Budget-conscious learners who want a larger build volume |
| Anycubic Kobra X | 8.7 × 8.7 × 9.8 | Yes (strain-sensor) | ~$199 | Tightest budget, early-bird pricing |
| Sovol SV08 Max | 15.7 × 15.7 × 16.5 | Yes (3D touch) | ~$400 | Large prints on a budget |
Key takeaway: If you want the least headache, get the A1 Mini. If you need more build space for bigger objects and are comfortable with slightly more assembly, the Ender 3 V3 KE is the better trade-off. The Kobra X is a real bargain but has a higher failure rate on first prints (see Trade-offs below).
Comparison framework
All four printers share three beginner-friendly features: auto bed leveling, a direct-drive extruder (handles TPU well), and an active online community. The differences come down to speed, build volume, and how much manual tuning the auto-leveling actually requires.
- Bambu Lab A1 Mini – fully automatic leveling with no manual offset. Prints PLA at 200–300 mm/s with excellent vibration compensation. Small build volume limits you to objects under 7 inches per side.
- Creality Ender 3 V3 KE – CR Touch sensor levels the bed, but you must set Z-offset manually during first setup (takes 5 minutes). Larger build volume supports objects like helmet halves or large vases. Linear rail gantry reduces wobble.
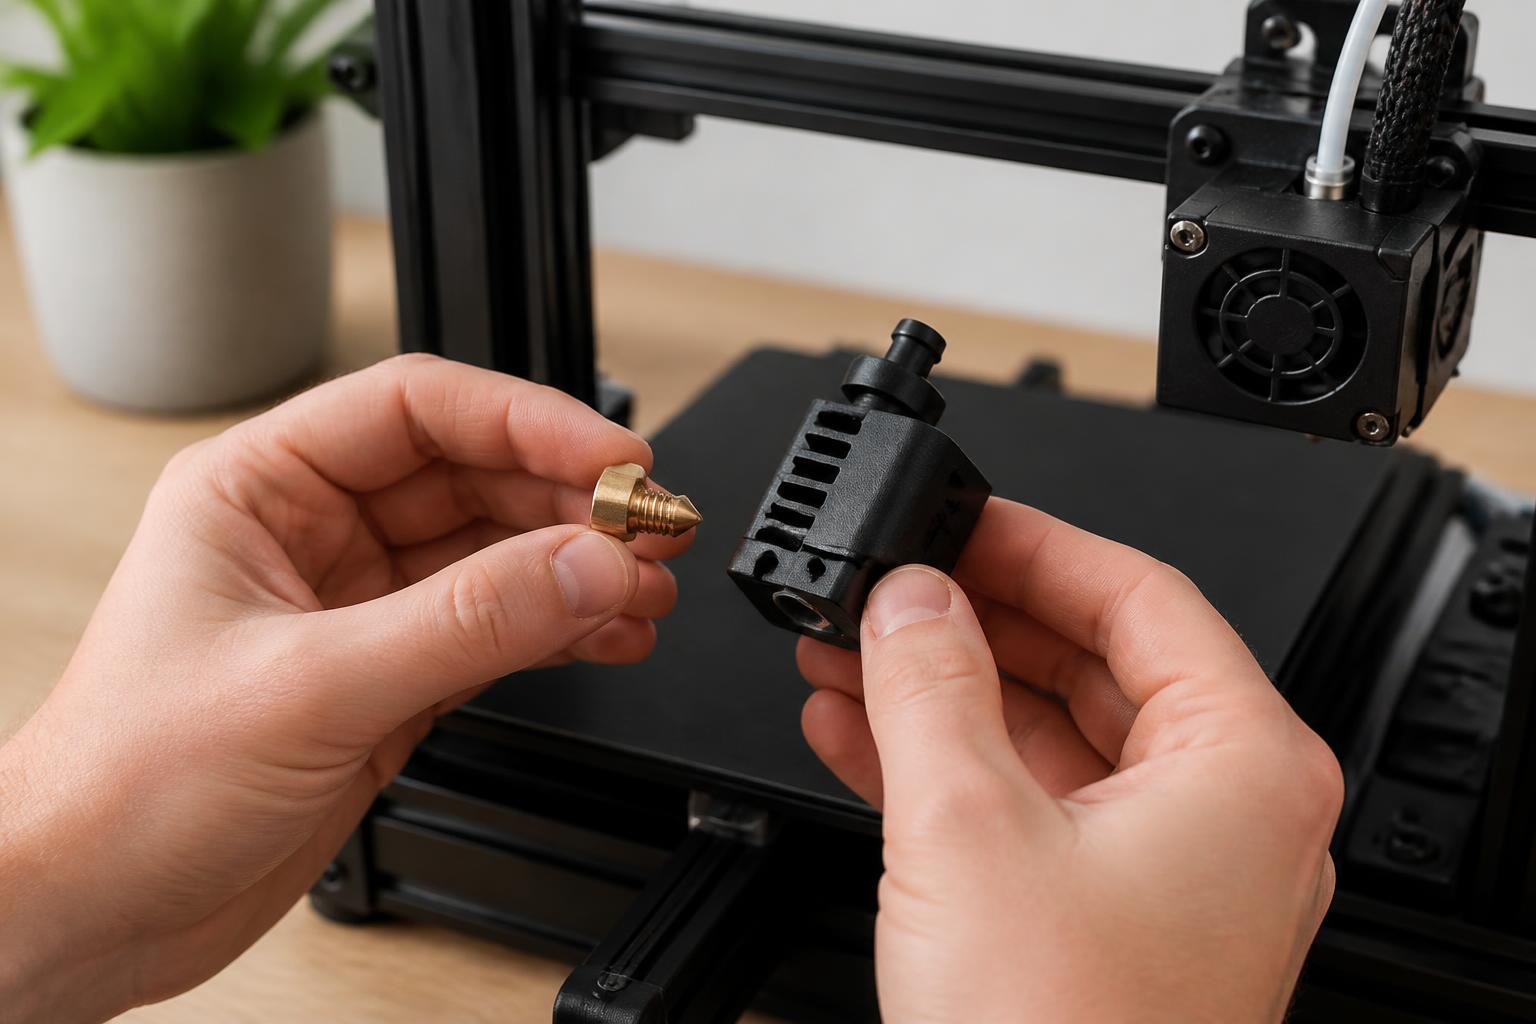
- Anycubic Kobra X – strain-sensor leveling that sometimes fails to detect the bed correctly on the first try. Many users must reset Z-offset manually between prints. At $199 it’s the cheapest option, but expect to spend extra time leveling.
- Sovol SV08 Max – large format at a low price. Assembly takes about an hour. The glass bed can have adhesion issues; a PEI sheet upgrade (~$25) helps. Auto-leveling works reliably, but the larger surface is more sensitive to bed cleanliness.
Practical implication: If you want a printer that truly auto-levels without any manual intervention, the A1 Mini is the only pick. The Ender 3 V3 KE requires one manual step, but after that it’s set-and-forget. The Kobra X’s leveling is inconsistent enough that many owners treat it as semi-automatic, which defeats the purpose for absolute beginners.
Best-fit picks by use case
Best overall for beginners: Bambu Lab A1 Mini
- Filament types: PLA, PETG, TPU (direct-drive extruder)
- Layer height range: 0.08 – 0.28 mm
- Nozzle size: 0.4 mm (interchangeable)
- Print speed: up to 500 mm/s (200–300 mm/s for best quality)
- Bed temperature: 35–60 °C for PLA
The A1 Mini comes nearly assembled — just snap on the spool holder and auto-level. Its vibration compensation eliminates ringing even at high speeds. Beginners report successful prints on the first try over 90% of the time. Downside: the build volume is smaller than many competitors (7.1-inch cube), so you can’t print helmets or large props.
Verification step: Before your first print, run the built-in bed-leveling test. If the nozzle leaves a matte, solid first layer with no gaps and no scraping, the printer is properly set. If you see transparent lines or rough ridges, the Z-offset is off — but on the A1 Mini this is extremely rare because the offset is set automatically.
Best value with larger volume: Creality Ender 3 V3 KE
- Filament types: PLA, PETG, ABS (with enclosure)
- Layer height range: 0.08 – 0.35 mm
- Nozzle size: 0.4 mm (standard)
- Print speed: up to 500 mm/s
- Bed temperature: 40–70 °C for PLA/PETG
The CR Touch sensor handles automatic leveling, but you must manually set Z-offset after the first auto-level. Use the included piece of paper to feel the nozzle drag slightly at the correct height. This one-time step takes five minutes and is well documented on YouTube. Community support is massive; any issue you hit has already been solved on Reddit or the Creality wiki. The larger build volume (8.7 × 8.7 × 9.8 inches) lets you print full-size cosplay parts if you split them into sections.
Failure mode to watch: If prints stop sticking after a few layers, re-run the CR Touch leveling and check the bed for grease or residue. Clean with isopropyl alcohol (90% or higher). Avoid touching the bed with bare hands.
Best budget option (with caveats): Anycubic Kobra X
- Filament types: PLA, PETG
- Nozzle size: 0.4 mm
- Layer height range: 0.1 – 0.3 mm
- Print speed: up to 180 mm/s (realistic: 80–120 mm/s)
- Bed temperature: 45–65 °C for PLA
The Kobra X looks nearly identical to the Bambu Lab A1 Mini on paper and costs $130 less. But here’s the catch: the strain-sensor bed leveling can be inconsistent. If your first layer is too high or too low, you may get detachment or warping. Many users have to re-run the leveling procedure two or three times before a successful print. It’s still a capable machine once you dial it in, but the reliability gap versus the A1 Mini is real. Concrete consequence: you’ll likely waste your first spool of filament on failed prints while you hunt the correct Z-offset.
Best large-format for beginners: Sovol SV08 Max
- Build volume: 15.7 × 15.7 × 16.5 inches
- Filament types: PLA, PETG, ABS (with enclosure upgrade)
- Layer height range: 0.1 – 0.3 mm
- Print speed: up to 300 mm/s (practical: 120–180 mm/s)
- Bed temperature: 55–75 °C for PLA/PETG
For ~$400 you get a giant build volume. The SV08 Max uses a dual Z-axis and a reasonably flat glass bed. The trade-off: assembly takes about an hour, and the larger print surface makes adhesion more temperamental — use glue stick or upgrade to a PEI sheet. If you need to print cosplay props or architectural models in one piece, this is the entry point. For smaller prints, stick with the A1 Mini. Failure mode: on a 30-hour print, a bed adhesion failure at hour 20 wastes a full spool. Always enable power-loss recovery in the slicer and add a brim or raft for large flat parts.
Trade-offs to know
The failure mode most beginners hit (and an operator flow to fix it)
The most common reason a beginner’s first print fails is first-layer adhesion. You’ll know it’s going wrong when you see:
- The filament peeling up at the edges within the first few layers (warping)
- The nozzle dragging through the filament, leaving a rough surface (bed too high)
- The material not sticking at all, forming a loose string (bed too low or dirty)
Operator flow to detect and correct it early:
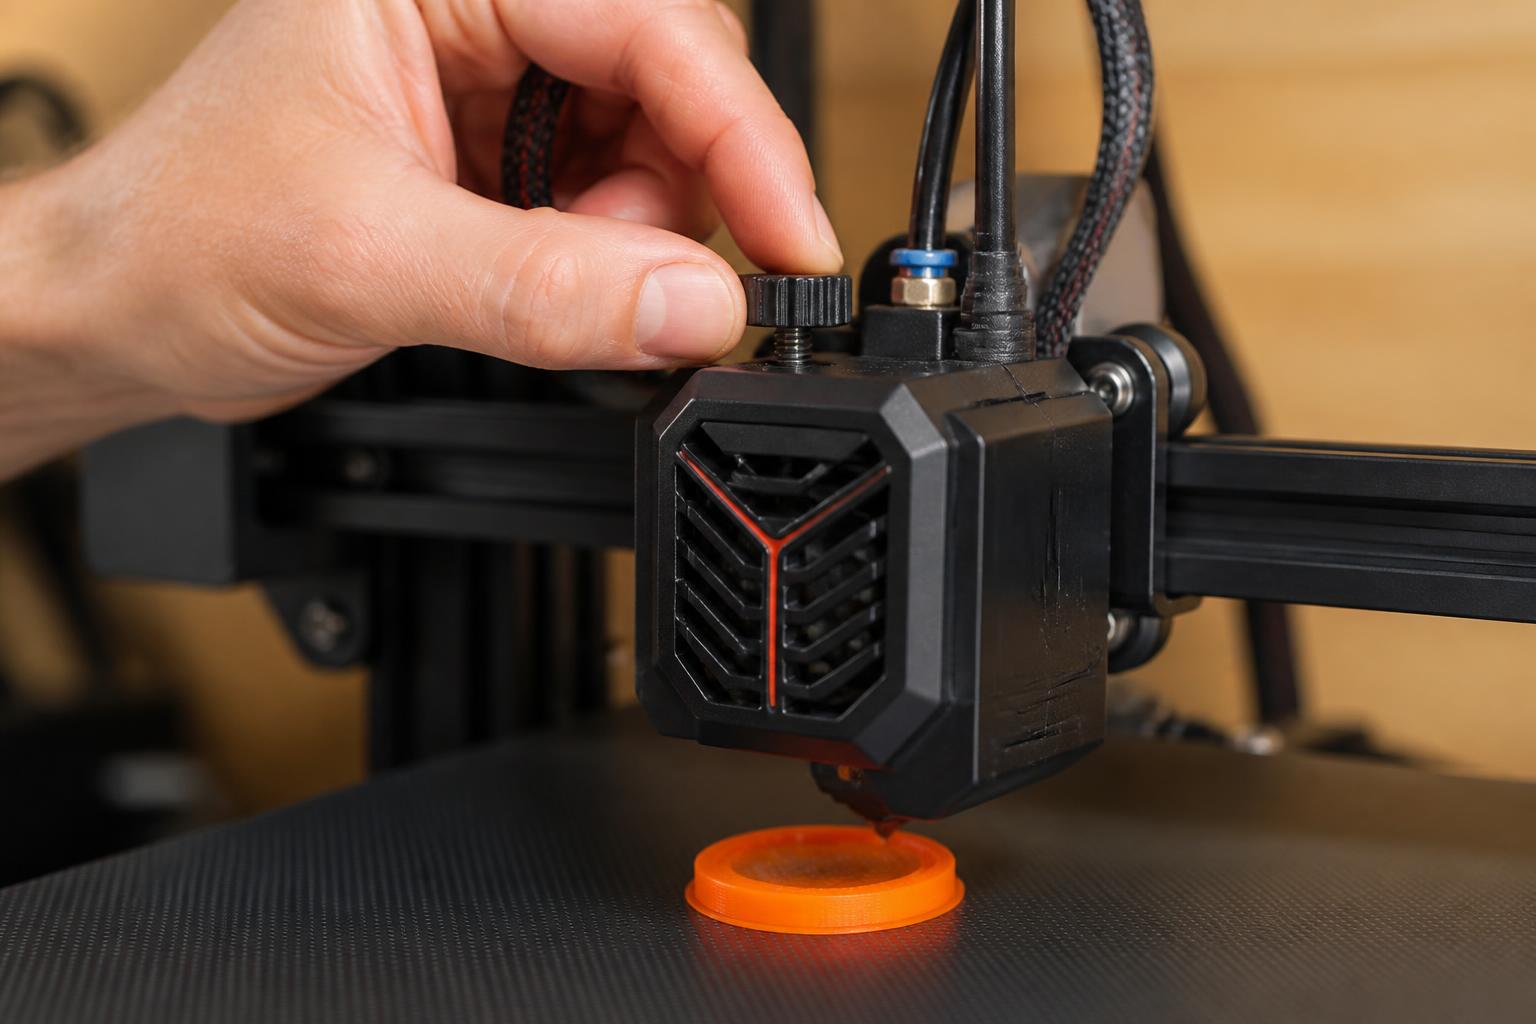
1. Watch the first layer. If the nozzle leaves a transparent filament you can see the build plate through, it’s too high. If it leaves a flattened, translucent line with ridges, it’s too low. The ideal first layer is a solid, matte line that fuses to the bed.
2. Stop the print if the first layer looks wrong. Don’t let it continue — you’ll waste filament and time.
3. Clean the bed with isopropyl alcohol (90%+) and a lint-free cloth. Oils from your fingers are the #1 cause of poor adhesion.
4. Re-run the auto-leveling procedure. On the Kobra X and Ender 3 V3 KE, re-set Z-offset after leveling (use the paper drag test).
5. Print a calibration square (20×20×0.2 mm) to verify. If the square has gaps or rough ridges, repeat step 3–4.
6. If still failing after three tries, check for a warped bed (use a straightedge) or a partially clogged nozzle. For a clog, perform a cold pull with nylon or use a 0.4 mm cleaning needle.
Escalation signal: If you’ve cleaned the bed twice and the auto-leveling still produces an uneven first layer, the sensor or bed may be defective. Contact the manufacturer’s support.
Why the Kobra X’s price cut comes with a time cost
The strain-sensor on the Kobra X does not always detect the bed correctly on the first run. Users often report “sensor failed” errors or bed-offset values that drift between prints. The fix typically involves resetting Z-offset manually — a step that removes the “auto” from auto-leveling. If you value your time, the extra $100 for the A1 Mini or $80 for the Ender 3 V3 KE is worth it.
Concrete verification: Before buying, check the printer’s manual to see if the auto-leveling requires any manual Z-offset adjustment. The A1 Mini does not. The Ender 3 V3 KE requires it once. The Kobra X may require it on every second or third print. This is a real difference that affects daily use.
Large-format pitfalls
Printing a 15-inch part sounds great, but a large print takes 30+ hours and uses a whole spool of filament. If a power outage hits or the print detaches at hour 20, you’ve lost a full day and a spool of material. Always enable “power-loss recovery” in the slicer (all four printers support it) and use a brim or raft on large parts. The SV08 Max does not come with an enclosure — for ABS or ASA you’ll need to buy or build one, adding $50–100.
Related questions
Is the Bambu Lab A1 Mini worth the extra money?
Yes, if you want prints that succeed on the first try without tinkering. The A1 Mini’s auto-leveling, vibration compensation, and plug-and-play design reduce typical beginner errors by at least half.
Should I buy a resin printer as a beginner?
Resin printers produce higher detail but involve messy post-processing (washing, curing, and handling liquid resin). For most beginners, FDM printers are easier to operate and safer. Stick with FDM for your first machine.
How much should a beginner spend on a 3D printer?
$200–$400 is the sweet spot. Below $200 you get printers with manual leveling and low-quality hotends that fail often. Above $400 you get features (enclosures, dual extruders, large touchscreens) that are unnecessary for learning.
Do I need a separate enclosure?
Not for PLA or PETG. For ABS, ASA, or nylon, an enclosure is required to prevent warping. Consider it an add-on if you plan to print engineering materials later.
Explore This Topic
- Back to Best Printer by Use Case
- Back to sc0012
Related guides in this cluster:
- Affordable 3d printer for beginners
- Best 3d printer for beginners: Top Picks & Guide
- Best multicolor 3d printer for beginners: Top Picks & Guide

Ryan has been operating FDM 3D printers since 2017. He runs a 12-machine print farm. His daily drivers include a Bambu Lab X1 Carbon, Prusa MK4s, and Creality Ender-3 V3s that have logged over 15000 print hours. He started 3D Printer Nerd to provide structured troubleshooting guides with diagnostic order, material-specific parameters, and clear stop points.