Affordable Beginner 3D Printers: Reliable First Picks Under $250
The best affordable 3D printer for beginners today is the Creality Ender 3 V3 SE or the Anycubic Kobra 2 Neo – both under $250 and ready to print with minimal setup. If you want a fully enclosed printer for safer printing of materials like ABS, or prefer a larger build volume, the Elegoo Neptune 4 Pro ($299) earns the extra spend. The single biggest decision criterion is materials: if you only plan to print PLA, nearly any budget printer works; if you want PETG or TPU, you need a direct-drive extruder or all-metal hotend, which narrows your choices.
What this means for your first purchase: if you’re a total beginner and intend to stick with PLA for at least the first six months, you can safely pick the cheapest auto-leveling model and start printing within an hour. If you already own a roll of PETG or want to print flexible parts like phone cases, skip the PLA-only recommendations and buy a direct-drive printer from the start. Changing your mind later will cost you at least a $40 extruder upgrade and hours of tuning.
When this guide stops applying: these recommendations cover open-frame FDM printers under $300 for PLA, PETG, and TPU. If you need an enclosed printer for ABS or ASA (to prevent warping and contain fumes), or a resin printer for high detail miniature figures, or a large-format machine over 400 mm, the models and prices here no longer fit. For those cases, the starting budget jumps to $400+.
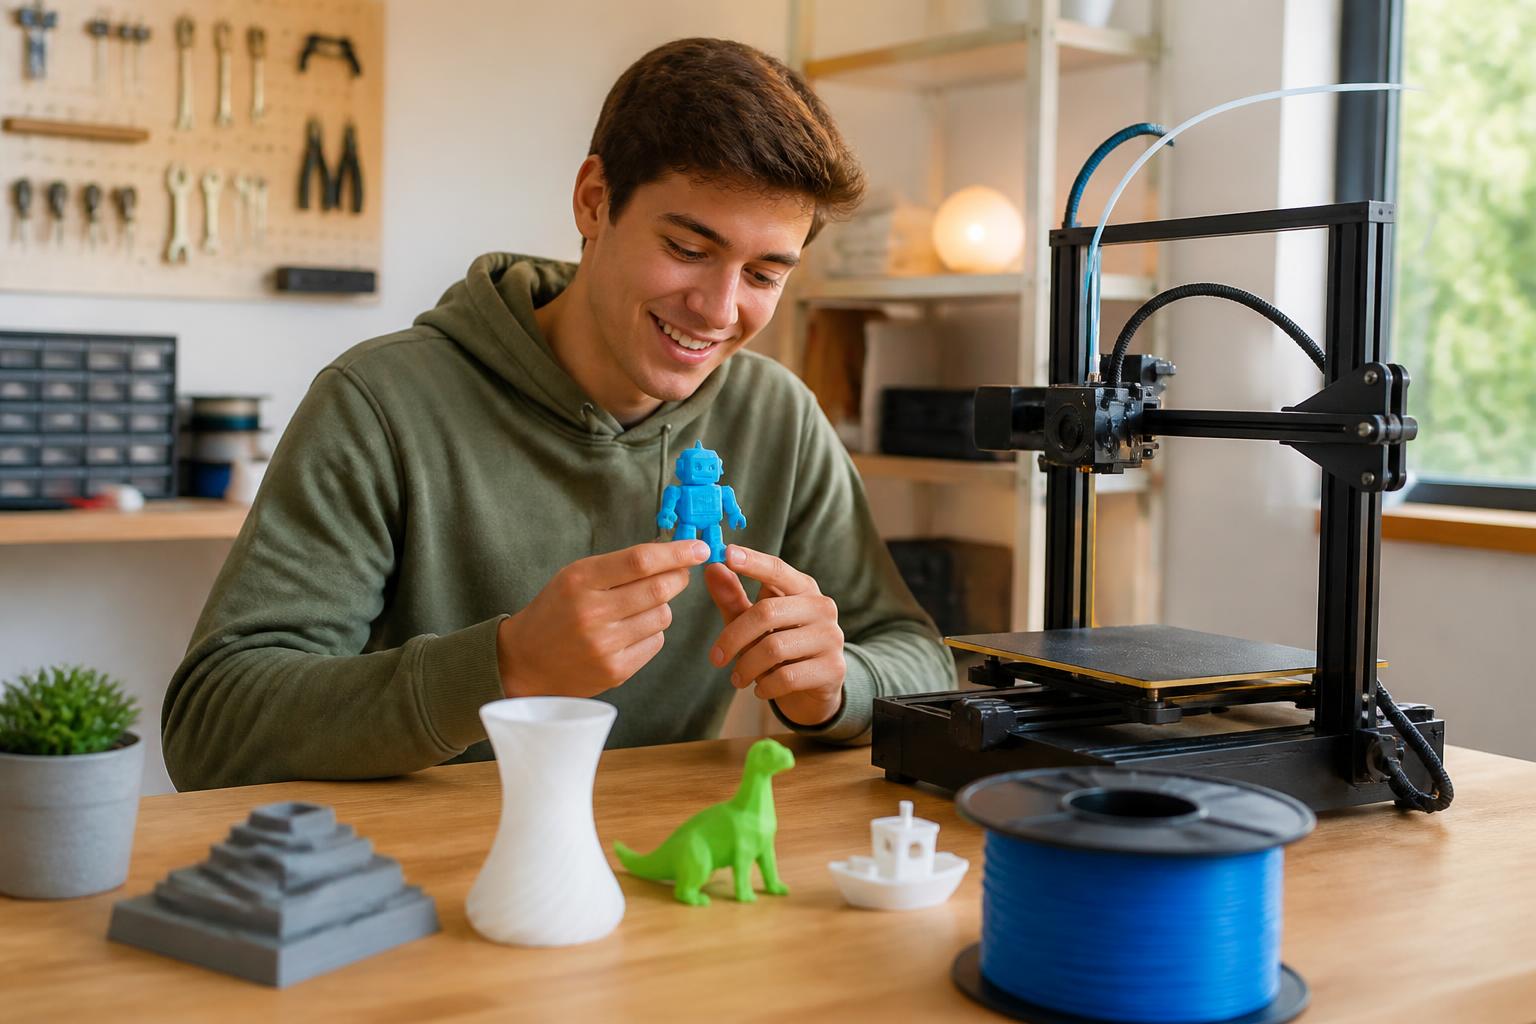
What Makes a Printer Affordable and Beginner-Friendly
Three things separate a good starter printer from a frustrating one:
- Auto bed leveling – saves you the steep learning curve of manual tramming. Without it, you’ll spend your first few prints fighting uneven first layers.
- Decent community and parts availability – when the hotend clogs or a belt snaps, you need cheap, fast replacements and YouTube tutorials in English. Obscure brands leave you stranded.
- Out-of-box calibration – printers that arrive assembled or require only a few bolts cut first-day headaches to under 30 minutes.
Most printers under $300 check these boxes, but not all. Avoid the original Creality Ender 3 (non-Pro, non-SE) unless you enjoy manual leveling and adjusting Z-endstops on every print. The Ender 3 V3 SE and V3 KE include automatic leveling and a simple UI that teaches basic 3D printing concepts without overwhelming you.
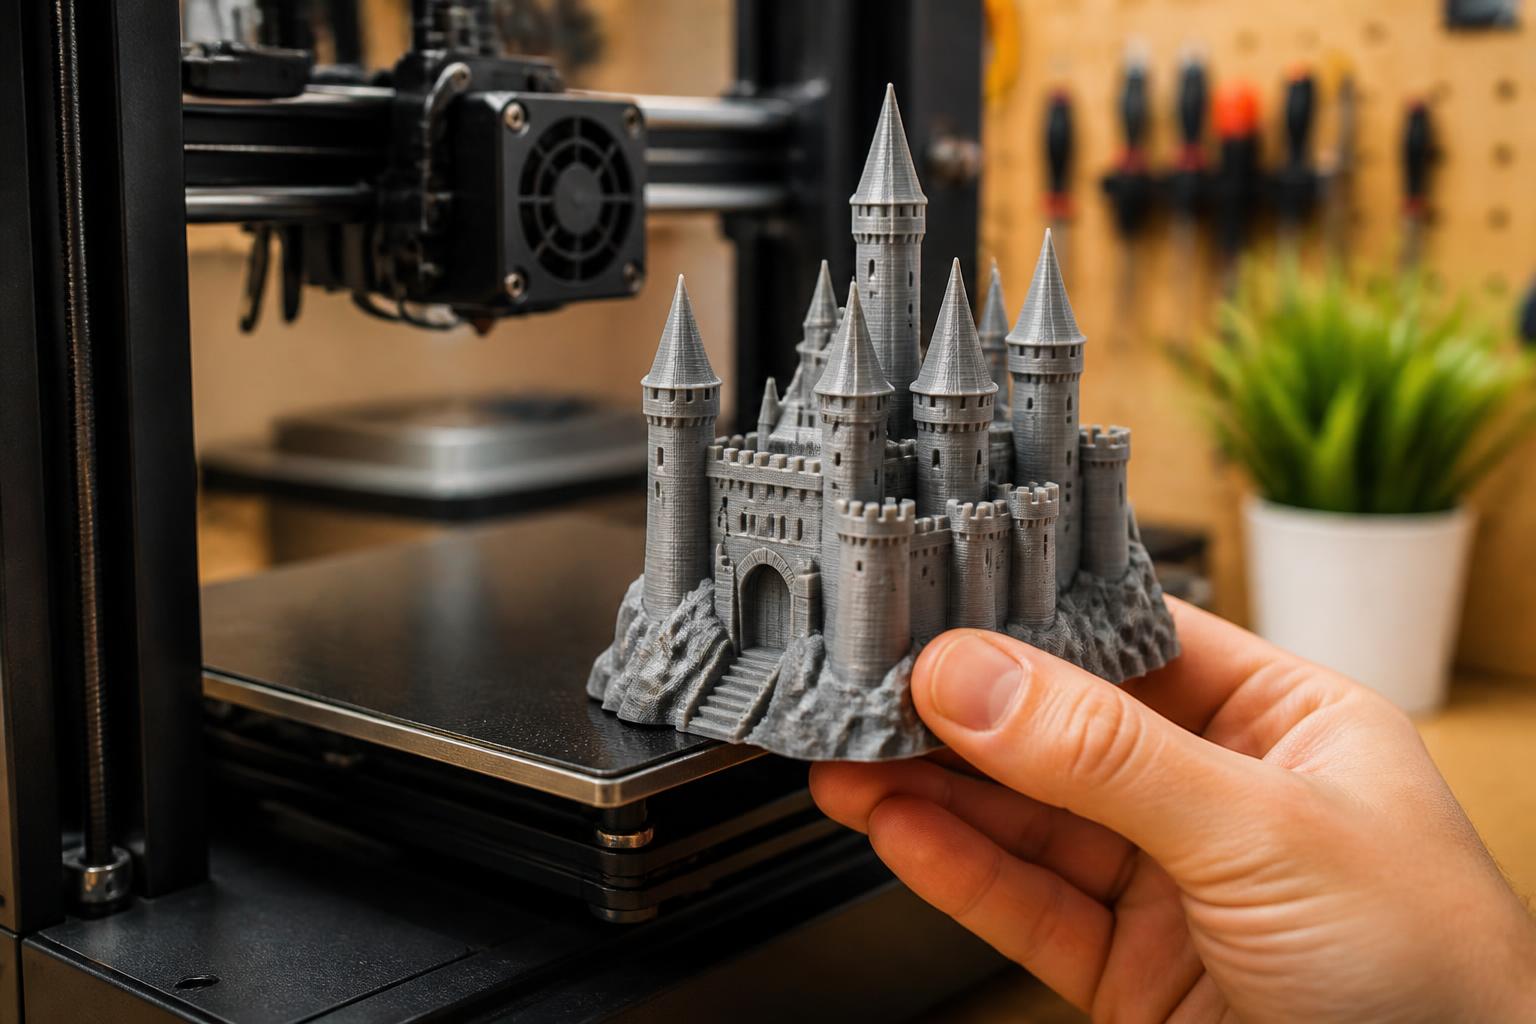
The Models That Actually Deliver
| Printer | Price (approx) | Build Volume | Key Feature | Best For |
|---|---|---|---|---|
| Creality Ender 3 V3 SE | $220 | 220 x 220 x 250 mm | Auto-leveling, sprite extruder | PLA, PETG |
| Anycubic Kobra 2 Neo | $230 | 250 x 220 x 220 mm | Fast print speeds (250 mm/s), auto-leveling | PLA, PETG |
| Elegoo Neptune 4 Pro | $299 | 225 x 225 x 265 mm | All-metal hotend, metal gantry, enclosure optional | PLA/PETG/TPU, high-speed |
| Sovol SV06 | $230 | 220 x 220 x 250 mm | Direct-drive extruder, all-metal heatbreak | PETG, TPU, flexible materials |
| Bambu Lab A1 Mini | $299 | 180 x 180 x 180 mm | Fully automatic calibration, silent, cloud printing | PLA, small parts; works best with Bambu ecosystem |
What the table doesn’t show: the Bambu Lab A1 Mini is extremely easy to use but has a smaller bed and uses proprietary filament profiles. The Sovol SV06 requires a bit more manual calibration than the others but handles flexible filaments better because of its direct drive. If you want to print TPU phone cases or PETG functional parts, the SV06 earns its $230 price tag; if you want the absolute easiest first print, the Bambu A1 Mini is the winner despite its smaller volume.
When Common Recommendations Fail
- Ender 3 (original) – still widely listed as “best budget printer.” In practice, the manual bed leveling and weak single-gear extruder cause warping and underextrusion within weeks. Beginners should skip it entirely.
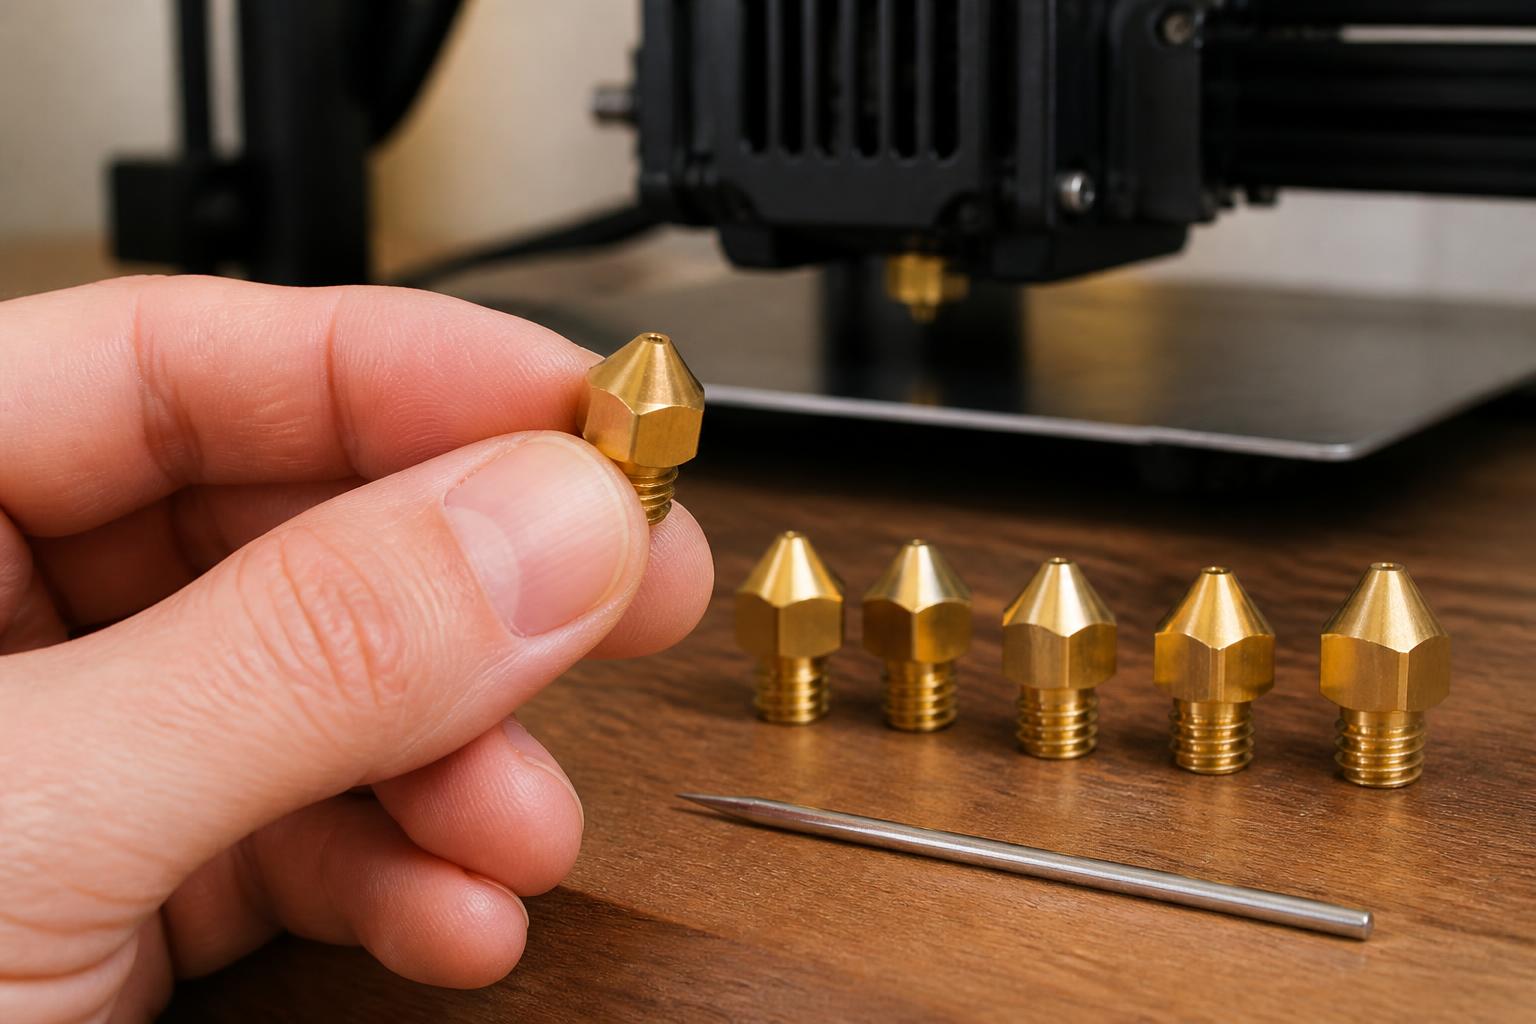
- Creality Ender 3 V2 – slightly better than the original, but still lacks auto-leveling. The V3 SE is a far better value for the same money and includes the auto-leveling that saves beginners hours of frustration.
- FlashForge Adventurer 3 – popular in schools because it’s enclosed and quiet, but its proprietary nozzle and small build volume limit flexibility. Fine for PLA-only classrooms, but not for a hobbyist who wants to experiment with PETG or TPU later. The $300+ price also puts it above several better-equipped competitors.
How to Choose the Right One for You
Step 1 – Define Your Filament
Printing only PLA (the easiest material, prints at 200–220°C with a 60°C bed) – any of the above work.
Want to print PETG (stronger, more heat-resistant, prints at 230–250°C) or TPU (flexible, requires precise extrusion)? You need:
- Direct-drive extruder (e.g., Sovol SV06, Ender 3 V3 KE, Bambu A1 Mini) – the extruder motor sits directly above the hotend, pushing filament more precisely for flexible materials. Bowden-tube printers (original Ender 3, many older models) struggle with TPU.
- All-metal hotend (e.g., Neptune 4 Pro) – prevents PTFE tube degradation at PETG temperatures (230–250°C). PTFE-lined hotends degrade above 240°C, releasing fumes and causing clogs.
If you skip this step, you’ll fight clogs and inconsistent extrusion once you leave PLA territory. For most beginners, starting with PLA is smart, but choosing a printer that can handle PETG later gives you room to grow.
Step 2 – Check Build Volume
- Standard 220 x 220 x 250 mm fits most models and upgrades (e.g., Ender 3 V3 SE). This handles keyboard cases, small enclosures, and most functional parts.
- Larger size (250+ mm) helps for helmet props or large brackets. The Neptune 4 Pro (225 mm cube) and Kobra 2 Neo (250 x 220 x 220 mm) offer slightly bigger beds. Big enough for a full-face helmet in two halves.
- Small volume (180 mm cube for the A1 Mini) limits you to smaller prints like action figures, cable organizers, or mini planters. You’ll need to cut large models into pieces and glue them together.
Step 3 – Decide on Assembly Time
- Pre-assembled or quick-assembly (A1 Mini, Kobra 2 Neo) – 15–30 minutes. The A1 Mini arrives nearly ready; you just snap on the spool holder and run the calibration.
- Semi-assembled (Ender 3 V3 SE, Neptune 4 Pro) – 1–2 hours. You mount the gantry to the base, attach the screen, and tension the belts. Clear instructions and labeled hardware make this straightforward.
- Full-kit (original Ender 3) – 2–4 hours and often requires tuning. The frame comes in pieces and you build everything from the base up. Many beginners strip screws or overtighten eccentric nuts during assembly.
Beginners who want to print on day one should lean toward pre-assembled models. Those who enjoy building and learning the mechanics can save $30–50 with a semi-assembled kit, but budget an extra hour for tweaking.
Step 4 – Verify Community Support
A printer with active subreddits (r/ender3, r/anycubic, r/elegoo), YouTube tutorials, and third-party parts availability will save you days of troubleshooting. Avoid obscure Chinese brands with no English-language community – you’ll be stuck when the motherboard dies or the hotend fan fails. For the models above, all have strong communities except some no-name Amazon specials that change brand names every few months.
A Concrete Verification Step Before You Buy
Open the slicer software that comes with the printer (usually Creality Print, Anycubic Slicer, or PrusaSlicer). In the printer profile, locate the filament diameter setting – it must be set to 1.75 mm, not 2.85 mm. Almost all budget printers use 1.75 mm filament, but some older or off‑brand machines use 2.85 mm, which is harder to find and requires different parts. Also check that the default nozzle size is 0.4 mm – that’s the standard. If the profile shows 0.6 mm or 0.2 mm, the printer may ship with a non‑standard nozzle, which changes print speed and detail level out of the box.
Setting Up Your First Print: A Quick Operator Flow
These checkpoints apply to any budget printer you buy. Run through them in order before your first print, and you’ll avoid the most common beginner failures.
Before First Print
- Level the bed – even with auto-leveling, run the routine twice. Auto-leveling compensates for minor unevenness but can’t fix a bed that’s tilted by more than a millimeter.
- Load filament – preheat hotend to 200°C, insert PLA until it extrudes cleanly without bubbles or clicking.
- Set Z-offset – auto-leveling handles this, but manually confirm it (a piece of paper should drag lightly under the nozzle). Too high and the first layer won’t stick; too low and the nozzle gouges the bed.
- Apply glue stick or painter’s tape on a glass bed for better adhesion. PEI sheet beds (common on newer printers) usually don’t need adhesive for PLA, but glass or carbon-fiber beds benefit from a thin layer of glue stick.
First Print Checkpoints
| Checkpoint | What to Look For | Likely Cause of Failure |
|---|---|---|
| First layer | Smooth, no gaps or ridges | Z-offset too high/low, bed cold (should be 60°C for PLA) |
| Corners | No lifting/warping | Poor bed adhesion; add brim or increase bed temp 5°C |
| Overhangs (45°+) | Rough but no drooping | Increase cooling fan to 100% after layer 2 |
| Stringing | Fine hairs between parts | Lower hotend temp 5–10°C, enable retraction (5 mm at 45 mm/s) |
| Z-banding | Horizontal lines every few mm | Belt tension uneven; check eccentric nuts on gantry |
Friction Points to Watch
- When a print fails mid-way – pause, check that the filament spool isn’t tangled and the extruder gear isn’t slipping. A tangled spool is the most common mid-print failure for beginners.
- After 50–100 hours of printing – check nozzle for clogs; a quick cold-pull clears most blockages. Heat the nozzle to 200°C, push filament through, then let it cool to 90°C and pull firmly.
- If you hear clicking from the extruder – the nozzle is partially clogged or you’re printing too cold. Raise hotend temp by 10°C and do a cold-pull. If clicking persists, the extruder gear may be worn.
A Real Trade-Off You’ll Face
The Bambu Lab A1 Mini is almost foolproof for PLA – it auto-calibrates, prints silently, and rarely fails. But its 180 mm build volume and proprietary filament spools mean you cannot easily print large parts or use third‑party cheap filament without workarounds. If you eventually want to make a helmet or a large enclosure, the A1 Mini cannot handle it; your only option is to buy a second, larger printer. The Sovol SV06, on the other hand, can upgrade to a larger nozzle and print PETG or TPU reliably, but its initial setup is less forgiving and you’ll need to manually fine‑tune Z‑offset and speed for each new material.
Choose the easy first‑print experience (A1 Mini) only if you accept that you’ll be locked into small PLA projects, or choose the more flexible but steeper learning curve (SV06) to grow into other materials and larger prints.
Escalation Signals
- Prints consistently warping on the same corner – your bed is likely unlevel (re-run auto-leveling) or the room airflow is causing drafts (move printer away from AC vents). Adding a brim in your slicer (Cura, PrusaSlicer) with 8–10 mm width often fixes this.
- Extruder skips steps – either a partial clog, heat creep (hotend fan not running), or you’re printing faster than the hotend can melt (reduce speed to 50 mm/s). Heat creep happens when the hotend fan is dead or blocked; check that it spins freely.
- Layers shift sideways – loose belt or X/Y pulley; tighten belt until it twangs like a guitar string. Also check that pulleys aren’t wobbling on motor shafts.
FAQ
Do I need an enclosure?
For PLA, no – an enclosure can actually trap heat and cause heat creep. For ABS or ASA, yes, you need an enclosure to prevent warping and to contain fumes. If you plan to print only PLA and occasional PETG, skip the enclosure.
What filament should I start with?
PLA – specifically eSun PLA+ or Hatchbox PLA. It prints at 200–220°C, bed at 60°C, and doesn’t require a heated enclosure. Avoid cheap no-name filaments until you’ve tuned your printer.
Is a dual-gear extruder worth the upgrade?
Yes, if your printer comes with a single-gear (like the original Ender 3). Dual-gear extruders grip filament more reliably and reduce slippage, especially on PETG. Many budget models now ship with dual-gear; check before buying.
Can I print food-safe items with these printers?
No – certified food-safe 3D printer filament is nearly nonexistent. Manufacturers operate under strict safety regulations for parts that contact food or beverage, and no budget printer or standard filament meets those standards. Use 3D prints for utensils or food containers at your own risk.
The right affordable 3D printer for you depends mostly on what you plan to make. If you stick with PLA and want the lowest friction start, the Anycubic Kobra 2 Neo or Ender 3 V3 SE will get you printing in under an hour. If you need direct drive for flexible materials, the Sovol SV06 or Bambu Lab A1 Mini are better choices. For larger prints and an all-metal hotend that handles PETG easily, the Elegoo Neptune 4 Pro offers the best value without giving up speed. Once you decide on that one material choice and check the filament diameter in your slicer, the rest of the decision becomes straightforward.
Explore This Topic
- Back to Best Printer by Use Case
- Back to sc0017
Related guides in this cluster:
- Best 3d printer for beginners: Top Picks & Guide
- Best multicolor 3d printer for beginners: Top Picks & Guide
- Top 3d printers for beginners

Ryan has been operating FDM 3D printers since 2017. He runs a 12-machine print farm. His daily drivers include a Bambu Lab X1 Carbon, Prusa MK4s, and Creality Ender-3 V3s that have logged over 15000 print hours. He started 3D Printer Nerd to provide structured troubleshooting guides with diagnostic order, material-specific parameters, and clear stop points.