How to Fix 3D Print Warping: PLA PETG ABS Complete Guide
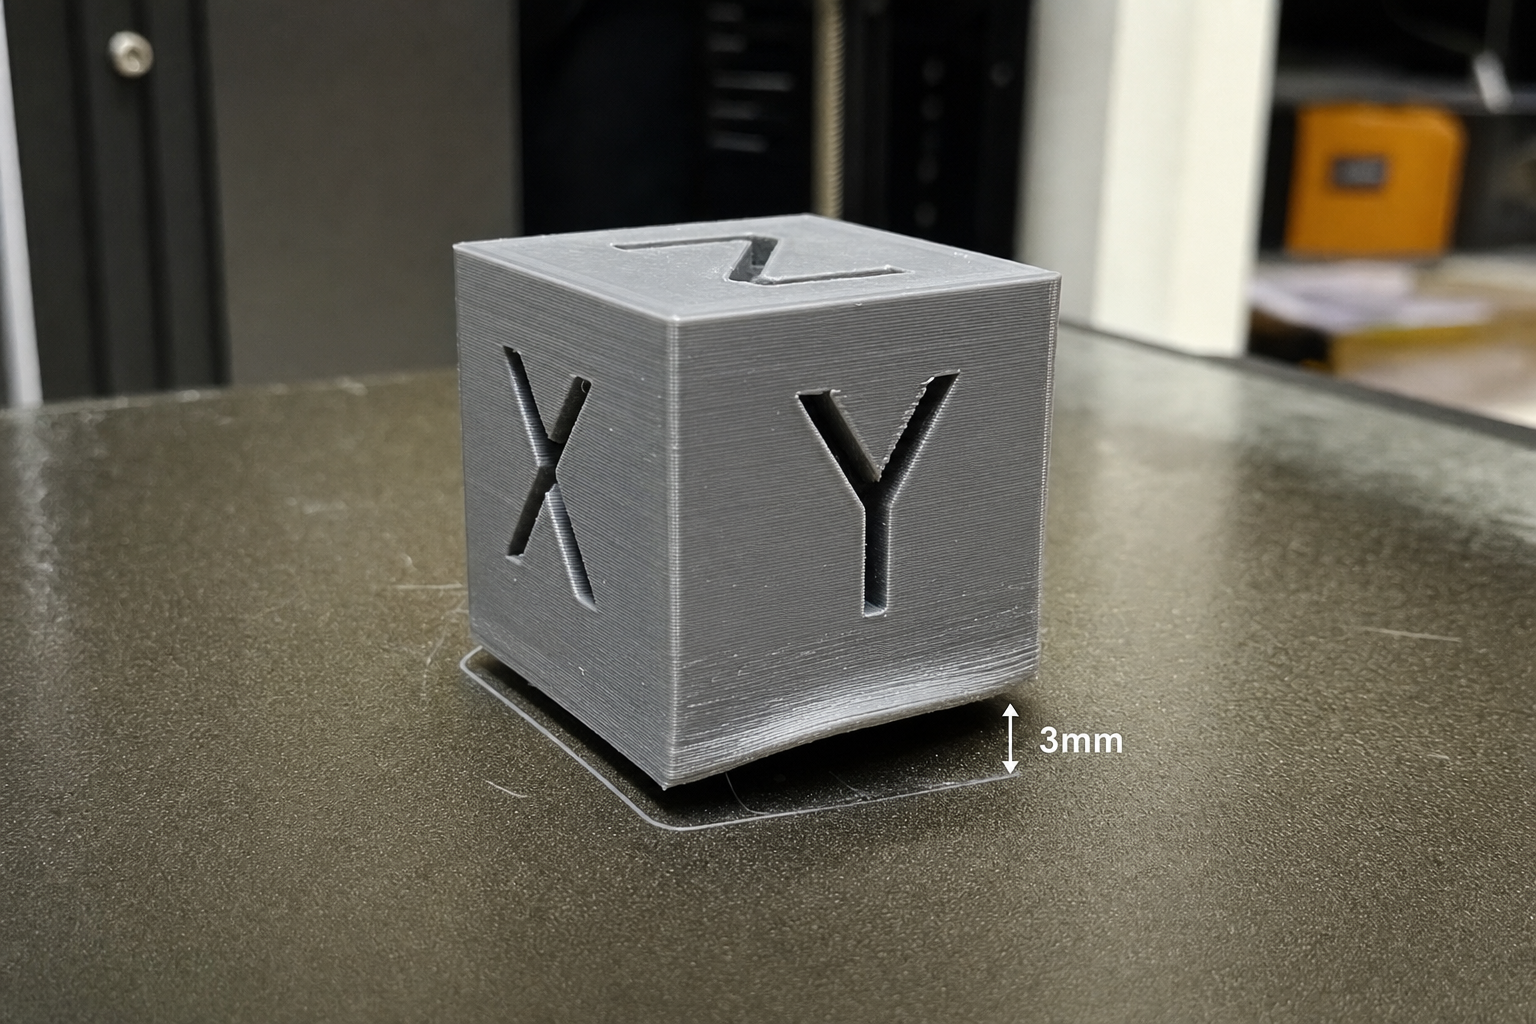
Warping happens when printed layers cool unevenly, contract, and pull the corners of your part off the build plate. The fix depends on which material you’re running and whether you have an enclosure, but the fastest universal first step is dialing in your bed temperature and first-layer adhesion before changing anything else. Below we break down material-specific causes and fixes, ordered from easiest to most demanding filament.
Which Warping Fix Should You Try First?
Your first move depends on one constraint: do you have an enclosure?
- No enclosure, printing PLA or PETG: Start with bed cleaning, Z-offset, and bed temperature. These solve most warping on open printers.
- No enclosure, printing ABS: You’ll fight warping constantly. The realistic path is brim + draft shield + high bed temp, but expect partial success only. An enclosure is the real fix.
- Enclosed printer, any material: Start with bed temperature and chamber preheating. Most warping on enclosed machines is a thermal gradient problem, not an adhesion problem.
If you’re seeing warping on an enclosed printer with PLA, your chamber is likely too hot—skip to the PLA section.
PLA Warping: Causes and Ordered Fixes
PLA warps the least of common filaments, but it still lifts when something is off. The usual culprits are a dirty bed, incorrect Z-offset, or bed temperature that’s too low or too high.
What Usually Causes PLA to Lift
- Bed temperature below 50°C or above 65°C. PLA softens around 60°C glass transition. Too cold and it won’t stick; too hot and the bottom layers stay soft while upper layers contract.
- Z-offset too high. If the first layer isn’t squished into the bed surface, there’s not enough contact area to resist contraction forces.
- Oils or residue on the build surface. Fingerprints, dust, or leftover glue stick film reduce adhesion unevenly.
- Drafts or rapid cooling. An open window, ceiling fan, or part-cooling fan hitting the print too early can create uneven shrinkage.
- Large flat bottom surfaces with sharp corners. Square corners concentrate stress and lift first.
Fix PLA Warping Step by Step
1. Clean the bed thoroughly. Wash a PEI sheet or glass bed with warm water and dish soap, dry with a lint-free cloth, and wipe with 90%+ isopropyl alcohol. Skip the alcohol-only shortcut if the bed hasn’t been washed in weeks—soap removes oils that alcohol smears around.
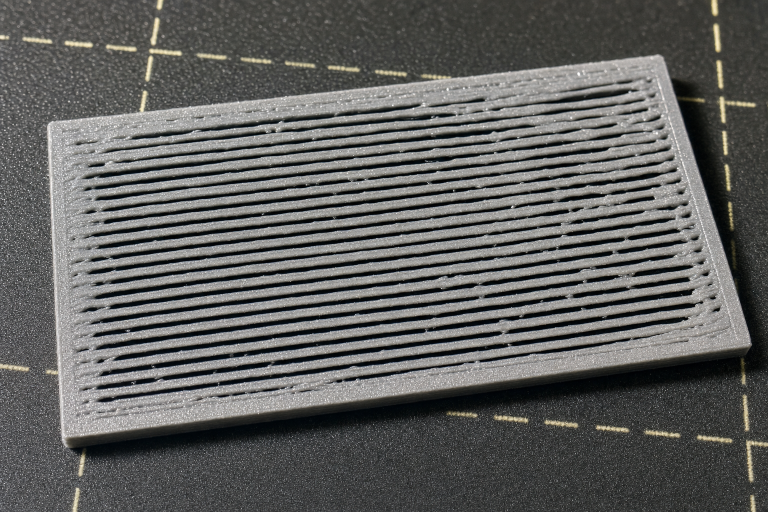
2. Check and adjust Z-offset. Print a single-layer 50×50 mm square and inspect the lines. They should be flat and fused with no gaps between them. If you can feel ridges or see separation, lower the nozzle in 0.02 mm increments until the surface is smooth.
3. Set bed temperature to 55–60°C for the first layer, then 50–55°C for the rest. Keeping the bed hotter on layer one improves adhesion, then dropping slightly reduces the thermal gradient that causes lift.
4. Add a 5–8 mm brim with 0.0 mm brim gap. A brim increases the footprint and distributes contraction stress. Set the brim gap to zero so it bonds to the part; a gap defeats the purpose.
5. Reduce part-cooling fan speed on the first 3–4 layers. Run the fan at 0% for layer one, then ramp to 100% by layer four. Sudden cooling on layer two or three is a common trigger for corner lift.
6. Add mouse ears to sharp corners. In the slicer, place a single-layer helper disc at each sharp corner of the model. These small circular pads increase surface area exactly where stress concentrates, without adding a full brim. Most slicers let you drop these as primitive shapes directly on the build plate.
How to Confirm PLA Warping Is Fixed
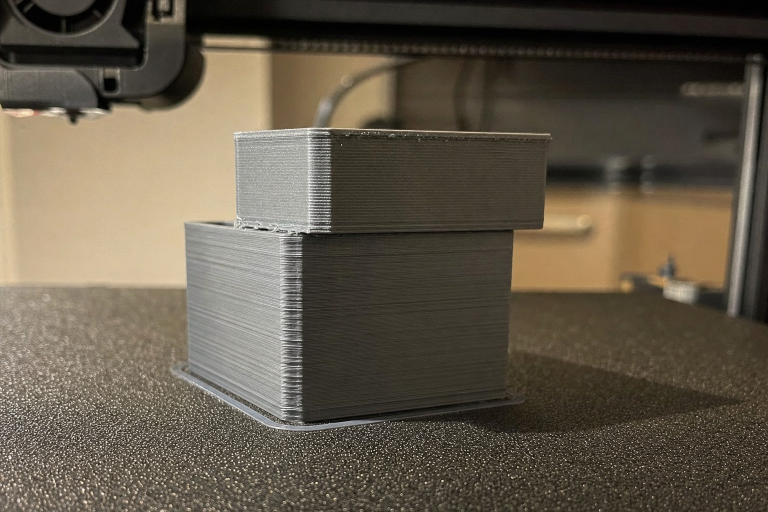
Print a 20 mm calibration cube with a brim. After the print finishes and the bed cools to room temperature, the brim should still be firmly attached with no visible lift at any corner. If any corner is raised, recheck Z-offset and bed cleanliness before changing anything else.
When PLA Still Warps Despite Correct Settings
If you’ve applied all the above and still see corner lift, your filament may have absorbed enough moisture to change its thermal behavior. Wet PLA can extrude inconsistently, creating internal stresses that show up as warping mid-print. Dry PLA at 45–50°C for 4 hours and retry. If the problem persists across multiple spools, verify your bed thermistor with an infrared thermometer—a 10°C reporting error can keep you chasing a fix that the printer can’t deliver.
PETG Warping: Causes and Ordered Fixes
PETG warps more than PLA but far less than ABS. The challenge with PETG is that it sticks aggressively to some surfaces and barely adheres to others, and the temperature window for good adhesion is narrower than most people expect.
What Usually Causes PETG to Lift
- Bed temperature too low. PETG needs 70–85°C on the bed to stay stuck. Below 65°C, adhesion drops off sharply on most surfaces.
- Wrong bed surface or missing release layer. PETG can bond too well to bare glass and tear chunks out on removal. On PEI, it often sticks well but can leave residue. On smooth PEI or glass, a thin layer of glue stick or hairspray acts as a release agent and improves adhesion consistency.
- Part-cooling fan too aggressive. PETG likes moderate cooling. 100% fan can shock the layers and cause curling on overhangs that propagates into corner lift.
- Printing too fast on the first layer. PETG first layers need time to bond. Speeds above 30 mm/s on layer one often produce poor adhesion.
Fix PETG Warping Step by Step
1. Set bed temperature to 80°C for the first layer, 75–80°C for the rest. This range keeps PETG above its glass transition temperature long enough to relieve internal stress without making the bottom layers too soft.
2. Apply a thin, even layer of glue stick or hairspray to a clean bed. On textured PEI this may be optional, but on smooth PEI or glass it prevents over-adhesion damage and improves corner hold. Reapply after 3–5 prints.
3. Set first-layer speed to 20–25 mm/s and first-layer acceleration to 500 mm/s² or lower. Slow and steady gives the filament time to wet out onto the surface.
4. Run part-cooling fan at 30–50% after layer three, not 100%. PETG layer adhesion improves with less cooling. Only increase fan for bridges and steep overhangs.
5. Use a 4–6 mm brim on parts with a footprint smaller than 50×50 mm. Small PETG parts lose heat faster and lift more easily. A brim adds thermal mass at the edges.
6. Let the bed cool completely before removing the print. PETG remains slightly flexible when warm. Pulling a warm print can warp it during removal and also damage PEI surfaces.
How to Confirm PETG Warping Is Fixed
Print a part with at least one 90° corner and a 5 mm brim. After cooling, the brim edges should lie flat against the bed with no visible gap. Run a fingernail under a corner—if it pings up immediately, adhesion was marginal. If it resists, you’re in the right zone.
When PETG Warping Signals Moisture Problems
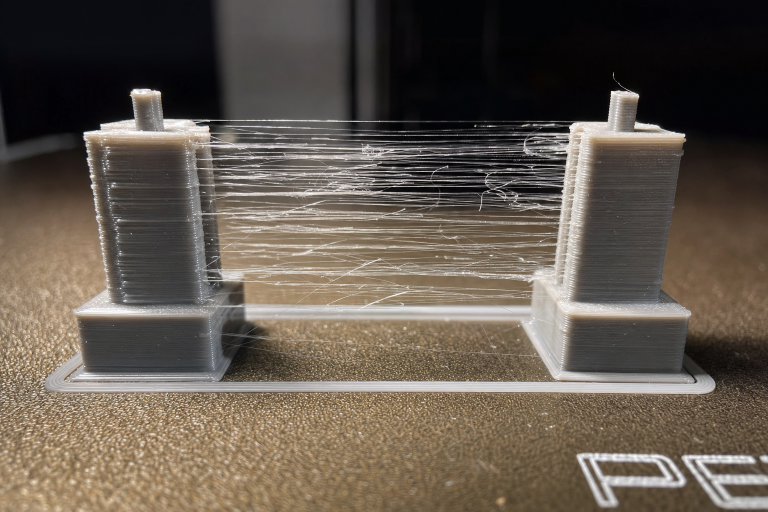
If you’ve applied all the above and still see corner lift, check your filament for moisture. Wet PETG prints inconsistently, and the irregular extrusion can create internal stresses that manifest as warping mid-print. Dry PETG at 65°C for 4–6 hours before retrying. A telltale sign of moisture-driven warping is that the first few layers look perfect, but lift begins around layers 10–20 as the accumulated internal stress overcomes bed adhesion. If you hear popping or hissing during extrusion, moisture is almost certainly the cause.
ABS Warping: Causes and Ordered Fixes
ABS warps significantly. It shrinks roughly 0.8–1.0% as it cools from printing temperature to room temperature, and without an enclosure, that shrinkage is uneven and pulls corners off the bed. This is the hardest common filament to print warp-free.
What Usually Causes ABS to Lift
- No enclosure or insufficient chamber temperature. ABS needs an ambient temperature of at least 40–50°C around the print to cool slowly and evenly. An open printer in a 20°C room guarantees warping on anything larger than a small test cube.
- Bed temperature too low. ABS requires 100–110°C on the bed. Below 90°C, adhesion is unreliable on most surfaces.
- Wrong bed surface. Bare glass with nothing on it won’t hold ABS. PEI works well, but a PEI sheet formulated for PLA may degrade faster at ABS bed temperatures. ABS slurry (ABS dissolved in acetone) on glass is the traditional high-reliability solution.
- Drafts or active cooling. A part-cooling fan on ABS is usually a mistake. Any localized cooling creates differential shrinkage and corner lift.
- Large, flat parts with no thermal barrier. The bigger the footprint, the more total shrinkage force. Long straight edges are especially prone.
Fix ABS Warping Step by Step
1. Enclose the printer. If you don’t have a commercial enclosure, a cardboard box over the printer is a functional short-term solution. The goal is 45°C+ chamber temperature. Let the chamber preheat by running the bed at 110°C for 10–15 minutes before starting the print.
2. Set bed temperature to 105–110°C and nozzle to 240–260°C. Higher bed heat keeps the bottom layers above glass transition longer. Nozzle temperature on the higher side improves layer bonding and reduces internal stress.
3. Prepare the bed surface. On PEI: clean with isopropyl alcohol, then lightly scuff with 0000 steel wool if adhesion has degraded. On glass: apply a thin ABS slurry (a few grams of ABS filament dissolved in 30–50 mL of acetone, painted on with a brush). The slurry creates a chemically bonded interface. Reapply when the coating wears thin.
4. Disable the part-cooling fan entirely. For most ABS prints, zero cooling produces the best results. If you have steep overhangs that sag, run the fan at 10–20% only on those layers and only if the chamber is above 40°C.
5. Add a 10–15 mm brim with 0.0 mm gap. ABS needs a larger brim than PLA or PETG because the shrinkage forces are higher. For very large parts, consider a raft instead—it decouples the part from bed adhesion and absorbs differential shrinkage.
6. Add a draft shield or skirt. In the slicer, enable a draft shield that prints a single-layer wall around the part at a distance of 10–20 mm. This traps warm air and reduces edge cooling.
7. Design parts with rounded external corners when possible. Sharp 90° corners concentrate stress. A 2–3 mm radius reduces the risk of lift dramatically.
How to Confirm ABS Warping Is Fixed
Print a 30×30×10 mm block with a 10 mm brim. After the print finishes and the chamber cools to room temperature (don’t open the enclosure early), all four corners of the brim should be flat on the bed. If one corner lifts, that corner likely faced a draft or cooler zone. Rotate the part 45° in the slicer and try again before changing settings.
When to Stop Chasing ABS Warping on an Open Printer
If you’ve tried a brim, draft shield, ABS slurry, and 110°C bed temperature and still see corner lift on parts larger than 100×100 mm, the physics are working against you. An enclosure is the only reliable path forward. You can continue printing small parts (under 50×50 mm) without one, but large ABS prints on an open printer will warp eventually. Switch to ASA if you need UV resistance and slightly less warp, or consider PETG as a lower-warp alternative if ABS’s thermal resistance isn’t mandatory.
Bed Surface Compatibility at a Glance
| Bed Surface | PLA | PETG | ABS | Notes |
|---|---|---|---|---|
| Textured PEI | Excellent | Good | Good | Clean with IPA; light scuffing helps ABS |
| Smooth PEI | Excellent | Good (use release layer) | Good | PETG can bond too well; use glue stick |
| Glass (bare) | Good with glue/hairspray | Risky without release layer | Poor without slurry | PETG can chip glass on removal |
| Glass + ABS slurry | Not needed | Not recommended | Excellent | Slurry is ABS-specific |
| Garolite (G10) | Good | Fair | Fair | Needs higher bed temps; less common |
| Blue painter’s tape | Good | Fair | Poor | Degrades above 60°C; not for ABS |
Material Comparison for Warp-Prone Applications
| Property | PLA | PETG | ABS |
|---|---|---|---|
| Warp tendency | Low | Moderate | High |
| Enclosure required | No | No | Yes (for parts >50 mm) |
| Bed temp range | 50–65°C | 70–85°C | 100–110°C |
| Nozzle temp range | 190–220°C | 230–250°C | 240–260°C |
| Part cooling fan | 100% after layer 1–3 | 30–50% | 0% (or 10–20% on overhangs) |
| Brim needed | 5–8 mm for large parts | 4–6 mm for small parts | 10–15 mm minimum |
| Storage sensitivity | Low | Moderate (hygroscopic) | Moderate (hygroscopic) |
| Print difficulty | Beginner | Intermediate | Advanced |
When the Fix Doesn’t Work: Escalation Signals
Stop adjusting settings and check the following if warping persists after applying the material-specific fixes above:
- Your bed thermistor may be reading incorrectly. If the actual surface temperature is 10–15°C lower than reported, adhesion will be poor. Verify with an infrared thermometer or contact probe.
- Your build plate is warped. An aluminum bed that’s dished or crowned can’t maintain consistent Z-offset across the print area. Run a bed mesh (ABL) and check the heightmap. A deviation over 0.2 mm corner-to-center will cause localized adhesion problems.
- Your filament is degraded. Filament that’s been wet for months or repeatedly heated and cooled can change its thermal expansion behavior. Try a fresh, sealed spool of a known-good brand before concluding the printer is at fault.
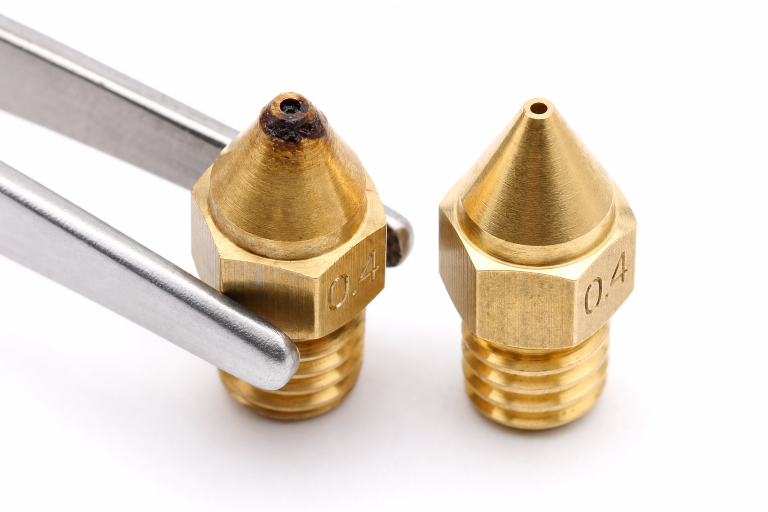
- Your first-layer extrusion is inconsistent. Check extruder tension, nozzle wear, and partial clogs. Under-extrusion on the first layer reduces contact area and invites warping.
FAQ
Can a hotter bed always fix warping?
No. A hotter bed helps up to a point, but if the bed temperature exceeds the filament’s glass transition temperature, the bottom layers stay soft and deform under the weight of upper layers. For PLA, going above 65°C often makes warping worse, not better. For ABS, 110°C is the practical ceiling on most consumer printers.
Does a raft fix warping better than a brim?
A raft can help with severe ABS warping on parts with very small footprints, but it wastes filament and leaves a rough bottom surface. A brim is usually sufficient and easier to remove. Use a raft only when a brim plus all other fixes still fails on a part you can’t redesign.
Why does my print warp hours into the job?
Delayed warping happens when upper layers cool and contract, eventually overcoming the bed adhesion that held for the first few hours. Tall parts with large cross-sections are most susceptible. Increasing the brim size, raising chamber temperature, and reducing infill density—less internal material means less total shrinkage force—can all help.
Is ASA less prone to warping than ABS?
ASA warps slightly less than ABS and handles UV exposure better, but it still requires an enclosure and bed temperatures in the 100–110°C range. It is not a drop-in warp-free replacement for ABS on an open printer.
Should I use a glue stick on PEI for PLA?
Not usually. Clean PEI provides excellent PLA adhesion without additives. If you’re adding glue stick to PEI for PLA, you’re likely masking a Z-offset or cleanliness problem. Fix the root cause instead.
Explore This Topic
- Back to Extrusion Problems
- Back to 3D Printing Troubleshooting Master Guide
Related guides in this cluster:
- Under-Extrusion: Symptom → Cause → Complete Fix Guide
- How to Fix a Clogged 3D Printer Nozzle: Cold Pull & Complete Guide
- Extruder Clicking & Skipping: Complete Diagnosis Guide
Ryan has been operating FDM 3D printers since 2017. He runs a 12-machine print farm. His daily drivers include a Bambu Lab X1 Carbon, Prusa MK4s, and Creality Ender-3 V3s that have logged over 15000 print hours. He started 3D Printer Nerd to provide structured troubleshooting guides with diagnostic order, material-specific parameters, and clear stop points.