Entry-Level 3D Printers: How to Skip the Frustration and Start Printing
If you’re buying your first 3D printer and want to skip the frustration of endless tinkering, the Bambu Lab A1 Mini is the best entry-level pick for most people—it prints reliably out of the box at a competitive price. But no single printer fits every beginner’s budget, space, or ambition. Below we break down the top contenders so you can match one to your actual constraints.
The recommendations here assume you’ll run the printer in a room-temperature space (20–25°C, low humidity) and are comfortable with minor manual calibration if you choose a budget model. If you plan to print in a garage or workshop with high humidity or wide temperature swings, you’ll need an enclosure (or will need to add one) to prevent filament warping and first-layer adhesion failure—factor that into your buying decision.
entry level 3d printer” />: Top Picks & Guide
Quick answer
The ideal entry-level 3D printer depends on what you’re optimizing for:
- Easiest first print, zero assembly: Bambu Lab A1 Mini (~$300). Bed size 180×180×180 mm, prints PLA/PETG at 260°C hotend, auto bed leveling, full enclosure option. Your first print will be on the build plate within 30 minutes of unboxing.
- Cheapest reliable workhorse: Creality Ender 3 V3 SE (~$180). 220×220×220 mm build volume, direct-drive extruder, CR Touch auto leveling. Requires about 45 minutes of assembly; still needs some manual calibration (Z-offset, belt tension) to avoid stringing and poor first layers.
- Big build for cheap: Sovol SV06 (~$220). 220×220×250 mm, all-metal hotend (300°C max), dual Z-axis screws for stability. Better value than the Ender if you want to print PETG or TPU early on.
- Print quality without fuss, but at a premium: Bambu Lab A1 (non-Mini, ~$400). Same ecosystem, larger 256×256×256 mm bed, higher speeds (up to 500 mm/s). Overkill for most beginners but future-proofs you for bigger projects.
Applicability boundary: If you absolutely must print ABS, nylon, or polycarbonate on day one, none of these entry-level machines work without an enclosure and all-metal hotend upgrade. Look at the Qidi X-Max 3 or Prusa MK4 instead. If you want to heavily mod your printer (swap mainboards, run Klipper, use third-party hotends), avoid the Bambu Lab closed ecosystem entirely.
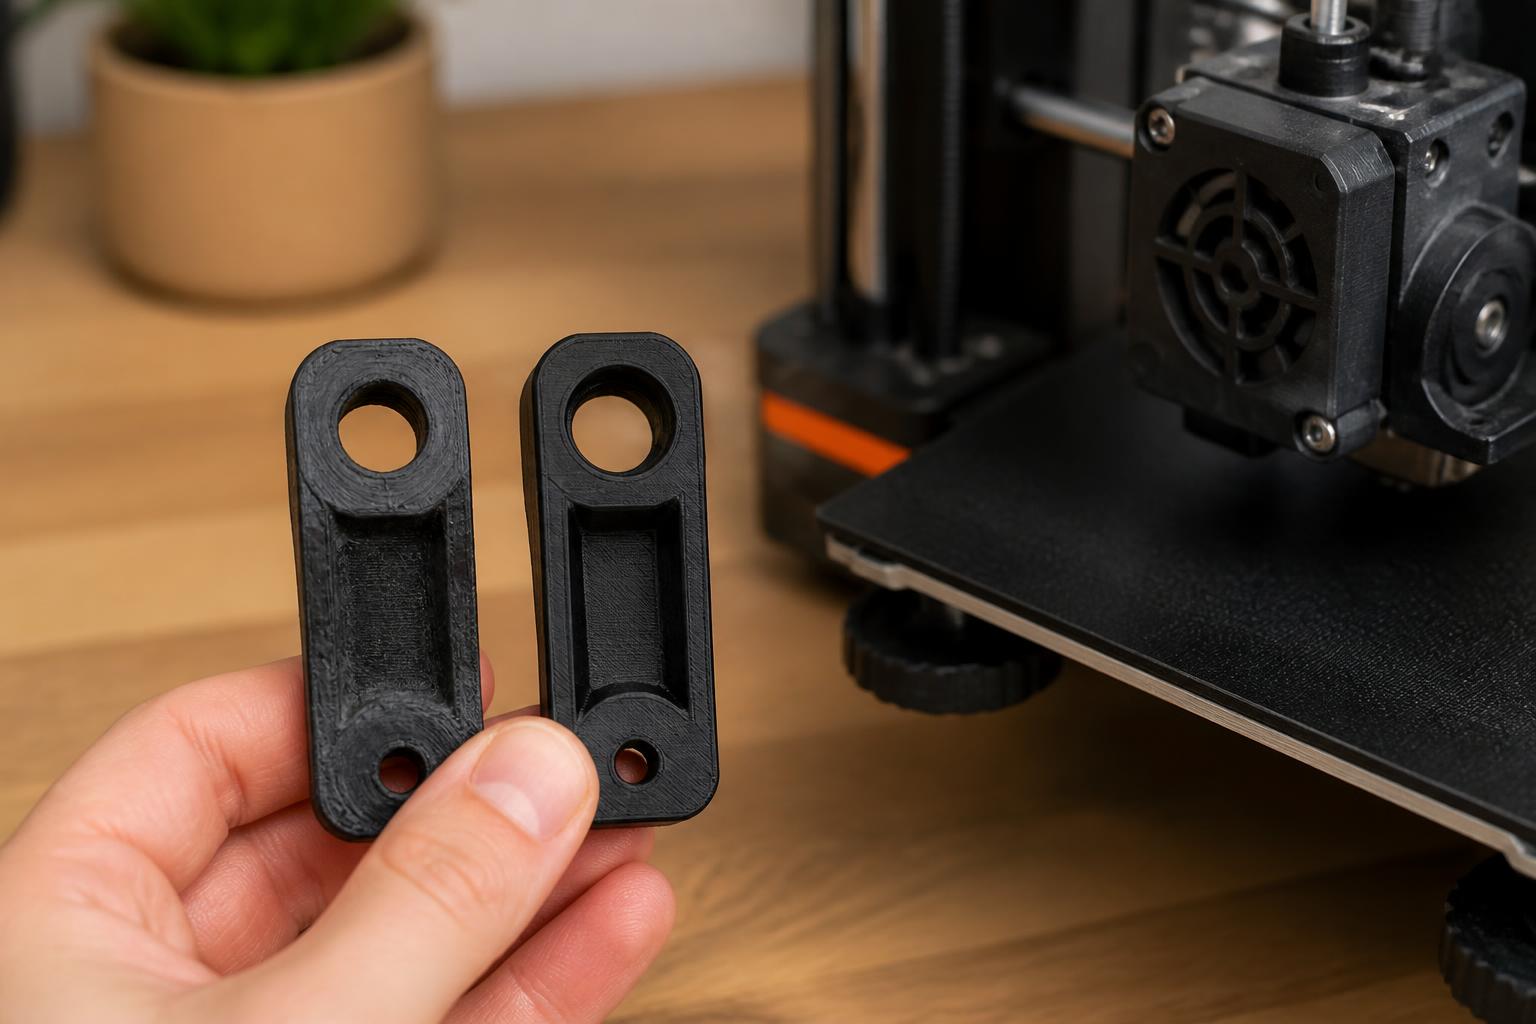
What to do next: After picking a printer, buy a fresh spool of eSun PLA+ ($22/kg) and a vacuum-sealed filament storage box with desiccant ($20). The included sample filament is often low-quality and will cause false first impressions.
Comparison framework
The table below focuses on specs that directly affect a beginner’s success and frustration level. To verify a printer’s auto bed leveling, check the printer menu for an “Auto Bed Leveling” or “Bed Mesh” option—if it exists, leveling is sensor-driven. If you must manually turn knobs after setup, it’s not fully automatic.
| Printer | Price (approx.) | Build Volume (mm) | Hotend Temp Max | Auto Bed Leveling | Assembly Time | First-print filament | Key Beginner Gotcha |
|---|---|---|---|---|---|---|---|
| Bambu Lab A1 Mini | $299 | 180×180×180 | 260°C | Yes (full) | <5 min (plug & go) | PLA | Closed ecosystem; uses proprietary nozzles and spare parts |
| Creality Ender 3 V3 SE | ~$180 | 220×220×220 | 260°C | Yes (CR Touch) | ~45 min | PLA | Z-offset still needs manual tweaking; poor cable management can cause print failures |
| Sovol SV06 | ~$220 | 220×220×250 | 300°C | Yes (inductive) | ~60 min | PLA | Inductive sensor is finicky on textured PEI sheet; may need to swap spring steel for smooth sheet |
| Bambu Lab A1 | ~$399 | 256×256×256 | 300°C | Yes (full) | <10 min | PLA | Higher cost; same lock-in as Mini |
**Why these specs matter to a beginner:**
- Auto bed leveling saves the single most common newbie headache—first-layer adhesion failures. Full automatic systems (Bambu) are better than assisted systems (Creality’s CR Touch still requires a manual Z-offset step).
- Build volume of 180 mm cube is enough for most trinkets, phone cases, and small mechanical parts. If you plan to print helmets, drone frames, or tool holders, step up to 220 mm or larger.
- All-metal hotend (Sovol) allows printing PETG and TPU without upgrading. The Creality and Bambu Mini use PTFE-lined hotends; printing above 260°C risks toxic fumes and degradation.
- Assembly time matters because incorrectly assembled printers cause undiagnosable problems. The Ender 3 V3 SE’s 45-minute build is manageable, but first-timers often overtighten eccentric nuts or misalign the gantry.
Practical implication of build volume: If you want to print something like a full-face helmet (roughly 300 mm tall), none of these machines fit. You’d need a larger-format printer such as the Creality CR-10 or Sovol SV08 Max (~$400). Don’t buy an entry-level printer expecting to scale up later; the upgrade cost often offsets buying a bigger machine from the start.
Best-fit picks by use case
For the total beginner who just wants to print reliably (Bambu Lab A1 Mini)
The Bambu Lab A1 Mini prints PLA and PETG at 150–200 mm/s with minimal stringing and near-zero dropout rate. The automatic calibration routines (bed mesh, vibration compensation, flow rate) run before every print. You do not touch a leveling knob or adjust a Z-offset.
- Spec-to-outcome: 260°C hotend + hardened steel nozzle means you can print wood-filled PLA, silk PLA, or glow-in-the-dark filaments without wearing out the nozzle.
- Who should skip it: Anyone who wants to print objects larger than 180×180×180 mm (e.g., a full-face helmet). Also, if you plan to mod the printer heavily (swap mainboards, add enclosures), the closed ecosystem makes this difficult.
- Mismatch alert: The PTFE-lined hotend degrades above 260°C. If your slicer profile calls for 265°C (some high-speed PETG), you risk releasing fumes and damaging the liner. Always check the material’s recommended nozzle temperature before loading.
Verification step on your machine: In Bambu Studio, look at the “Extruder” section in the printer settings—if it shows “Maximum nozzle temperature: 260°C”, you are limited to PLA and PETG only. If you see 300°C, you can handle higher-temp filaments.
For the builder who wants the most bang for the buck (Sovol SV06)
At $220, the Sovol SV06 gives you an all-metal hotend capable of 300°C, dual Z-axis screws, and a direct-drive extruder—parts that would cost an extra $60–80 in upgrades on an Ender. This printer handles PETG and TPU out of the box with good consistency.
- Spec-to-outcome: 300°C hotend allows printing Nylon at 270°C and polycarbonate at 290°C (though an enclosure is needed for warping). The direct-drive extruder creates reliable retraction for flexible filaments.
- Assembly difficulty: Moderate. You need to align the gantry, tighten belts to the correct tension (harmonic ≈ 110 Hz), and calibrate the inductive probe to the right Z-offset. Plan 60–90 minutes for setup plus another hour calibrating.
- Who should skip it: If you have zero interest in adjusting settings and just want to press “Print,” you will get frustrated. Also skip if you want PLA only—the Ender 3 V3 SE is $40 cheaper and simpler to assemble.
- Practical next step: Immediately after assembly, run a first-layer calibration print using a single-layer square (25×25 mm). If the extruded lines are transparent or don’t stick, adjust your Z-offset down by 0.05 mm and repeat. The inductive sensor on the textured PEI sheet may trigger earlier than ideal; if you see gaps, switch to a smooth PEI sheet (available on Amazon for ~$15).
For the hobbyist on a tight budget (Creality Ender 3 V3 SE)
At $180, the V3 SE is the cheapest printer with a direct-drive extruder and CR Touch auto leveling. It prints decent PLA at 80–100 mm/s with 0.4 mm layer height. The build volume (220 mm cube) is generous for the price.
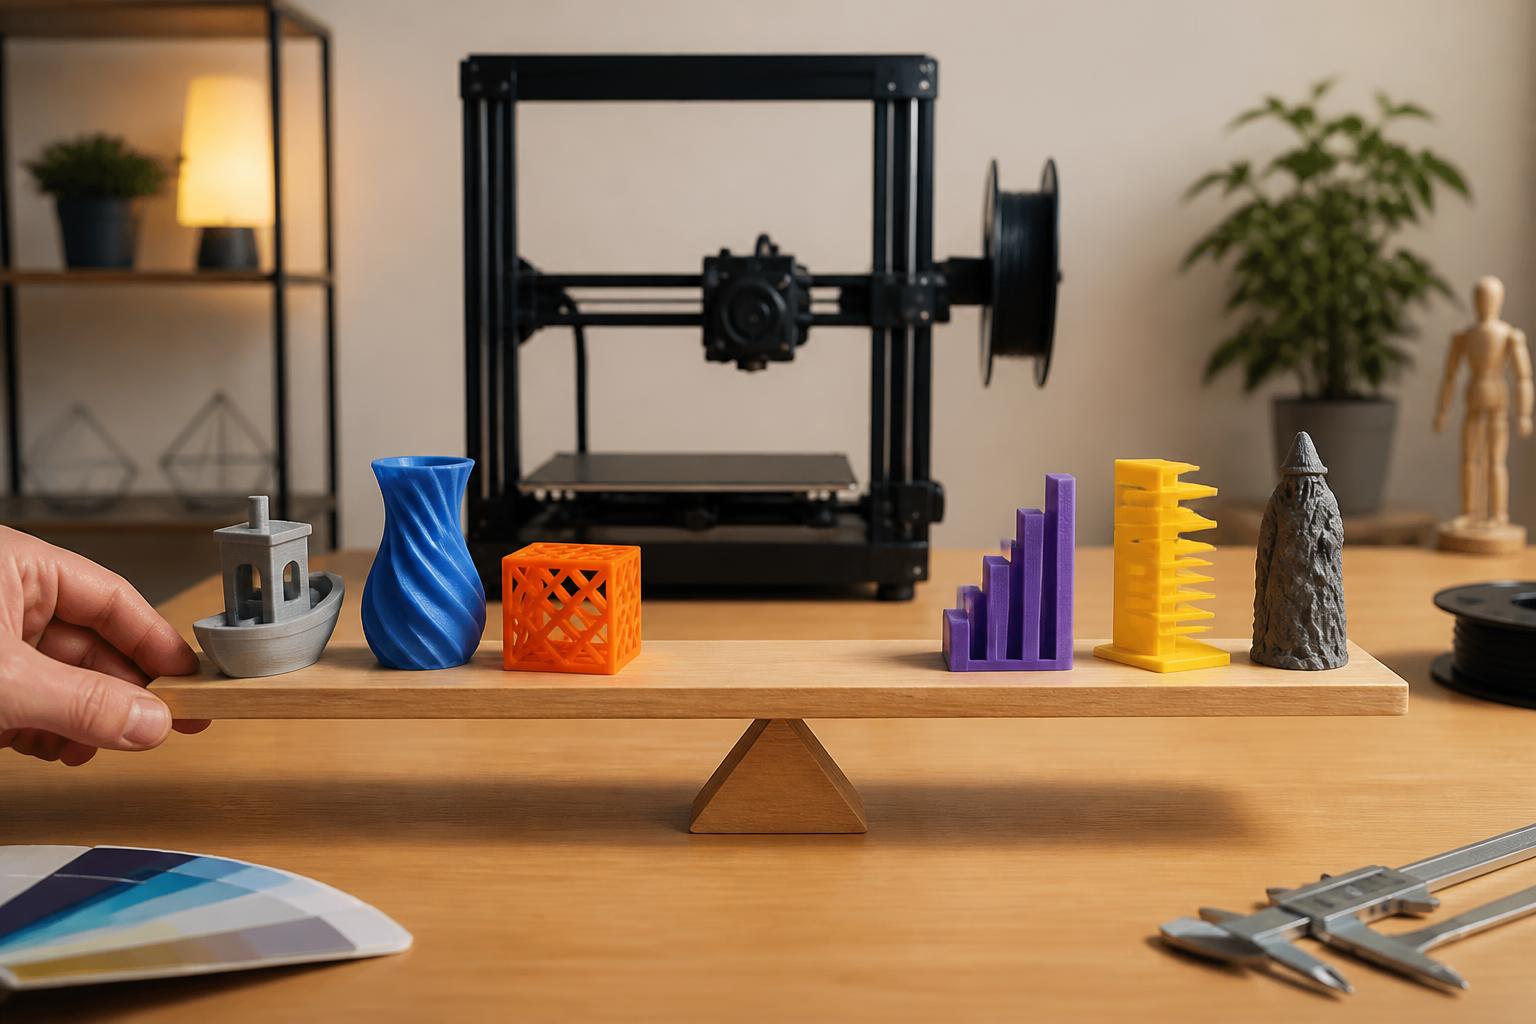
- Spec-to-outcome: Direct-drive extruder reduces stringing on PLA and handles short retraction distances (0.8 mm vs 5 mm on Bowden). But the PTFE-lined hotend limits you to ≤260°C; printing PETG requires careful temperature control to avoid heat creep and jams.
- Assembly difficulty: 45 minutes. Common pitfalls: over-tightening the eccentric nuts on the X-axis causes binding; the stock Bowden tube coupler sometimes fails after 50 hours, causing a jam.
- Who should skip it: If you want to print PETG or TPU regularly, pay $40 more for the Sovol SV06. Also skip if you dislike troubleshooting warped build plates (even with CR Touch, the bed can be out of level by 0.5 mm, requiring manual shimming).
- Concrete verification step: After leveling, use a piece of paper (standard 80 gsm) to check the nozzle gap at all four corners. The paper should drag slightly but not tear. If any corner drags differently, tighten or loosen the bed knob under that corner. This check takes 3 minutes and catches 80% of first-layer problems.
Trade-offs to know
Closed ecosystem vs open source. Bambu Lab printers use proprietary firmware, nozzles, hotend assemblies, and even spare parts. You cannot install Klipper, swap the mainboard, or use third-party hotends. This limits repair options and long-term modding. For the first year of ownership, the reliability often outweighs this. By year two, some users feel locked in.
Speed vs quality. The Bambu printers achieve high speeds (200+ mm/s) with aggressive acceleration profiles. That creates ringing artifacts on prints with sharp corners unless you slow down in slicer settings. The Ender and Sovol printers cap at ~80–100 mm/s, but produce smoother surface finishes at those speeds.
Warranty and support. Creality and Sovol offer limited warranties (typically 1 year) and support is via email or community forums. Bambu Lab provides chat support and ships replacement parts within a week in the US, but the parts are proprietary and more expensive. Factor in a $25–35 spare nozzle set for Bambu vs $8 for Creality.
What nobody tells you about entry-level 3D printers: Almost all of them need a dry storage solution. Filament absorbs humidity from the air—even a $300 printer will fail with brittle, bubbly PLA. Budget $20 for a vacuum-sealed storage container or a dry box with desiccant. Also, the included sample filament (usually 50–100 g) is often low quality; buy a fresh spool of eSun PLA+ ($22/kg) before expecting great results.
Concrete mismatch: build volume for specific projects. If you want to print a Raspberry Pi case (typically 100×70×40 mm), any printer here works. But a full-size RC car body (450 mm long) won’t fit on any entry-level machine without splitting the model. Verify your intended object’s dimensions against the build volume before purchasing.
Related questions
Can I print ABS or PETG on an entry-level printer?
PETG is feasible on any printer with an all-metal hotend (Sovol SV06) or one that supports a 260°C hotend (Bambu A1 Mini) when you use a build plate adhesive like glue stick or Magigoo. ABS and ASA require an enclosed chamber (≥40°C ambient) to prevent warping—the Bambu A1 Mini has a $50 optional enclosure, but it’s leaky and not sufficient for large ABS parts. Skip ABS until you have a dedicated enclosed printer.
How long does it take to go from unboxing to printing?
- Bambu Lab A1 Mini: 20–30 minutes (mount spool holder, plug in, load filament, run calibration).
- Creality Ender 3 V3 SE: 45 minutes assembly + 20 minutes leveling + 15 minutes slicer setup = ~80 minutes.
- Sovol SV06: 60 minutes assembly + 30 minutes calibrating Z-offset and first layer = ~90 minutes.
Do I need to learn 3D modeling to own a 3D printer?
No. You can download models from sites like Printables, Thingiverse, or MakerWorld and print them immediately using the company’s slicer software (Bambu Studio, Creality Print, or Cura). Most beginners start with pre-made designs. Learning modeling (Fusion 360, TinkerCAD) is optional and can come later.
What is the best first print?
A temperature tower (PLA at 190–230°C in 5°C increments) to find the sweet spot for your filament brand. Then a calibration cube (20×20 mm) to verify dimensions and leveling. Finally a Benchy boat to stress-test overhangs and retractions. Do not start with a large decorative model—it wastes filament if the first layer fails.
Explore This Topic
- Back to Best 3D Printers
- Back to sc0012
Related guides in this cluster:
- Best entry 3d printer: Top Picks & Guide
- Best 3d printer multicolor: Top Picks & Guide
- Best 3d printer under 400: Top Picks & Guide

Ryan has been operating FDM 3D printers since 2017. He runs a 12-machine print farm. His daily drivers include a Bambu Lab X1 Carbon, Prusa MK4s, and Creality Ender-3 V3s that have logged over 15000 print hours. He started 3D Printer Nerd to provide structured troubleshooting guides with diagnostic order, material-specific parameters, and clear stop points.