Best 3D Printer for Miniatures and Tabletop Models: Detail Matters
If you’re printing miniatures for tabletop games, display, or wargaming, the right 3D printer makes the difference between crisp detail and a blob of plastic. The Elegoo Mars 4 Ultra is the best all-around pick for miniatures in 2026—it delivers 0.05 mm XY resolution, a 6.6-inch monochrome LCD, and built-in WiFi, all for under $300. It prints 32mm scale figures with clean armor edges and readable facial features straight out of the box with minimal calibration.
Here’s the counter-intuitive part most guides skip: “4K” resolution means almost nothing without pixel pitch. A 4K printer with a 7.6-inch screen can have worse detail than an older 2K printer on a 5.5-inch screen. The Mars 4 Ultra’s 6.6-inch 4K panel gives a 0.05 mm pixel pitch. Many so-called “8K” printers stretch the same pixel count across a 9.3-inch screen, producing 0.07 mm pixels that show visible stepping on curved armor. Always check the pixel pitch in the spec sheet, not the “8K” label.
This guide focuses on resin printers because they deliver the detail and surface smoothness needed for production-quality minis. If you cannot handle liquid resin, need high-temperature parts, or only print large terrain pieces, an FDM printer like the Bambu Lab A1 Mini with a 0.2 mm nozzle can produce acceptable minis—but expect visible layer lines that require heavy sanding and filler primer. That trade-off is worth understanding before you buy.
Resin printing also forces you to commit to a post-processing workflow: wash in isopropyl alcohol, cure under UV, and dispose of contaminated gloves and paper towels. Your printer choice affects the batch size, resin costs, and the size of wash/cure station you’ll need. A larger printer like the Phrozen Sonic Mighty 8K lets you print an entire squad in one run, but you’ll spend more on resin and need a matching wash/cure unit.
Best 3d printer” /> for minis: Top Picks & Guide
Quick answer
The Elegoo Mars 4 Ultra is the best 3D printer for miniatures because it delivers a true 0.05 mm XY resolution, a fast monochrome LCD that cuts layer cure times to 1.8–2.5 seconds, and built-in WiFi for sending prints from your slicing PC. The printer arrives 90% assembled—leveling takes two minutes, and the first test print can finish in under 90 minutes.
Verify the resolution before you buy: Look for the pixel pitch (XY resolution) in the specs. The Mars 4 Ultra’s 8520×4320 display across 6.6 inches gives 0.05 mm pixels. The cheaper Anycubic Photon M3 (4K) uses a 7.6-inch screen at the same 4K count, resulting in 0.06 mm pixel pitch—smaller but not as sharp. Every 0.01 mm matters on a 28mm eye socket. If you see a “4K” spec on a printer with a screen over 7 inches, the pixel pitch will be worse than the Mars 4 Ultra.
Getting your first mini printed in four steps:
1. Level the build plate (2 minutes): Loosen the two ball-joint screws on the plate. Place a sheet of standard A4 paper on the LCD. Lower the plate until it presses the paper with slight friction, tighten both screws while holding the plate steady. This holds for 20+ prints before you need to recheck.
2. Prepare the vat: Pour filtered resin (use Elegoo Standard Photopolymer Resin in gray) up to the max line. Avoid overfilling—excess resin can seep under the FEP sheet and cause delamination. If you see bubbles, wait 30 seconds; most pop naturally.
3. Slice & start: The USB stick includes a test rook pre-supported. Load the file, select it, and press print. Early checkpoint: After the first 10 layers (about 4 minutes), pause and inspect the bottom layers on the build plate. They should be solid and fused with no peeling or gaps. If the print starts detaching, increase bottom-layer exposure by 5–10 seconds and raise the bottom-layer count to 8.
4. Post-print: When the print finishes, the model should release from the plate with light pressure from a plastic scraper after a 2-minute soak in 99% isopropyl alcohol. If it sticks hard, your bottom-layer exposure is too high.
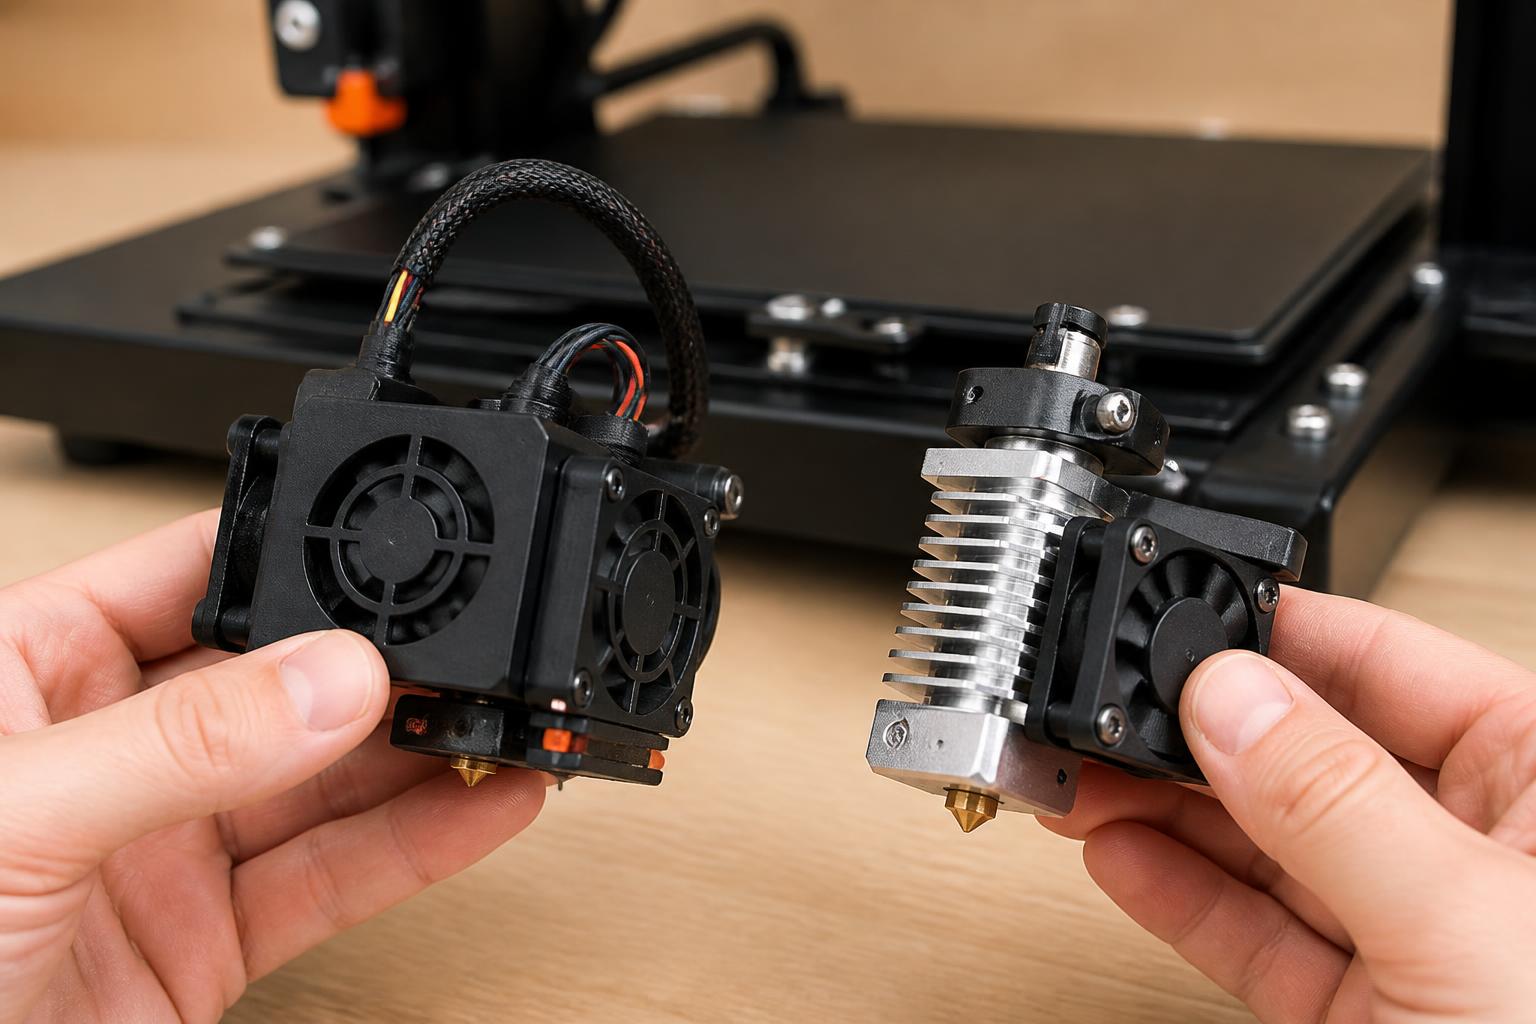
Success signal: The test rook has sharp edges on the base, no ladder lines on the vertical columns, and no missing layers. If you see separation lines or horizontal bands, your Z-axis lead screw may need lubrication.
Comparison framework
Below is the side-by-side comparison of the three resin printers that dominate the miniature space. FDM printers are excluded here because they cannot match the detail out of the box—resin is the standard for production-quality minis.
| Printer | Pixel Pitch (XY) | Build Volume (W×D×H, in) | Monochrome LCD | Price (2025) | Best For |
|---|---|---|---|---|---|
| Elegoo Mars 4 Ultra | 0.05 mm | 6.6 × 3.5 × 4.5 | Yes | ~$280 | Single minis, small batches, budget-first buyers |
| Phrozen Sonic Mighty 8K | 0.051 mm | 7.8 × 4.3 × 9.8 | Yes | ~$450 | Batch printing full units, tall figures |
| Anycubic Photon M3 Premium | 0.056 mm | 9.2 × 5.1 × 10.2 | Yes | ~$800 | Large terrain, display pieces, two-part molds |
Mars 4 Ultra vs. Sonic Mighty 8K: The Sonic Mighty 8K has a slightly worse pixel pitch (0.051 mm vs 0.05 mm) but a much larger build volume. In practice, the difference is invisible on a 32mm figure. Where the Sonic Mighty pulls ahead is batch printing: you can fit about 10–12 32mm infantry on one plate vs. 4–5 on the Mars 4 Ultra. However, the Mars 4 Ultra prints faster per layer (1.8–2.0 s vs 2.2–2.5 s), so a single mini takes less time.
Photon M3 Premium: This is the only printer here that can handle a full 9.2-inch wide terrain piece. But the pixel pitch of 0.056 mm is noticeably coarser—curved surfaces on the M3 Premium show visible stair-stepping even on large surfaces. Use this only if you need the build volume for dungeon tiles or display bases; for character minis, stick with the Mars 4 Ultra or Sonic Mighty.
Best-fit picks by use case
Budget pick: Elegoo Mars 4 Ultra
Who should buy it: You print 5–10 minis per week, need crisp detail on character models, and want to stay under $300. The Mars 4 Ultra’s 0.05 mm pixel pitch is the best in its price class for small figures.
Who should skip it: If you print more than 15 minis per batch, the small build plate will force you to run multiple plates daily. Also skip if you need to print terrain pieces larger than 4 inches—the 4.5-inch Z height is tight for tall towers.
Assembly difficulty: 20 minutes. The gantry comes pre-assembled; you attach the build plate, tighten the leveling screws, and pour resin. First print time: ~90 minutes including leveling.
Material recommendation: Elegoo Standard Resin Gray (translucent green cap) gives the best detail and least odor for under $25 per kg. For higher durability, use Siraya Tech Tenacious mixed 80/20 with standard resin.
Batch printer: Phrozen Sonic Mighty 8K
Who should buy it: You print entire armies of 25–40 minis per week and want to minimize plate changes. The near-8K resolution on a 7.8-inch screen gives you 0.051 mm pixel pitch—indistinguishable from the Mars 4 Ultra on most minis.
Who should skip it: If you print one or two character models per week, the larger vat wastes more resin (you need at least 250 ml to fill the bottom). Also skip if you have limited ventilation—the larger surface area emits more fumes.
Assembly difficulty: 30 minutes. The linear rail Z-axis needs a slight manual grease application. Time to first print: ~2 hours including orientation.
Premium for large pieces: Anycubic Photon M3 Premium
Who should buy it: You print display busts, vehicle kits, or terrain tiles that need a build envelope over 9 inches. The M3 Premium is one of the few resin printers that can fit a full 6-inch dreadnought in one piece.
Who should skip it: Your primary focus is character minis with fine facial features. The 0.056 mm pixel pitch is noticeably blocky on 28mm faces—you’ll see horizontal lines on cheeks and chin. Skip also if you’re on a budget: the M3 Premium costs nearly three times the Mars 4 Ultra for only a moderate resolution gain.
Assembly difficulty: 45 minutes. The heavy two-rail gantry requires precise alignment. Time to first print: ~3 hours due to larger vat filling time.
Trade-offs to know
Ventilation is non-negotiable: All resin printers release volatile organic compounds (VOCs). The Mars 4 Ultra includes a carbon filter, but it only reduces odor, not all VOCs. You must set up the printer in a garage, shed, or room with continuous exhaust. If you can’t, skip resin and use an FDM printer with a 0.2 mm nozzle.
Post-processing adds 30 minutes per batch: For every batch of minis, you need 5 minutes to remove supports, 15 minutes in an ultrasonic wash tub with IPA, and 5 minutes in a UV curing station. The Mars 4 Ultra’s relatively small plate keeps this time manageable. A Sonic Mighty 8K batch takes proportionally longer and you’ll likely need a larger curing station (the Anycubic Wash & Cure Plus for $200).
Resin costs add up: Standard resin runs $20–$30 per kg. A 32mm infantry mini uses about 5–8 ml of resin, so a kg gives you 125–200 minis. That’s cheap per mini, but the initial investment in wash station, cure station, IPA, gloves, and masks adds $120–$180 upfront beyond the printer.
Print failure modes unique to minis:
- Separation on thin supports: If a spear, sword, or antenna detaches mid-print, reduce lift speed to 60 mm/min and increase rest time after retract to 2 seconds. For very thin parts, use heavy supports on the first 2 mm of the model.
- Bloated bases on large flat surfaces: Layer lines on a 35mm round base become visible if you don’t angle the mini 10–15 degrees. Slicers like Lychee or Chitubox can auto-orient for resin efficiency.
- Resin shrinkage: After curing, minis may shrink 1–2% in length. This can cause 28mm figures to not fit in their slot bases. Compensate by scaling the model 101.5% in the slicer.
Related questions
Can an FDM printer produce good miniatures? Yes, with a 0.2 mm nozzle, a well-tuned FDM printer like the Bambu Lab A1 Mini can print 32mm minis that look acceptable from 3 feet away. Expect visible layer lines, need for sanding, and heavy use of filler primer. You save the $200+ post-processing setup cost but spend more time on surface finishing.
How long does it take to print a single mini on the Mars 4 Ultra? At 0.02 mm layer height (standard for detail), a 32mm figure takes about 2.5–3.5 hours. At 0.05 mm layer height, it drops to 1–1.5 hours with slightly more visible layer lines. Most miniature painters use 0.02 mm for infantry and 0.03 mm for larger models.
Do I need a wash and cure station? Strongly recommended. Hand-washing in a jar with IPA is possible but you risk leaving uncured resin in crevices, leading to tackiness after curing. A magnetic stirrer wash station costs $60–$100 and cuts wash time to 5 minutes. A cure station ($50–$80) ensures even UV exposure; curing under a UV lamp leaves shadows that cause weak spots.
What is the best slicer for miniatures? Lychee Slicer has the best auto-support algorithm for miniatures—it generates finer supports near the feet and heavier ones near overhangs. The free version handles most needs. Chitubox Basic is also capable but requires more manual adjustment for hollowing and support touchpoints.
Explore This Topic
- Back to Best Printer by Use Case
- Back to sc0017
Related guides in this cluster:
- Best 3d printer for the money: Top Picks & Guide
- Best 3d printer for the price: Top Picks & Guide
- Best 3d printer for prototyping: Top Picks & Guide

Ryan has been operating FDM 3D printers since 2017. He runs a 12-machine print farm. His daily drivers include a Bambu Lab X1 Carbon, Prusa MK4s, and Creality Ender-3 V3s that have logged over 15000 print hours. He started 3D Printer Nerd to provide structured troubleshooting guides with diagnostic order, material-specific parameters, and clear stop points.