Starting 3D Printing? Pick the Right First Printer With This Framework
If you’re buying your first 3D printer, the short answer is: get a Bambu Lab A1 Mini if you value reliability and speed out of the box, or an Anycubic Kobra X if you need the largest build volume for the lowest price and are comfortable with a few more setup tweaks. Both print PLA, PETG, and TPU at 0.2 mm layer height with a 0.4 mm nozzle, but they serve different trade-offs.
This advice only holds if you plan to print at home or in a small workshop with ambient temperatures between 60–85°F. If you need to print nylon-carbon fiber, polycarbonate, or other engineering-grade materials, skip both and go straight to the Prusa Mini+ or a machine with a 280°C+ hotend and an enclosure. Similarly, if your goal is production-scale printing or parts larger than 300 mm in any dimension, none of these entry-level printers will cut it—you will need to step up to a larger-format machine like the BigRep ONE.5 (one-cubic-meter build volume, dual extrusion) at a significantly higher budget.
Before you buy, verify the printer’s actual build volume against the largest part you plan to print in one piece. Measure your part’s X, Y, and Z dimensions, then add 10 mm clearance on each side. The A1 Mini’s 180 mm cube cannot print a full-size helmet visor or a 10-inch vase. If you are unsure, print a 20 mm calibration cube on a friend’s printer first to confirm the scale.
Quick answer
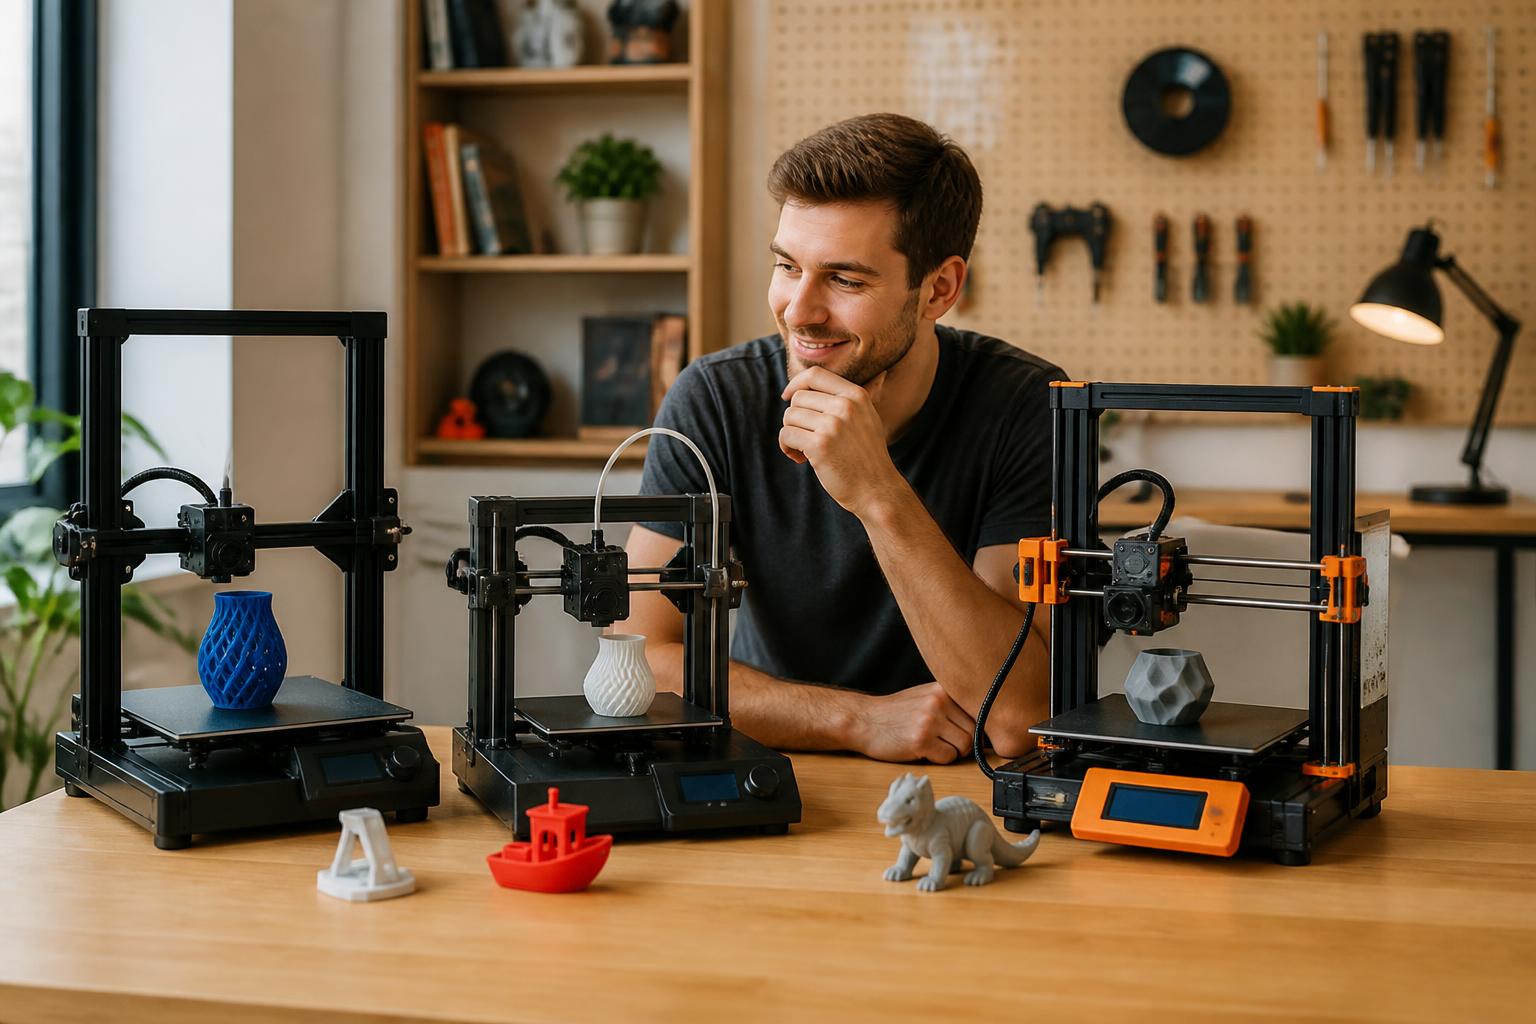
The best starting 3D printer for most people right now is the Bambu Lab A1 Mini ($299). It auto-levels its bed, loads filament automatically, and prints at speeds over 300 mm/s with reliable first-layer adhesion. You can unbox it, run the calibration wizard, and print the preloaded Benchy in about 30 minutes. The printer ships with several models preloaded—we recommend starting with one of those because they’re carefully optimized for the machine’s acceleration and cooling profiles.
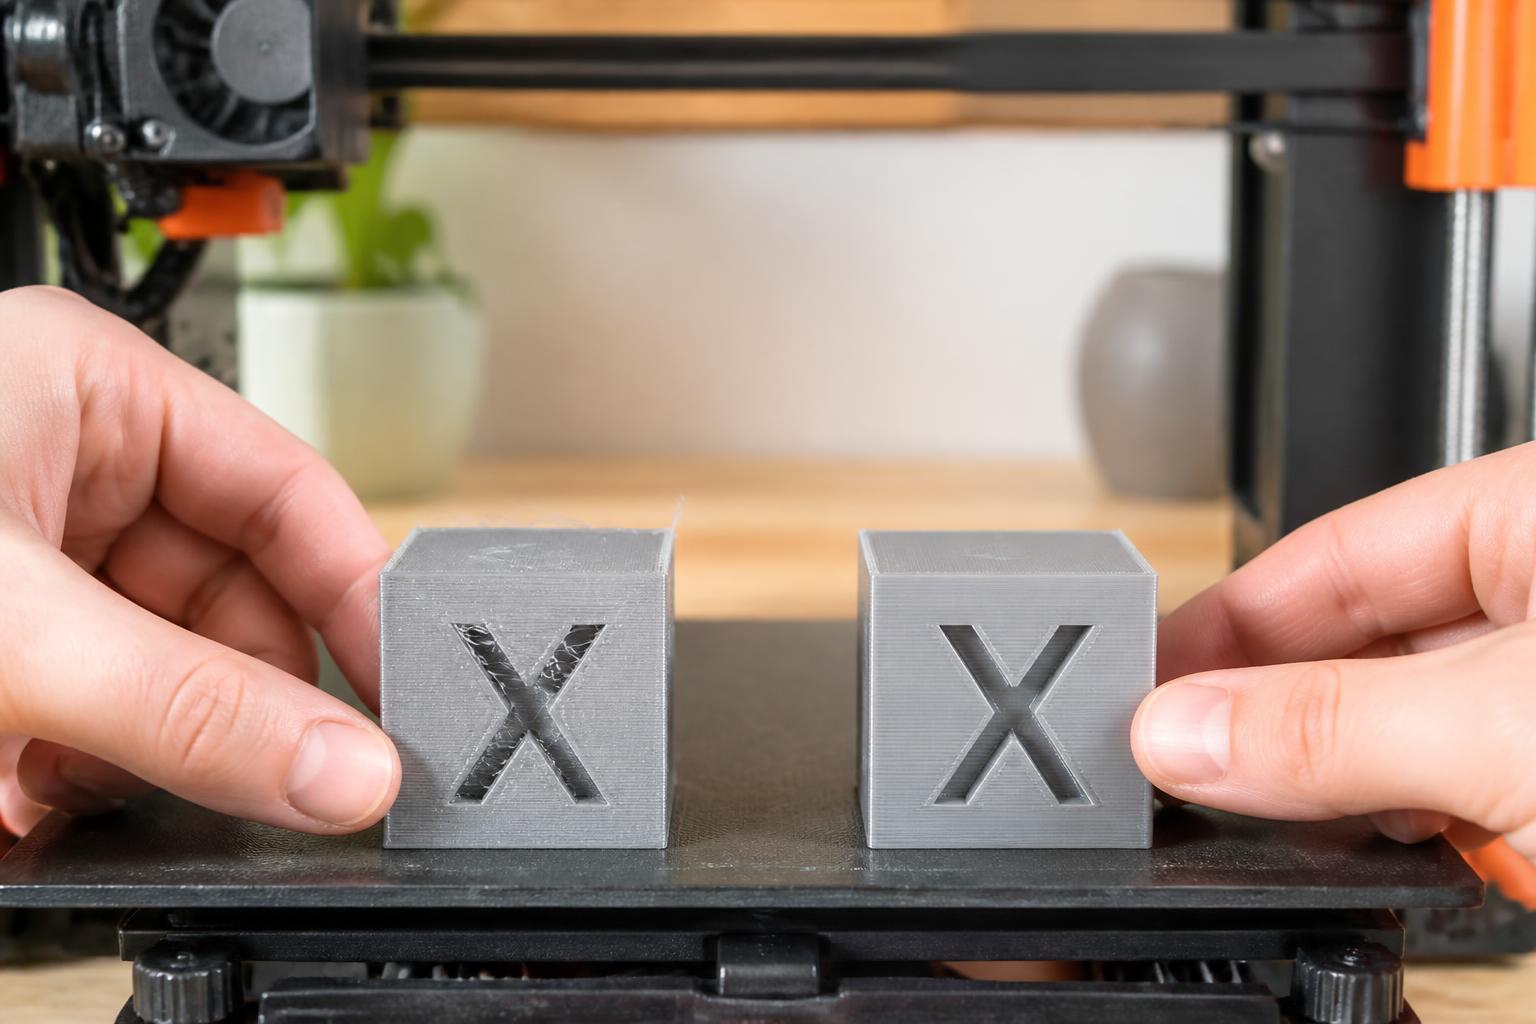
If your budget is tighter or you need more build volume, the Anycubic Kobra X ($179 with early bird pricing) gives you a larger 300 x 300 x 300 mm build area than the A1 Mini’s 180 x 180 x 180 mm, and it prints at comparable speeds for about 40% less money. The trade-off: less refined software, more manual tuning for PETG, and a steeper learning curve when things go wrong.
Comparison framework
Choosing a starter printer comes down to four decision points:
| Factor | What to look for | Why it matters |
|---|---|---|
| Auto bed leveling | Mesh-based leveling with 25+ points | Prevents warped first layers without manual paper-leveling every print |
| Build volume | 180 mm³ minimum for small objects; 300 mm³ for helmets or large parts | Determines what you can actually print in one piece |
| Filament compatibility | All-metal hotend (260°C+) for PETG, TPU; PTFE-lined for PLA only | Hotends under 240°C max cannot print engineering-grade materials safely |
| Software ecosystem | Slicer profiles maintained by the manufacturer | Pre-tuned profiles eliminate hours of trial-and-error with retraction and temperature settings |
The Bambu Lab A1 Mini scores highest on auto leveling and software polish. The Anycubic Kobra X wins on volume and price-per-cubic-inch. Every other printer in this price bracket (Creality Ender 3 V3 SE, Sovol SV06) sits between them but adds more assembly time or requires aftermarket upgrades.
Verification step before you commit: On the spec sheet or product page, confirm the hotend type is all-metal, not PTFE-lined. A PTFE-lined hotend degrades above 240°C and releases toxic fumes at 260°C—making it unsafe for PETG or TPU printing. Look for the phrase “all-metal hotend” or a max nozzle temperature of 260°C or higher. If the listing only says “240°C max,” the printer is PLA-only unless you upgrade the hotend later.
Best-fit picks by use case
You want to print right now with minimal fuss: Bambu Lab A1 Mini
The A1 Mini uses a fully automatic nozzle-wiper and bed-leveling routine that takes about three minutes. Its slicer (Bambu Studio) includes tested profiles for PLA, PETG, and TPU at 0.12 mm, 0.20 mm, and 0.28 mm layer heights.
- Build volume: 180 x 180 x 180 mm
- Max nozzle temp: 260°C (all-metal hotend)
- Max bed temp: 100°C
- Print speed: up to 500 mm/s (300 mm/s reliable)
- Filament loading: automatic, with RFID tags on Bambu filaments
The limitation: the small build volume rules out large single-piece prints. A full-size helmet or a 12-inch vase requires splitting the model into parts. Also, if you plan to use third-party filament, the RFID auto-loading feature won’t work—you will have to set temperature and material type manually in Bambu Studio, and the printer will still ask you to confirm the spool is compatible each time.
You need big prints on a budget: Anycubic Kobra X
The Kobra X delivers a 300 x 300 x 300 mm build volume for roughly 40% less than similarly sized competitors. It also includes a direct-drive extruder, which makes flexible filaments like TPU easier to feed than on Bowden-style printers.
- Build volume: 300 x 300 x 300 mm
- Max nozzle temp: 260°C (all-metal hotend)
- Max bed temp: 100°C
- Print speed: up to 250 mm/s (150 mm/s reliable for PLA)
- Filament loading: manual, no RFID
Expect to spend about an hour dialing in the Z-offset and bed leveling on your first day. After that, PLA prints at 200–210°C with a 60°C bed and a 0.20 mm layer height produce clean results. For PETG, bump the bed to 80°C, reduce print speed to 60 mm/s, and increase retraction to 3 mm at 45 mm/s to reduce stringing.
A realistic mismatch to watch out for: The Kobra X’s larger gantry introduces more ringing at high speeds. If you print taller objects over 200 mm, you will likely need to enable input shaping in the firmware or keep acceleration below 2500 mm/s². Without that adjustment, vertical walls will show ghosting—visible ripples repeating from sharp corners. The printer also lacks an active filament runout sensor, meaning a jam or empty spool mid-print will leave you with a half-finished part and no pause to rescue it. You can add a runout sensor later as an aftermarket mod, but that requires opening the electronics box and re-running the firmware configuration.
You plan to print functional parts in engineering materials: Prusa Mini+
The Prusa Mini+ ($459) costs more than the others but ships fully assembled and calibrated. Its all-metal hotend reaches 280°C, which allows nylon-carbon fiber and polycarbonate blends. The Prusa Slicer profiles are refined through years of community feedback, and the printer includes a removable spring-steel PEI sheet that gives excellent adhesion for ABS and PETG.
- Build volume: 180 x 180 x 180 mm
- Max nozzle temp: 280°C
- Max bed temp: 100°C
- Print speed: up to 200 mm/s (80 mm/s reliable for ABS)
- Assembly: fully assembled, zero tools required
The trade-off: slower print speeds compared to the Bambu Lab A1 Mini, and a smaller community-tinker base than Creality machines. If you never want to upgrade a part, this is the set-and-forget option. However, the 180 mm build volume will again limit you to smaller functional parts—you cannot print a full-size drone frame or a large gearbox housing in one piece.
Trade-offs to know
Reliability vs. cost. The Bambu Lab A1 Mini costs 67% more than the Anycubic Kobra X but delivers a first-print success rate near 95% out of the box. The Kobra X is closer to 70% before manual tuning. If you are comfortable troubleshooting stringing, warping, and first-layer adhesion on your own, the Kobra X saves serious money. If you want to print without reading forum posts, spend the extra $120.
Build volume vs. speed. The Kobra X’s larger gantry introduces more ringing at high speeds. Expect to keep acceleration below 2500 mm/s² for prints over 200 mm tall, or enable input shaping in the config file. The A1 Mini, with its smaller moving mass, can sustain higher accelerations without ghosting.
Software lock-in. Bambu Lab’s auto-loading and RFID filament system works seamlessly with its own spools. Third-party filament works fine—you just need to manually set the temperature and filament type in the slicer. Anycubic uses open-source Marlin firmware, so you can run Orca Slicer, Prusa Slicer, or Cura with compatible profiles.
Upgrade path. Neither the A1 Mini nor the Kobra X is designed for heavy modification. If you plan to eventually swap to a direct-drive extruder, a Ruby nozzle, or a heated enclosure, consider the Creality Ender 3 V3 SE ($199), which has an active modding community and a larger aftermarket parts ecosystem. The Ender 3 V3 SE also uses a standard 24V power supply and common mounting patterns, so you can find replacement hotends, extruders, and mainboards from multiple vendors without custom wiring.
When a common recommendation fails. You may read that the Creality Ender 3 V2 Neo is a good starter printer. It is not. Its PTFE-lined hotend maxes out at 240°C, it lacks a CR Touch auto-leveling sensor out of the box, and the Bowden extruder causes stringing with flexible filaments. You will spend more time fixing failed prints than actually printing. The V3 SE fixed most of those issues, but the V2 Neo is still widely stocked and should be avoided by anyone buying their first printer.
Related questions
Is a 0.4 mm nozzle the best starting size?
Yes. A 0.4 mm nozzle provides a good balance between detail (0.12 mm layer heights) and speed (0.28 mm layer heights). Drop to a 0.2 mm nozzle only for miniatures smaller than 50 mm; switch to a 0.6 mm or 0.8 mm nozzle for large functional parts where surface finish matters less than print time.
Do I need an enclosure for PETG or PLA?
No. PLA prints fine with the printer in a space without drafts. PETG benefits from an enclosure only if your room temperature is below 60°F or if you are printing tall, thin walls that cool unevenly. ABS and nylon require an enclosure. If you plan to print ABS later, factor in both the enclosure cost ($60–$100 for a DIY tent) and ventilation—ABS emits styrene fumes.
How much filament should I buy with the printer?
One 1 kg spool of PLA (e.g., eSun PLA+ or Overture PLA Pro) is enough to learn on and print roughly 8–10 calibration cubes, a Benchy, and a few small parts. Stick to one color and one brand for the first 30 prints so you eliminate material variability as a failure cause.
What slicer should a beginner use?
Use the slicer that ships with your printer (Bambu Studio for A1 Mini, Anycubic Slicer for Kobra X, Prusa Slicer for Prusa Mini+). These include machine-specific profiles that set retraction distance, acceleration limits, and cooling fan curves. Switch to Orca Slicer or Cura only after you have at least 50 hours of print time and understand why each setting matters. Opening the expert mode before you know what retraction does will cause more failed prints than it solves.
Explore This Topic
- Back to Best 3D Printers
- Back to sc0007
Related guides in this cluster:
- Best 3d printer multicolor: Top Picks & Guide
- Best 3d printer under 400: Top Picks & Guide
- Best entry 3d printer: Top Picks & Guide

Ryan has been operating FDM 3D printers since 2017. He runs a 12-machine print farm. His daily drivers include a Bambu Lab X1 Carbon, Prusa MK4s, and Creality Ender-3 V3s that have logged over 15000 print hours. He started 3D Printer Nerd to provide structured troubleshooting guides with diagnostic order, material-specific parameters, and clear stop points.