Cheapest 3D Printers That Actually Work: How Low Can You Go in 2026?
A sub-$200 3D printer exists, but the real question is whether it will actually print. The cheapest 3D printer that reliably produces usable parts is the Anycubic Kobra X at roughly $180 (early-bird pricing) or the Sovol SV06 at around $200 when on sale. A $99 printer from an unknown brand will likely arrive with a warped bed, loose belts, and no warranty—better to treat those as hobby kits than production tools.
If your budget is truly under $150, buy a Creality Ender 3 (original model) only from a trusted retailer with a return policy. That machine is the floor: it prints, but you will spend time tuning and replacing parts. If you can stretch to $200–$250, skip the Ender 3 and go straight to the Sovol SV06 or Anycubic Kobra X—both have auto bed leveling and direct-drive extruders out of the box.
price 3d printer” />
How Low Is Too Low in 2025
The absolute price floor used to sit around $200 for a half-decent printer. Now brands like Sovol and Creality have pushed functional machines to $160–$250, while commodity resin printers like the Creality HALOT R6 hit $99–$119 in bulk deals. But there’s a catch: most of those rock-bottom resin printers are sold through third-party distributors (e.g., Jiangxi New Silk Road Industry & Trade Company) with inconsistent support.
What $100–$150 actually buys you today:
- Budget resin printers (e.g., HALOT R6 at ~$100): Good for small, detailed parts. The resin and wash/cure station costs will double your total outlay within a month.
- FDM printers with manual leveling (e.g., Ender 3 V2 refurb): Functional but dated. Expect to spend 10+ hours on initial assembly and calibration.
- No-name “creality-clone” machines: Almost always have undersized power supplies, plastic extruder gears that crack, and outdated 8-bit mainboards. Avoid unless you’re comfortable replacing electronics immediately.
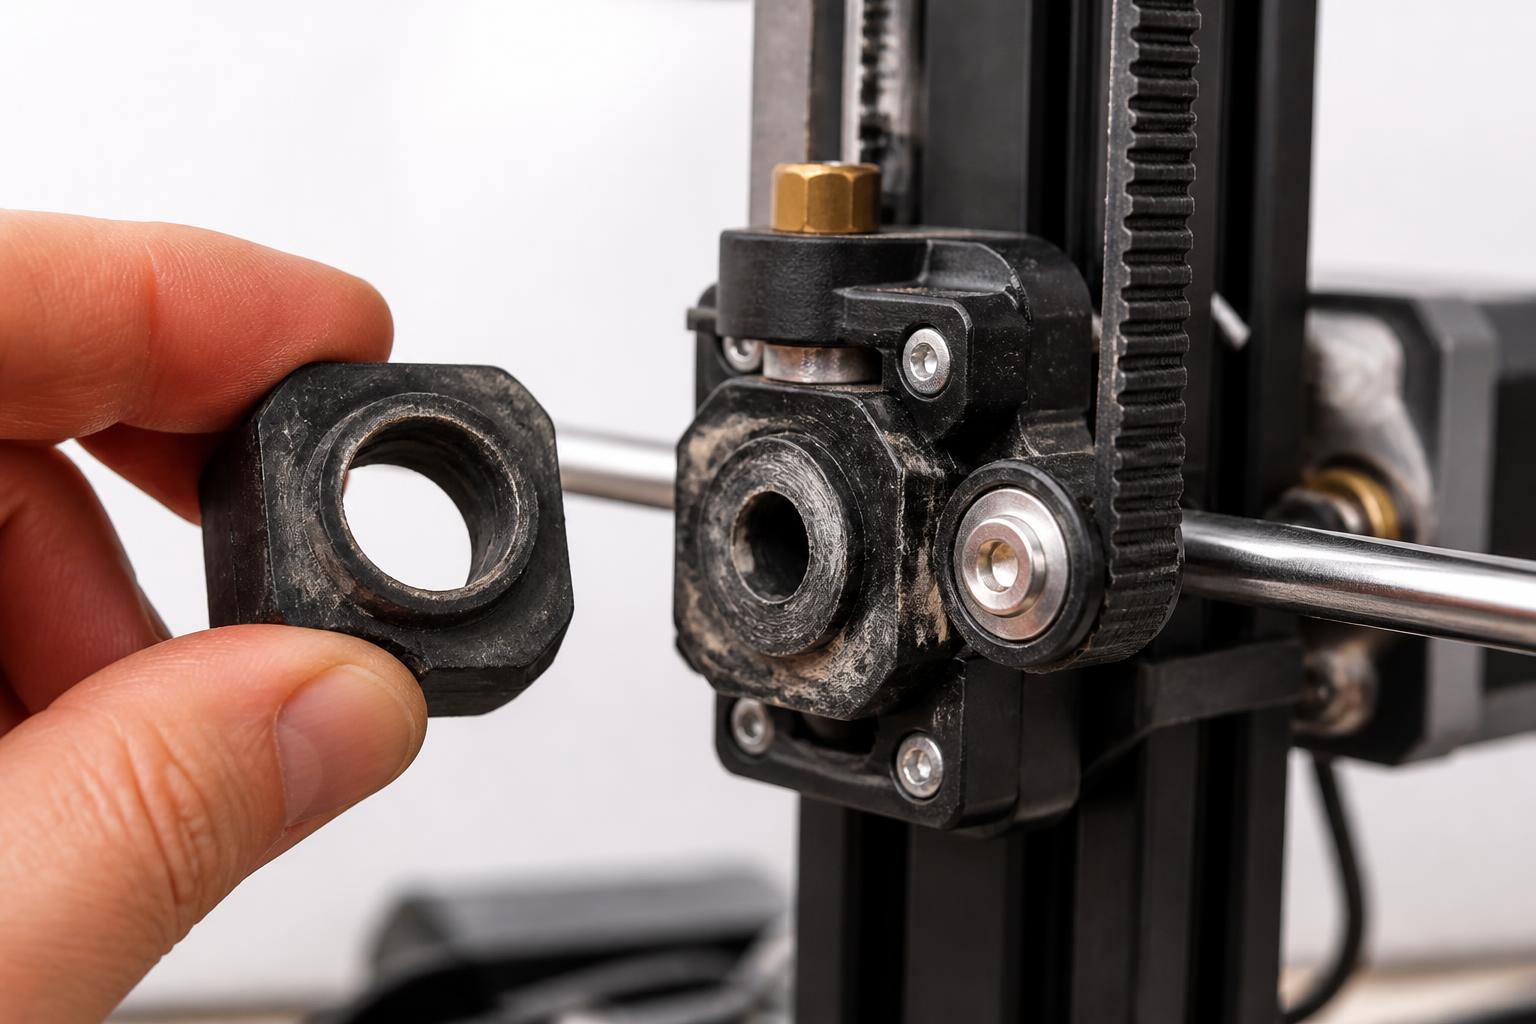
The breakpoint: Below $160 on an FDM printer, you lose either auto bed leveling or a decent hotend. That means every print starts with a manual bed-level ritual, and you’re stuck at 0.2 mm layer heights with PLA only.
The Real Trade-Offs at Rock-Bottom Prices
Every sub-$200 printer cuts corners somewhere. The trick is choosing which corner you can live with.
| Printer | Approx. Price | Build Volume | Key Trade-Off | Best For |
|---|---|---|---|---|
| Creality Ender 3 (original) | $160–$190 | 220 x 220 x 250 mm | Manual leveling, weak extruder arm, noisy steppers | Tinkerers who enjoy modding |
| Anycubic Kobra X | ~$180 (early bird) | 280 x 250 x 300 mm | Slower print times vs. Bambu A1, no enclosure | Beginners wanting a big print area |
| Sovol SV06 | $200 (sale) | 220 x 220 x 250 mm | Small community, no Wi-Fi | Users who want a “set-and-forget” hotend |
| Creality HALOT R6 (resin) | $100–$120 | 165 x 128 x 80 mm | Post-processing cost, resin fumes, messy cleanup | Miniature and jewelry makers |
Why the Kobra X stands out: It matches the build volume of a Bambu Lab A1 (slightly larger, actually) but runs $120 cheaper. The trade-off is speed—expect 50–80 mm/s instead of 200–300 mm/s—and you lose the Bambu ecosystem. For someone printing functional parts overnight, that’s fine.
Why the Sovol SV06 earns its cost: It’s essentially a Prusa MK3 clone with a direct-drive extruder and a 300°C capable hotend out of the box. That means you can print PETG and even TPU without buying a new extruder. The catch: the community is smaller, so you’ll be reading Sovol’s support docs instead of Reddit threads.
Where the Savings Bite Back
The cheapest printers share three failure points regardless of brand. Factor these into your real cost.
The Hotend Limits Your Materials
Most stock hotends on printers under $200 can only hit 230–240°C before their PTFE-lined heatbreak degrades. That locks you to PLA, PETG (barely), and silk PLA. Nylon, polycarbonate, or ASA will melt the PTFE and release toxic fumes. If you need those materials, plan to buy an all-metal hotend ($25–$40) immediately.
Verification step: Look at the heatbreak where it enters the heatsink. If you see a white PTFE tube going all the way to the nozzle, you have a lined hotend. An all-metal heatbreak will show metal threads connecting directly to the nozzle. If you’re unsure, Google your printer model plus “stock hotend PTFE” to confirm.
Build Plate Adhesion Is Yours to Solve
Auto bed leveling on a $180 printer uses a strain sensor or inductive probe that’s accurate to ±0.05 mm in ideal conditions. In practice, you’ll still need to clean the bed with isopropyl alcohol between prints, adjust Z-offset manually, and experiment with glue stick or hairspray for PETG. The “auto” part saves you from a full manual leveling routine, not from adhesion troubleshooting.
Mismatch warning: If you buy a printer advertised with “auto leveling” but it lacks a physical Z-endstop adjustment, you may find your nozzle drags through the bed on one corner while leaving a 0.2 mm gap on the opposite corner. That’s a sign the gantry is twisted, not a leveling sensor issue. Return the unit if you can’t shim the gantry frame with washers.
The Slicer Setup Costs Time

No sub-$200 printer comes with a fully dialed-in slicer profile. You will spend your first weekend printing temperature towers, retraction tests, and flow calibration cubes. The Sovol SV06 ships with a usable Cura profile, but you’ll still need to set your own retraction distance (around 2 mm at 40 mm/s for PLA) and adjust coasting settings to avoid blobs.
Failure mode: Using the stock profile that came with the printer often results in stringing that looks like spider webs between every support tower. That’s not a printer defect—it’s a retraction setting that’s too short (try 1.5–2.5 mm on direct-drive) or a retraction speed too slow (35–50 mm/s works for most PLA).
How to Confirm Your Cheap Printer Is Set Up Correctly
You don’t need to run 20 calibration prints if you follow this sequence. Each checkpoint tells you whether to move forward or stop and fix.
Before Your First Print: Mechanical Checks
1. Tighten all frame bolts – Use the hex key that came with the printer. Loose extrusions cause layer shift. Check every bolt on the gantry and bed bracket.
2. Square the gantry – Measure from the top rail to the bed on both sides with a ruler. The difference should be under 1 mm. If it’s more, loosen the gantry bracket bolts, re-square, and tighten.
3. Bed level (even on auto-level printers) – Run manual leveling one time to get the bed within 0.2 mm of level. Auto-leveling compensates for small errors, not a bed that’s tilted 2 mm front-to-back.
4. Set Z-offset – Use a piece of paper (standard printer paper, 0.1 mm thick) between nozzle and bed. Adjust until you feel drag. Run auto-leveling after setting the Z-offset.
The 20-Minute Benchmark First Print
Print a single-layer square (20 x 20 mm) at 0.2 mm layer height. Watch the first layer for these outcomes:
- Too high (transparent gaps) – Lower Z-offset by 0.05 mm and restart.
- Too low (scraping, nozzle digging into bed) – Raise Z-offset by 0.05 mm.
- Bubbles or peeling – Clean bed with isopropyl alcohol, reapply adhesion (glue stick for glass, hairspray for PEI), restart.
- Clean, solid bead with no gaps – You’re ready to print the full model.
When to Escalate
If your printer fails the first-layer test after three Z-offset adjustments, and the bed is clean, check the extruder. Clogged nozzles and cracked extruder arms are the two most common defects on cheap printers.
- Clogged nozzle: Heat to 200°C, push filament manually. If it curls sideways or resists, replace the nozzle ($5 for a pack of 10). Do not try to clean with a needle while heating—you risk bending the needle inside.
- Cracked extruder arm (Ender 3): Remove the tension arm and inspect for hairline cracks near the pivot point. If cracked, replace with a metal arm ($8). Printing with a cracked arm causes intermittent underextrusion that looks like random gaps.
Success checkpoint: If your first-layer square is smooth, your second layer bonds, and you complete a calibration cube without layer shift or stringing, you are ready to print functional parts. Anything beyond that (under-extrusion at high speed, ringing on overhangs) is tuning, not a defect.
Which Cheap Printer Fits Your Situation?
Your buying decision should hinge on one question: How much time are you willing to spend on setup and tuning per week?
- I want to print by tonight: Buy the Bambu Lab A1 Mini at $299. It’s $100 more than the Kobra X, but it prints reliably out of the box with automatic flow calibration and a usable spool holder. The extra $100 buys you hours of your life back.
- I’m a student or first-timer with patience: The Anycubic Kobra X or Sovol SV06 will teach you the fundamentals. Expect 8–12 hours of assembly and calibration before your first successful print. Keep your filament in a dry box (PLA absorbs moisture fast) and replace the stock PTFE tube with Capricorn tubing ($10).
- I want the absolute cheapest functional printer: Buy the Creality Ender 3 only if you already own a multimeter, a set of hex keys, and a soldering iron. The printed part quality at 0.2 mm layer height is acceptable for brackets, jigs, and cosplay props. The learning curve is real—plan to replace the plastic extruder tension arm with a metal one within 50 hours of printing.
FAQ
Is a $99 resin printer worth it? Yes, if you already have a wash/cure station, gloves, and ventilation, since the resin fumes are toxic. The Creality HALOT R6 at $100 produces smooth detailed parts at 0.05 mm layer height, but the total ownership cost hits $250+ within two months once you buy resin, FEP film replacements, and IPA.
Can a cheap 3D printer print ABS? Not without mods. ABS requires a 100–110°C bed and an enclosure to prevent warping. Most sub-$200 printers can’t reach that bed temp consistently, and their electronics are exposed. Stick to PETG if you need higher strength, as PETG prints at 235–250°C on a 75–80°C bed.
How long will a $180 3D printer last? With regular maintenance—belt tension checks, Z-axis cleaning, and nozzle replacements every 500 hours—expect 12–18 months before a major part failure, usually the extruder gear or hotend thermistor. A $30 repair gets you another year, so consider a $250–300 machine if you plan to print more than 20 hours a week.
Explore This Topic
- Back to Best Printer by Budget
- Back to sc0007
Related guides in this cluster:

Ryan has been operating FDM 3D printers since 2017. He runs a 12-machine print farm. His daily drivers include a Bambu Lab X1 Carbon, Prusa MK4s, and Creality Ender-3 V3s that have logged over 15000 print hours. He started 3D Printer Nerd to provide structured troubleshooting guides with diagnostic order, material-specific parameters, and clear stop points.